

Git installation
To install a Git client on a Windows system, perform the following steps:
- Go to https://git-scm.com/downloads and click on the Download for Windows button. This will open up a new page. Now click on the Click here to download link.
- Double-click the downloaded binary file to install Git on your Windows system. This will ask you to confirm the installation of Git; click the Yes button:

Figure 15.27 – Windows Git installation
- Review the license terms and click Next to select the installation location. Keep the default installation location for Git and click Next. On the next screen, select the options shown in the following screenshot:
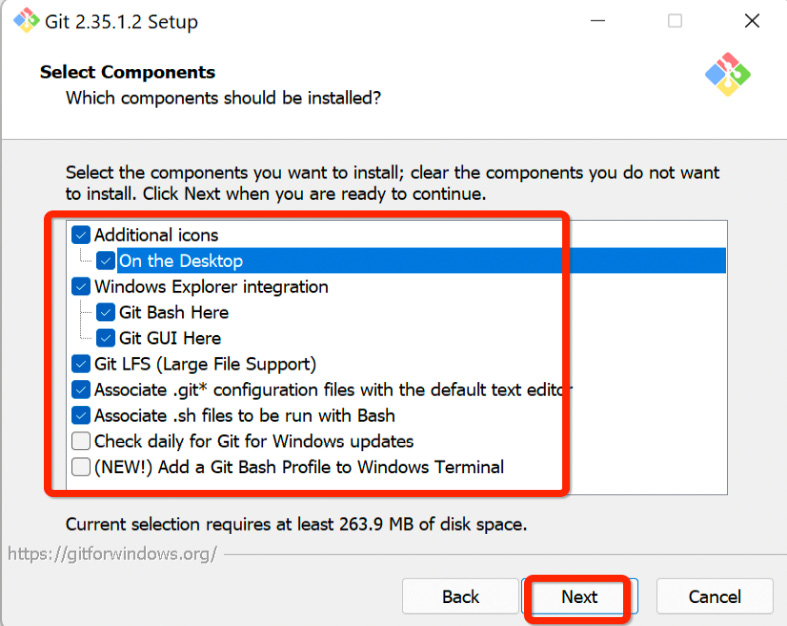
Figure 15.28 – The Git installation component selection