In the data world, languages such as Java, Scala, or Python are commonly used. The first two languages are used due to their compatibility with the big data tools environment, such as Hadoop and Spark, the central core of which runs on a Java Virtual Machine (JVM). However, in the past few years, the use of Python for data engineering and data science has increased significantly due to the language’s versatility, ease of understanding, and many open source libraries built by the community.
Getting ready
Let’s create a folder for our project:
- First, open your system command line. Since I use the Windows Subsystem for Linux (WSL), I will open the WSL application.
- Go to your home directory and create a folder as follows:
$ mkdir my-project
- Go inside this folder:
$ cd my-project
- Check your Python version on your operating system as follows:
$ python -–version
Depending on your operational system, you might or might not have output here – for example, WSL 20.04 users might have the following output:
Command 'python' not found, did you mean:
 command 'python3' from deb python3
 command 'python' from deb python-is-python3
If your Python path is configured to use the python command, you will see output similar to this:
Python 3.9.0
Sometimes, your Python path might be configured to be invoked using python3. You can try it using the following command:
$ python3 --version
The output will be similar to the python command, as follows:
Python 3.9.0
- Now, let’s check our
pip version. This check is essential, since some operating systems have more than one Python version installed:$ pip --version
You should see similar output:
pip 20.0.2 from /usr/lib/python3/dist-packages/pip (python 3.9)
If your operating system (OS) uses a Python version below 3.8x or doesn’t have the language installed, proceed to the How to do it steps; otherwise, you are ready to start the following Installing PySpark recipe.
How to do it…
We are going to use the official installer from Python.org. You can find the link for it here: https://www.python.org/downloads/:
Note
For Windows users, it is important to check your OS version, since Python 3.10 may not be yet compatible with Windows 7, or your processor type (32-bits or 64-bits).
- Download one of the stable versions.
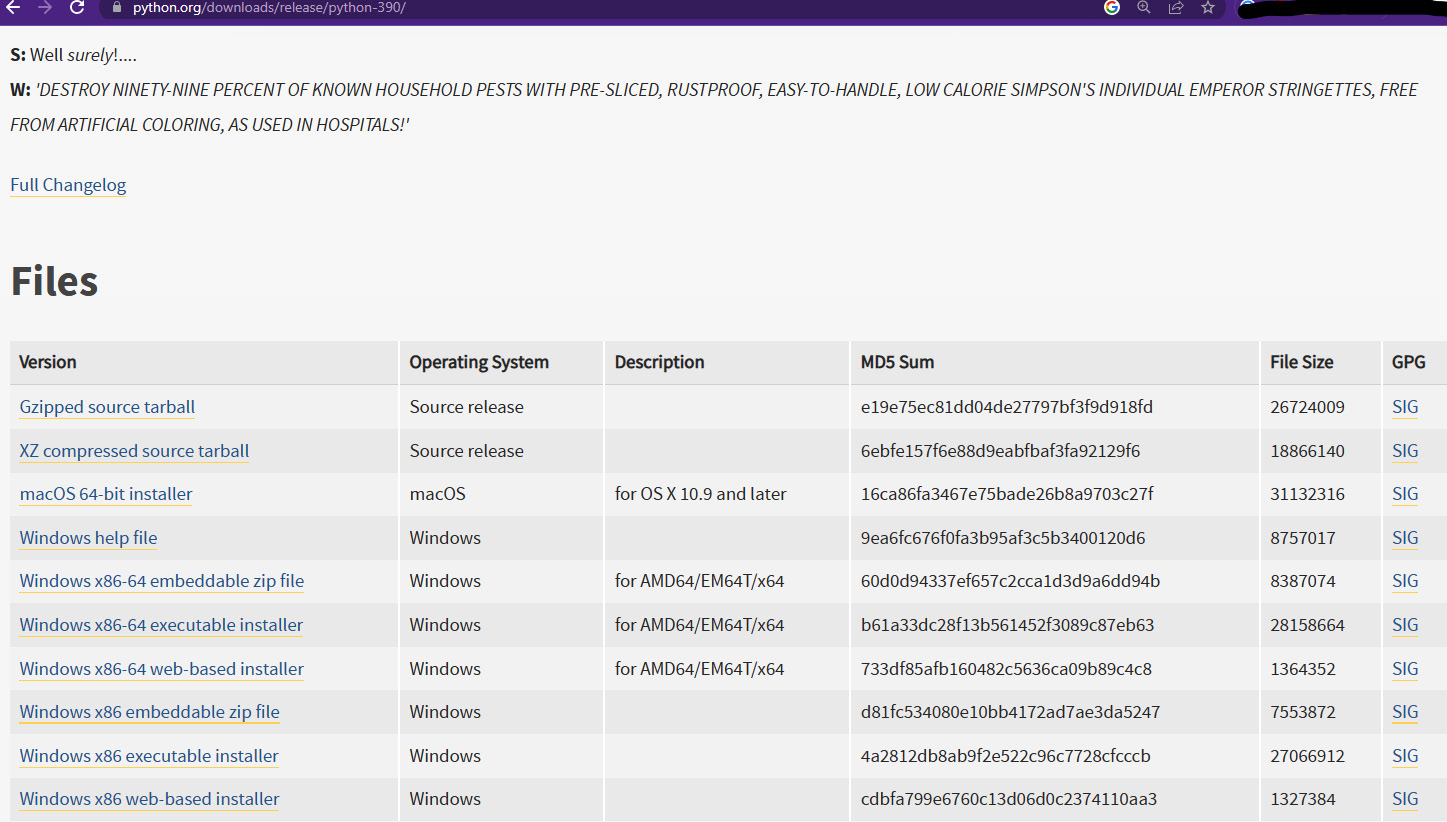
At the time of writing, the stable recommended versions compatible with the tools and resources presented here are 3.8, 3.9, and 3.10. I will use the 3.9 version and download it using the following link: https://www.python.org/downloads/release/python-390/. Scrolling down the page, you will find a list of links to Python installers according to OS, as shown in the following screenshot.
Figure 1.1 – Python.org download files for version 3.9
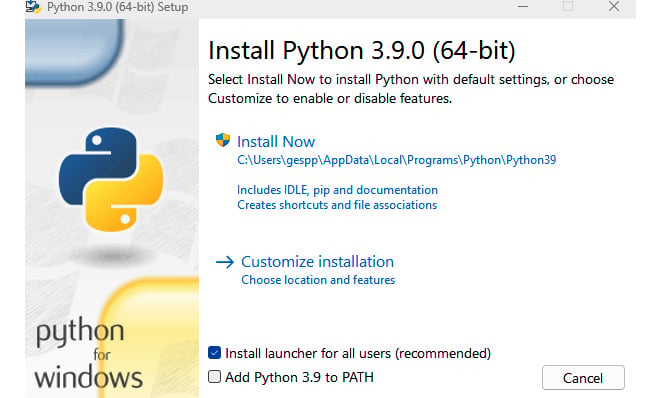
- After downloading the installation file, double-click it and follow the instructions in the wizard window. To avoid complexity, choose the recommended settings displayed.
The following screenshot shows how it looks on Windows:
Figure 1.2 – The Python Installer for Windows
- If you are a Linux user, you can install it from the source using the following commands:
$ wget https://www.python.org/ftp/python/3.9.1/Python-3.9.1.tgz
$ tar -xf Python-3.9.1.tgz
$ ./configure –enable-optimizations
$ make -j 9
After installing Python, you should be able to execute the pip command. If not, refer to the pip official documentation page here: https://pip.pypa.io/en/stable/installation/.
How it works…
Python is an interpreted language, and its interpreter extends several functions made with C or C++. The language package also comes with several built-in libraries and, of course, the interpreter.
The interpreter works like a Unix shell and can be found in the usr/local/bin directory: https://docs.python.org/3/tutorial/interpreter.html.
Lastly, note that many Python third-party packages in this book require the pip command to be installed. This is because pip (an acronym for Pip Installs Packages) is the default package manager for Python; therefore, it is used to install, upgrade, and manage the Python packages and dependencies from the Python Package Index (PyPI).
There’s more…
Even if you don’t have any Python versions on your machine, you can still install them using the command line or HomeBrew (for macOS users). Windows users can also download them from the MS Windows Store.
Note
If you choose to download Python from the Windows Store, ensure you use an application made by the Python Software Foundation.
See also
You can use pip to install convenient third-party applications, such as Jupyter. This is an open source, web-based, interactive (and user-friendly) computing platform, often used by data scientists and data engineers. You can install it from the official website here: https://jupyter.org/install.


 Free Chapter


