

Installing PySpark
To process, clean, and transform vast amounts of data, we need a tool that provides resilience and distributed processing, and that’s why PySpark is a good fit. It gets an API over the Spark library that lets you use its applications.
Getting ready
Before starting the PySpark installation, we need to check our Java version in our operational system:
- Here, we check the Java version:
$ java -version
You should see output similar to this:
openjdk version "1.8.0_292"
OpenJDK Runtime Environment (build 1.8.0_292-8u292-b10-0ubuntu1~20.04-b10)
OpenJDK 64-Bit Server VM (build 25.292-b10, mixed mode)
If everything is correct, you should see the preceding message as the output of the command and the OpenJDK 18 version or higher. However, some systems don’t have any Java version installed by default, and to cover this, we need to proceed to step 2.
Go to https://www.oracle.com/java/technologies/downloads/, select your OS, and download the most recent version of JDK. At the time of writing, it is JDK 19.
The download page of the JDK will look as follows:
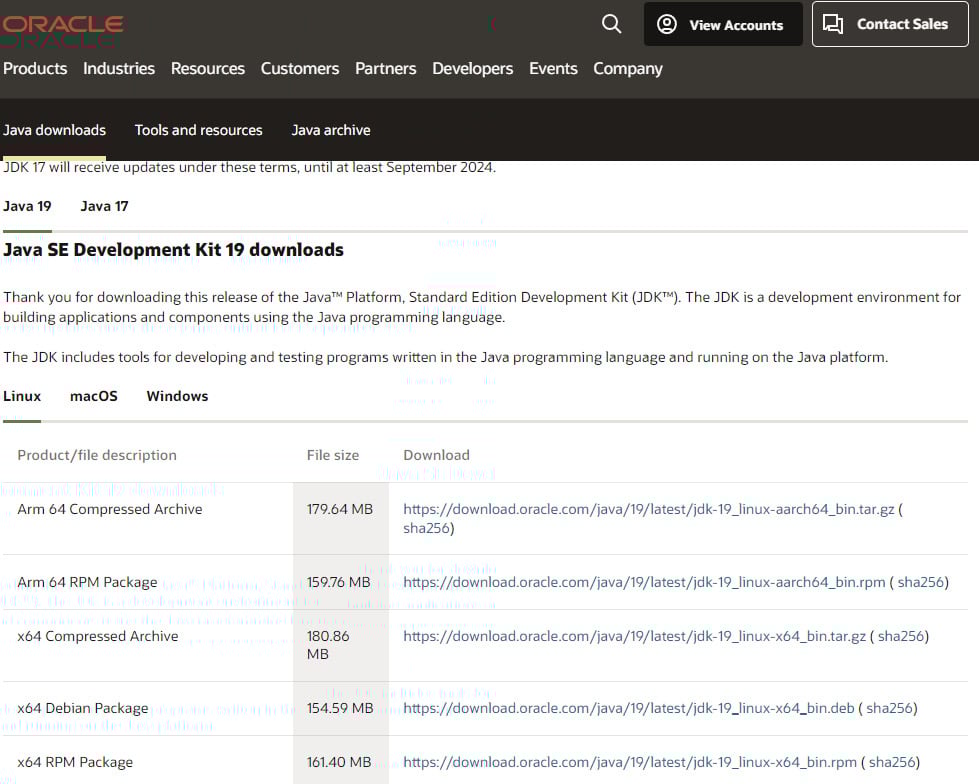
Figure 1.3 – The JDK 19 downloads official web page
Execute the downloaded application. Click on the application to start the installation process. The following window will appear:
Note
Depending on your OS, the installation window may appear slightly different.
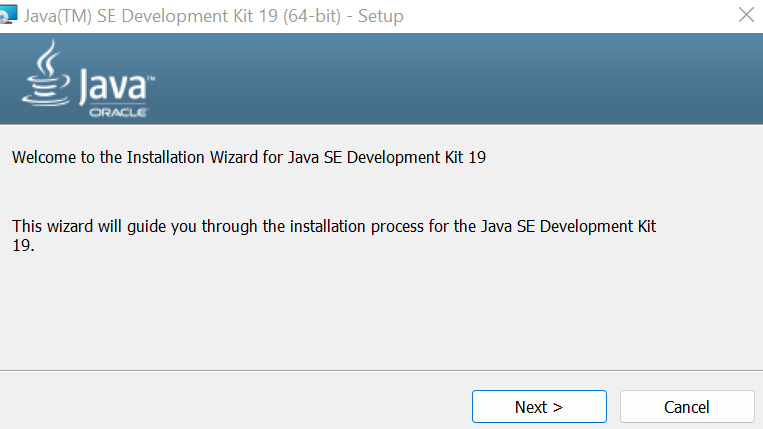
Figure 1.4 – The Java installation wizard window
Click Next for the following two questions, and the application will start the installation. You don’t need to worry about where the JDK will be installed. By default, the application is configured, as standard, to be compatible with other tools’ installations.
- Next, we again check our Java version. When executing the command again, you should see the following version:
$ java -version
openjdk version "1.8.0_292"
OpenJDK Runtime Environment (build 1.8.0_292-8u292-b10-0ubuntu1~20.04-b10)
OpenJDK 64-Bit Server VM (build 25.292-b10, mixed mode)
How to do it…
Here are the steps to perform this recipe:
- Install PySpark from PyPi:
$ pip install pyspark
If the command runs successfully, the installation output’s last line will look like this:
Successfully built pyspark
Installing collected packages: py4j, pyspark
Successfully installed py4j-0.10.9.5 pyspark-3.3.2
- Execute the
pysparkcommand to open the interactive shell. When executing thepysparkcommand in your command line, you should see this message:$ pyspark Python 3.8.10 (default, Jun 22 2022, 20:18:18) [GCC 9.4.0] on linux Type "help", "copyright", "credits" or "license" for more information. 22/10/08 15:06:11 WARN Utils: Your hostname, DESKTOP-DVUDB98 resolves to a loopback address: 127.0.1.1; using 172.29.214.162 instead (on interface eth0) 22/10/08 15:06:11 WARN Utils: Set SPARK_LOCAL_IP if you need to bind to another address 22/10/08 15:06:13 WARN NativeCodeLoader: Unable to load native-hadoop library for your platform... using builtin-java classes where applicable Using Spark's default log4j profile: org/apache/spark/log4j-defaults.properties Setting default log level to "WARN". To adjust logging level use sc.setLogLevel(newLevel). For SparkR, use setLogLevel(newLevel). Welcome to ____ __ / __/__ ___ _____/ /__ _\ \/ _ \/ _ `/ __/ '_/ /__ / .__/\_,_/_/ /_/\_\ version 3.1.2 /_/ Using Python version 3.8.10 (default, Jun 22 2022 20:18:18) Spark context Web UI available at http://172.29.214.162:4040 Spark context available as 'sc' (master = local[*], app id = local-1665237974112). SparkSession available as 'spark'. >>>
You can observe some interesting messages here, such as the Spark version and the Python used from PySpark.
- Finally, we exit the interactive shell as follows:
>>> exit()
$
How it works…
As seen at the beginning of this recipe, Spark is a robust framework that runs on top of the JVM. It is also an open source tool for creating resilient and distributed processing output from vast data. With the growth in popularity of the Python language in the past few years, it became necessary to have a solution that adapts Spark to run alongside Python.
PySpark is an interface that interacts with Spark APIs via Py4J, dynamically allowing Python code to interact with the JVM. We first need to have Java installed on our OS to use Spark. When we install PySpark, it already comes with Spark and Py4J components installed, making it easy to start the application and build the code.
There’s more…
Anaconda is a convenient way to install PySpark and other data science tools. This tool encapsulates all manual processes and has a friendly interface for interacting with and installing Python components, such as NumPy, pandas, or Jupyter:
- To install Anaconda, go to the official website and select Products | Anaconda Distribution: https://www.anaconda.com/products/distribution.
- Download the distribution according to your OS.
For more detailed information about how to install Anaconda and other powerful commands, refer to https://docs.anaconda.com/.
Using virtualenv with PySpark
It is possible to configure and use virtualenv with PySpark, and Anaconda does it automatically if you choose this type of installation. However, for the other installation methods, we need to make some additional steps to make our Spark cluster (locally or on the server) run it, which includes indicating the virtualenv /bin/ folder and where your PySpark path is.
See also
There is a nice article about this topic, Using VirtualEnv with PySpark, by jzhang, here: https://community.cloudera.com/t5/Community-Articles/Using-VirtualEnv-with-PySpark/ta-p/245932.