-
Book Overview & Buying
-
Table Of Contents

Kinect in Motion - Audio and Visual Tracking by Example
Kinect in Motion - Audio and Visual Tracking by Example
Overview of this book
Kinect is a motion-sensing input device by Microsoft for the Xbox 360 video game console and Windows PCs. It provides capabilities to enhance human-machine interaction along with a zero-to-hero journey to engage the user in a multimodal interface dialog with your software solution.
Kinect in Motion - Audio and Visual Tracking by Example guides you in developing more than five models you can use to capture gestures, movements, and voice spoken commands. The examples and the theory discussed provide you with the knowledge to let the user become a part of your application.
Kinect in Motion - Audio and Visual Tracking by Example is a compact reference on how to master color, depth, skeleton, and audio data streams handled by Kinect for Windows.Starting with an introduction to Kinect and its characteristics, you will first be shown how to master the color data stream with no more than one page of lines of code. Learn how to manage the depth information and map them against the color ones. You will then learn how to define and manage gestures that enable the user to instruct the application simply by moving arms or any other type of natural action. Finally you will complete your journey through a multimodal interface, combining gestures with audio.The book will lead you through many detailed, real-world examples, and even guide you on how to test your application.
Table of Contents (12 chapters)
Kinect in Motion – Audio and Visual Tracking by Example

Credits
About the Authors
About the Reviewers
www.PacktPub.com
Preface
 Free Chapter
Kinect for Windows – Hardware and SDK Overview
Starting with Image Streams
Skeletal Tracking
Speech Recognition
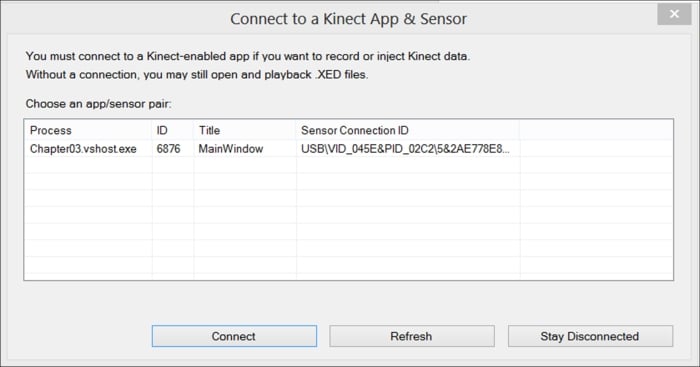
Kinect Studio and Audio Recording
Index