

Introducing Expo
There are several ways to set up a new React Native app. For the example project in this book, we will use Expo. It’s a powerful framework built on top of React Native that includes many different tools and libraries. Expo uses plain React Native and enhances it with a lot of functionality.
While React Native is a very lean framework when it comes to core components and native functionality, Expo provides nearly every functionality that you can think of using in your app. It provides components and APIs for nearly all native device functions, such as video playback, sensors, location, security, device information, and a lot more.
Think of Expo as a full-service package that makes your life as a React Native developer a lot easier. Since everything comes with a downside, Expo adds some size to your final app bundle, because you add all the libraries to your app whether you use them or not.
It also uses a somehow modified version of React Native, which is normally one or two versions behind the latest React Native version. So, when working with Expo, you have to wait for the latest React Native features a couple of months after they are released.
I would recommend using Expo if you want to achieve results at maximum speed and don’t have to optimize your bundle size.
When setting up a new project with Expo, you can choose between two different types of workflows – a bare workflow and a managed workflow. In both workflows, the framework provides you with easy-to-use libraries for including native elements such as the camera, the filesystem, and others. Additionally, services such as push notification handling, over-the-air feature updates, and a special Expo build service for iOS and Android builds are available.
If you choose the bare workflow, you have a plain React Native app and can add the Expo libraries you need. You can also add other third-party libraries, which is not possible in the managed workflow. There, you only write JavaScript or TypeScript code in the IDE of your choice; everything else is handled by the framework.
On their home page (https://docs.expo.dev/), Expo suggests that you start with a managed workflow for a new app because it is always possible to switch over to a bare workflow, if necessary, by using the expo eject command in the CLI. This necessity can arise if you need to integrate a third-party package or library that is not supported by Expo, or if you want to add or change native code.
After initializing the app, you can run it by using the expo start command. This will start up the Metro bundler, which compiles the JavaScript code of the app using Babel. Additionally, it opens the Expo Developer CLI interface, where you can choose which simulator you want to open the app in, as shown in the following screenshot:
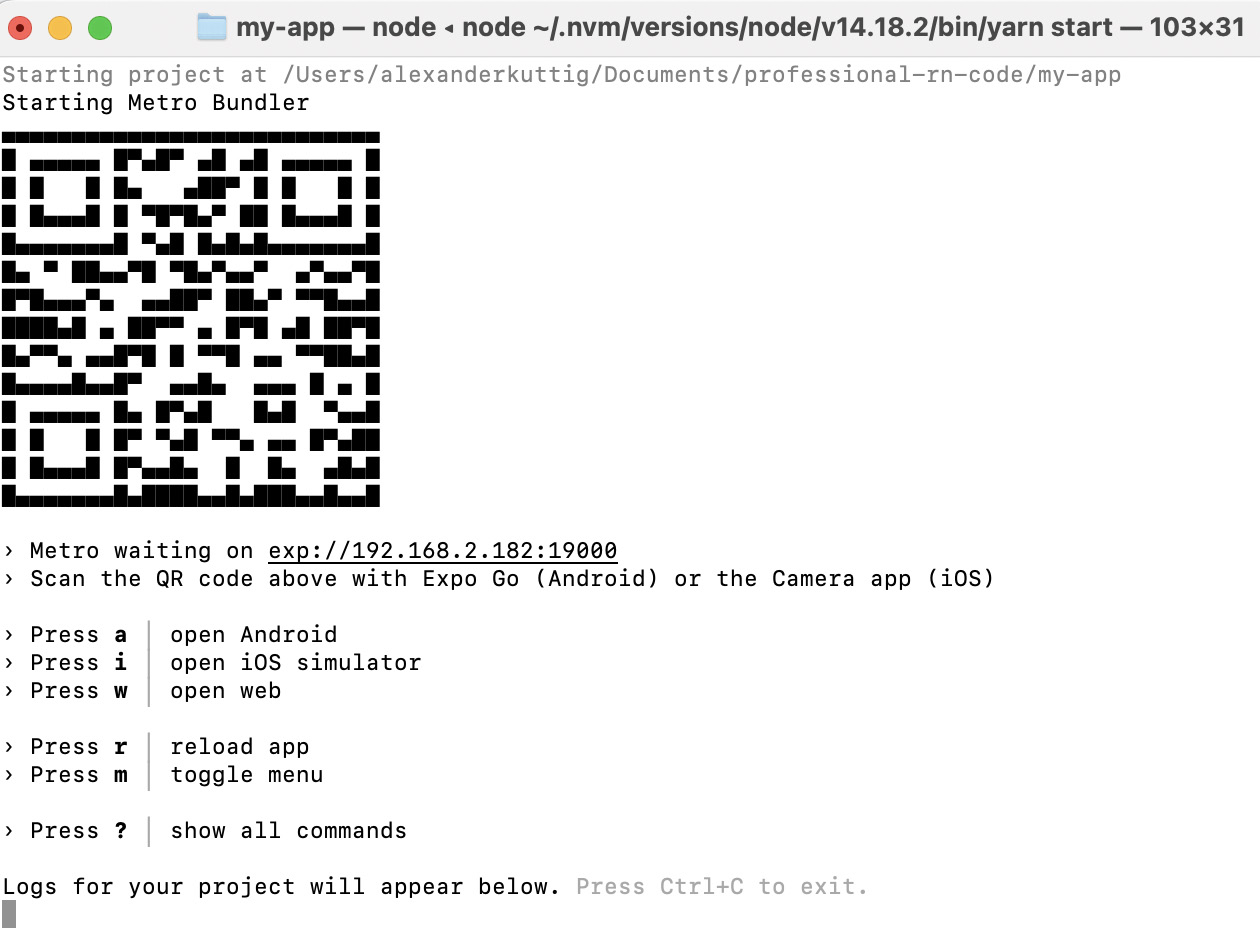
Figure 1.2 – Expo CLI Interface
Expo Developer Tools provides access to the Metro bundler logs. It also creates key bindings for multiple options regarding how to run the app, such as iOS or Android simulators. Finally it creates a QR code that can be scanned with the Expo Go app. Expo even supports creating web applications from React Native code for most use cases.
With Expo, it’s very easy to run your app on a hard device – just install the Expo app on your smartphone or tablet and scan the QR code, as described previously. It’s also possible to run the app on several devices or simulators at the same time.
All these features make Expo a very handy and easy-to-use framework for mobile app development with React Native.