

Building the Gallery UI
We will now build the UI for the gallery app. There are three main parts of the gallery, the first being the highlight page, which is loaded on launch and shows all the images. Once the user clicks on an image, the user is taken to the enhanced page, which is the second part. On this page, a bigger version of the image is shown along with more information. Finally, the last part is fullscreen mode, which simply shows a selected image in fullscreen. Naturally, we will start with the first part, the highlight page, but before that, we will create our project. Follow these steps:
- Open Xcode and select Create a new Xcode project:
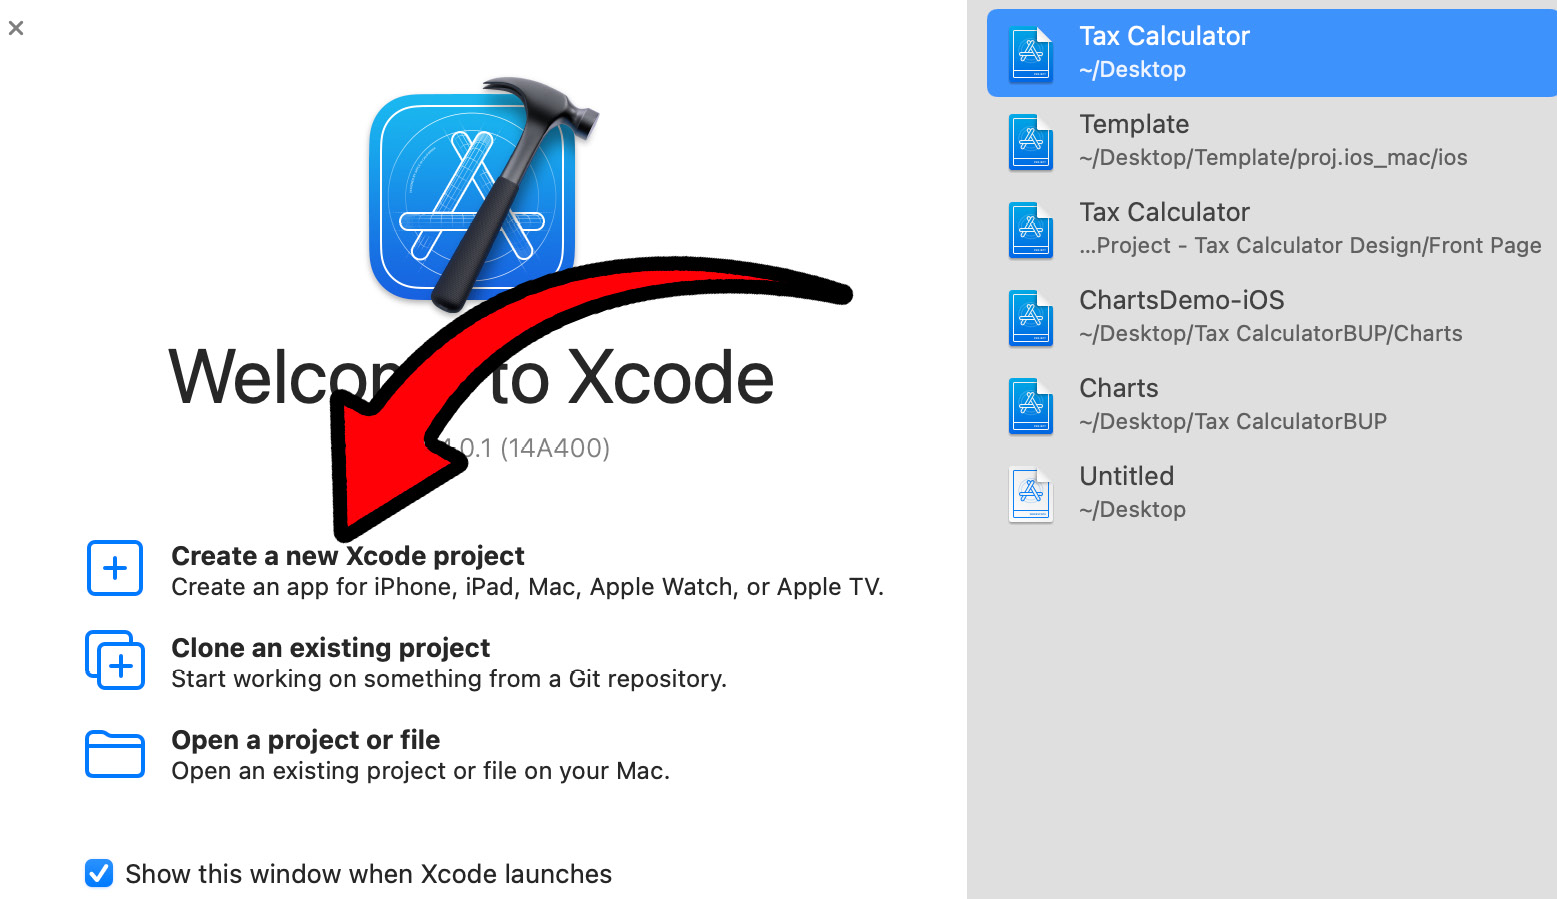
Figure 4.5 – Create a new Xcode project
- Now, we will choose the template for our application. As we are creating an iPad application, we will select iOS from the top, then select App, and click Next:
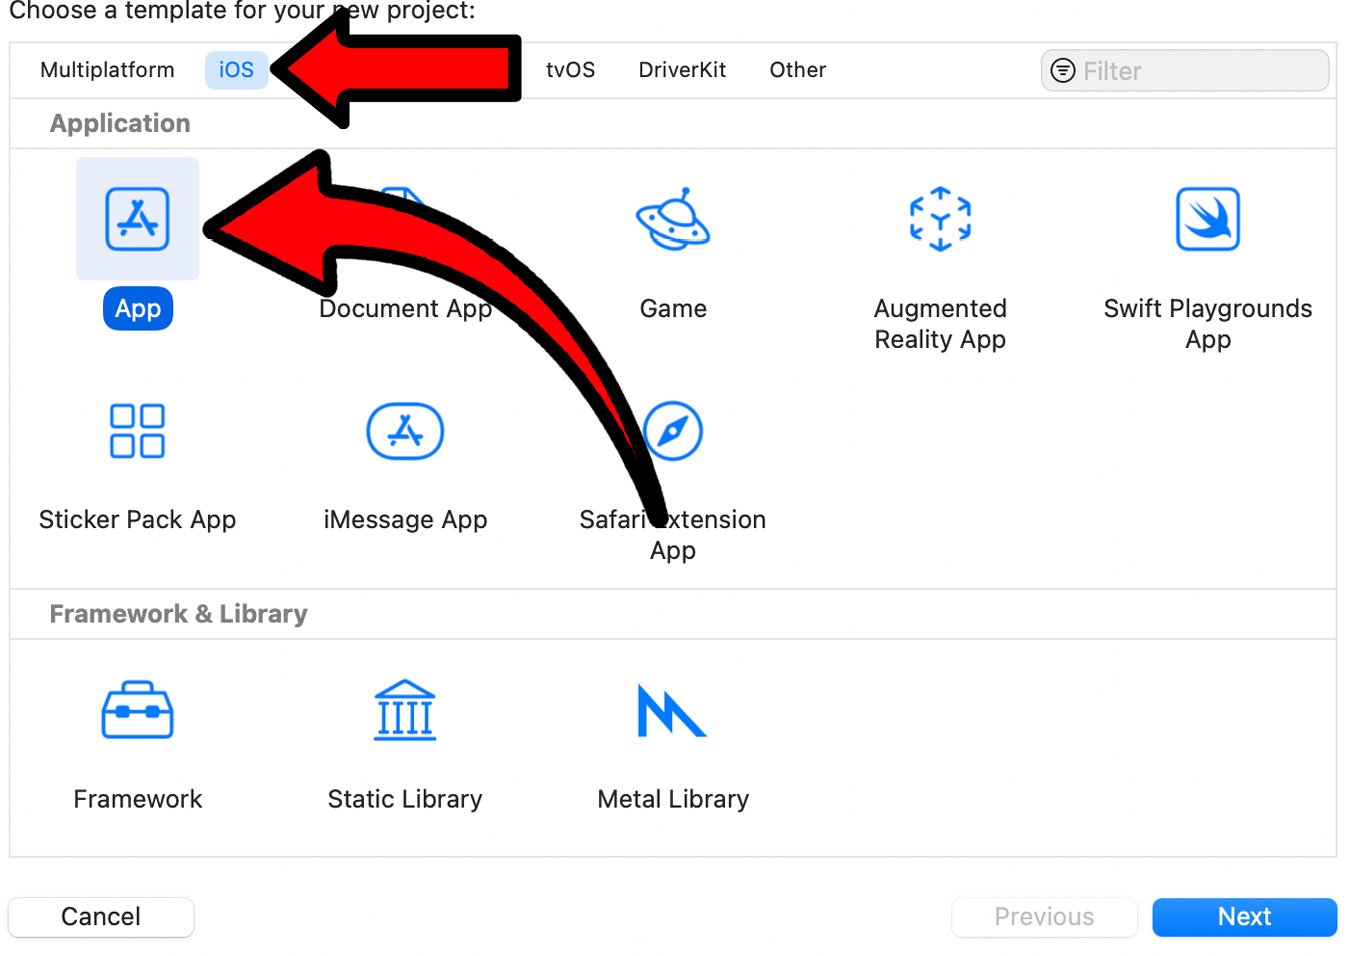
Figure 4.6 – Xcode project template selection
...