

AVDs are used to virtually test the app on your PC. You may not have different versions of Android with different screen resolutions. To overcome this issue, AVDs are used to virtually create a number of devices and test whether the app runs perfectly on a particular version of Android. One thing to note is that AVDs are much slower compared to physical devices. Now, let's create an AVD to test our Google Maps Android application. The AVD Manager looks a bit different in Android Studio than in the traditional one. There are two different targets of an AVD, they are:
Pure AOSP target, which does not contain any additional apps
Google API target, which has Google Play services preinstalled
The different architectures available are x86 and ARM.
In this section, we will set up AVD from the Android Studio IDE by performing these steps:
Open AVD Manager in Android Studio by navigating to Tools | Android | AVD Manager. The following window will appear:

AVD Manager
The following screenshot shows how to select the virtual device:

Selecting the virtual device
The next step is to select a system image. The following window will appear. Select a system image with the Google APIs target. The x86 system images have better emulation speed than an ARM system image. Then, select Next.

Selecting the API target
In the next screen, you can change some advanced settings. They are:
You can change the amount of RAM of your virtual device
You can change the internal and SD storage size
You can use your PC's webcam to support the Android camera
Enabling host GPU helps for better emulation speed as it uses your PC's graphics processor to render
The following screenshot shows these additional options:

Additional options
After changing the settings, finally select Finish. You will see a screen with a list of virtual devices created. To start a virtual device, press the green button under the Actions section.

Created AVD
It may take some time for the emulator to start according to the speed of your PC.
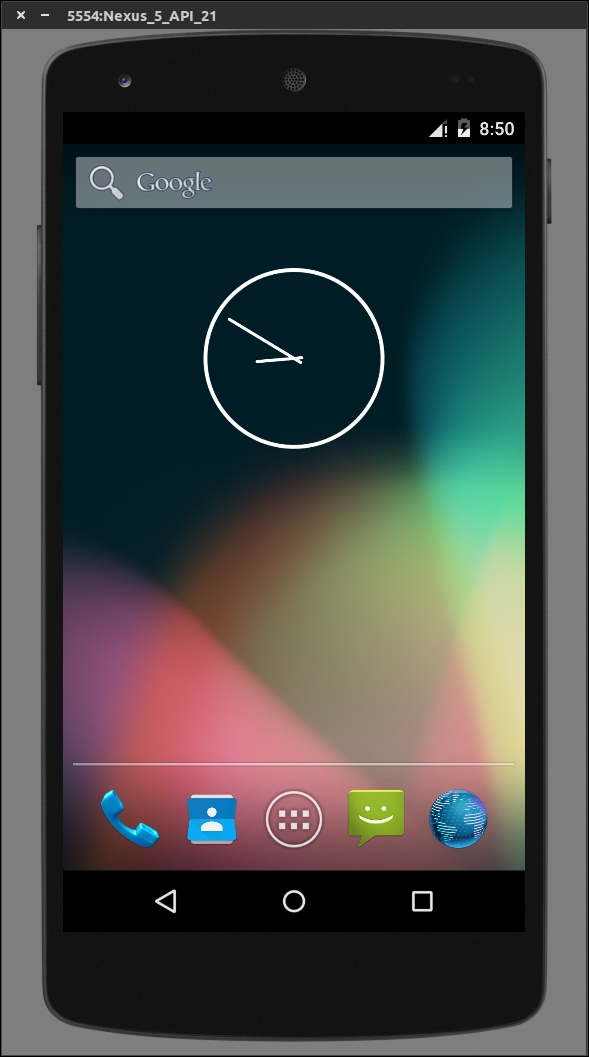
The preceding screenshot shows an emulator running Android Lollipop 5.0 with the Google API.
In this section, we will set up AVD from the Eclipse IDE by performing these steps:
Let's see how to create an AVD from the Eclipse IDE. Open the AVD manager in Eclipse by navigating to Window | Android Virtual Device Manager.
In the Android Virtual Device (AVD) Manager window, you will see the list of virtual devices created with the predefined device definitions.

AVD Manager
The following screenshot shows the AVD Manager with the device definitions:

AVD Manager with device definitions
To create a new virtual device, select a device configuration and click on the Create AVD button. The following window will appear. You can change the advanced configurations, amount of RAM, and so on.

Creating a new virtual device
Then, press OK. Your virtual device will be created. The following window will appear with the list of virtual devices created:

Created virtual devices that are listed
To start the virtual device, select a virtual device from the list and press the Start... button. The emulator will be running.