Book Image

Lua Quick Start Guide

By : Gabor Szauer
4 (1)
Book Image

Lua Quick Start Guide

4 (1)
By: Gabor Szauer

Overview of this book

Lua is a small, powerful and extendable scripting/programming language that can be used for learning to program, and writing games and applications, or as an embedded scripting language. There are many popular commercial projects that allow you to modify or extend them through Lua scripting, and this book will get you ready for that. This book is the easiest way to learn Lua. It introduces you to the basics of Lua and helps you to understand the problems it solves. You will work with the basic language features, the libraries Lua provides, and powerful topics such as object-oriented programming. Every aspect of programming in Lua, variables, data types, functions, tables, arrays and objects, is covered in sufficient detail for you to get started. You will also find out about Lua's module system and how to interface with the operating system. After reading this book, you will be ready to use Lua as a programming language to write code that can interface with the operating system, automate tasks, make playable games, and much more. This book is a solid starting point for those who want to learn Lua in order to move onto other technologies such as Love2D or Roblox. A quick start guide is a focused, shorter title that provides a faster paced introduction to a technology. It is designed for people who don't need all the details at this point in their learning curve. This presentation has been streamlined to concentrate on the things you really need to know.
Table of Contents (10 chapters)

Tools for Lua

A programming language relies heavily on the tools that support it. Lua files are plain text files. This means you can write Lua in any text editor you want, whether it is emacs, vi, Sublime Text, TextWrangler, or just the OS-provided basic text editor.

Because of the popularity of Lua, several IDEs, such as ZeroBrane Studio, Decoda, and LuaEdit, have been created for the language. An IDE is an integrated development environment. An IDE comes with everything you need to write, compile, and execute code. There are a number of advanced text editors that have varying levels of support for Lua:

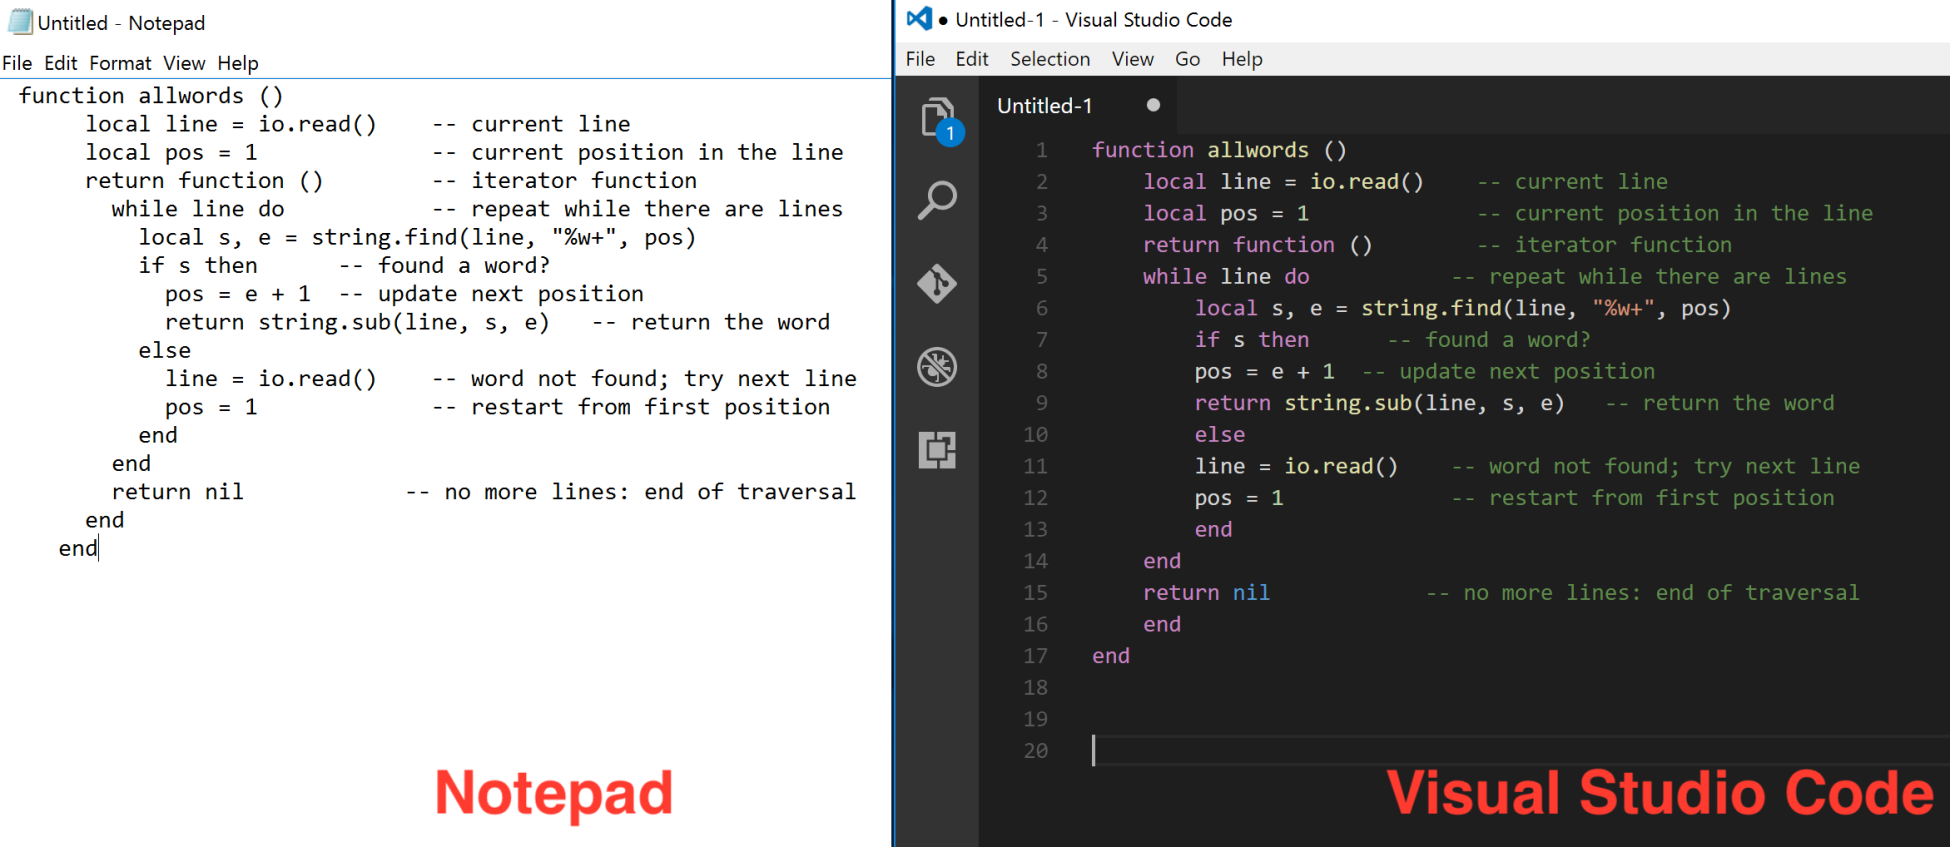
Throughout this book, we will be using Visual Studio Code. VS Code is a free text editor, which supports the Lua syntax with its default installation and works across multiple platforms. The version of VS Code used is 1.9.1, but future versions should work more or less the same way.

Installing VS Code on Windows 10

Setting up VS Code for Windows is very straightforward. The installer takes care of everything for you. These instructions are written for Windows 10, but the process should be the same on all versions of Windows:

  1. Go to http://code.visualstudio.com/ and download the VS Code Code installer for Windows.

  1. Once downloaded, launch the installer exe file. The default options are all valid, so you can hit Next all the way through the installer.
  2. Wait for the installer to finish the setup and exit the installer. There are no further actions to take.

Installing VS Code on macOS

These instructions are written for OSX High Sierra, but the installation steps should be the same on all supported versions of OSX:

  1. Go to http://code.visualstudio.com/ and download VS Code for macOS. This will download a zipped file named VSCode-darwin-stable.zip.
  2. Double-click the zip file to extract its contents. Drag the resulting Visual Studio Code.app file into your Applications directory.
  3. Once Visual Studio Code is in the Applications directory, it is installed, and there are no further actions to take.

Installing VS Code on Linux

These instructions are written for Ubuntu Linux 16.04. The steps needed to install Lua are the same for Ubuntu Linux 12.04 and higher.

  1. Go to http://code.visualstudio.com/ and download the Visual Studio Code installer .deb file. Take note of the name of the downloaded file; the version I am using is named code_1.9.1-1486597190_amd64.deb.
  2. Once downloaded, launch a new Terminal window. Navigate the Terminal to the downloads folder with the following command: cd ~/Downloads.
  3. Next, install the .deb file with the following command: sudo dpkg -i ./code_1.9.1-1486597190_amd64.deb. The filename might be different based on the version of VS Code you downloaded.
  4. Fix any missing or broken dependencies with the following command: sudo apt-get install -f.
  5. Visual Studio Code is now installed, and there are no further actions to take.

Exploring VS Code

It's important to be familiar with the tools you use. While Visual Studio Code is primarily a text editor, it does boast a rather large set of IDE-like features. VS Code can easily become overwhelming if you are not familiar with using it.

Visual Studio Code is a powerful text editor with many advanced features. If you are interested in learning more about the editor than this section covers, visit the online basics guide at https://code.visualstudio.com/docs/editor/codebasics.

Follow these steps to gain some familiarity and intuition with Visual Studio Code:

  1. When you open up Visual Studio Code, you are greeted with either the last open documents, the welcome page, or if you have no documents open and the welcome page is disabled, the default window.
  2. The icons on the left side of the screen make up what is called the View bar. Clicking any of the items on the View bar will cause a side bar to become visible:
  1. The first item on the View bar is the Explorer. You can use the Explorer to open a folder and View all of the files in that folder in one convenient list. We will use this feature of the editor throughout the next few chapters:
  1. The search item on the bar will let you search for and replace text in either open documents, or documents inside of the currently open folder.

  1. The GIT item on the View bar will only be available if the currently open folder is a git repository. VS Code has excellent git integration! While source control solutions such as git are outside the scope of this book, using some kind of source control is highly recommended:
  1. The DEBUG sidebar gives VS Code IDE features such as break points and a watch window:
  1. Finally, the EXTENSIONS item will show you a side bar that can be used to View, manage, and install new extensions in Visual Studio Code:
  1. To make a new file, simply select File > New File.
  2. This opens a new file, in a new tab. This file has no syntax highlighting yet. To assign a syntax, click on the Plain Text label in the bottom-right of the code tab, then select Lua (lua) from the drop-down menu that appears:
  1. If at any point you open a file and it does not have proper syntax highlighting, you can follow the previous step to force the file to have Lua syntax highlighting. In the previous step, we set the syntax of the file manually. If you save a file with a .lua extension, the next time the file is opened, it will automatically use Lua syntax highlighting.