-
Book Overview & Buying
-
Table Of Contents

Salesforce Platform Enterprise Architecture - Fourth Edition
By :
Salesforce Platform Enterprise Architecture
By:
Overview of this book
Salesforce makes architecting enterprise grade applications easy and secure – but you'll need guidance to leverage its full capabilities and deliver top-notch products for your customers.
This fourth edition brings practical guidance to the table, taking you on a journey through building and shipping enterprise-grade apps.
This guide will teach you advanced application architectural design patterns such as separation of concerns, unit testing, and dependency injection. You'll also get to grips with Apex and fflib, create scalable services with Java, Node.js, and other languages using Salesforce Functions and Heroku, and find new ways to test Lightning UIs. These key topics, alongside a new chapter on exploring asynchronous processing features, are unique to this edition. You'll also benefit from an extensive case study based on how the Salesforce Platform delivers solutions.
By the end of this Salesforce book, whether you are looking to publish the next amazing application on AppExchange or build packaged applications for your organization, you will be prepared with the latest innovations on the platform.
Table of Contents (23 chapters)
Preface

Part I: Key Concepts for Application Development
 Free Chapter
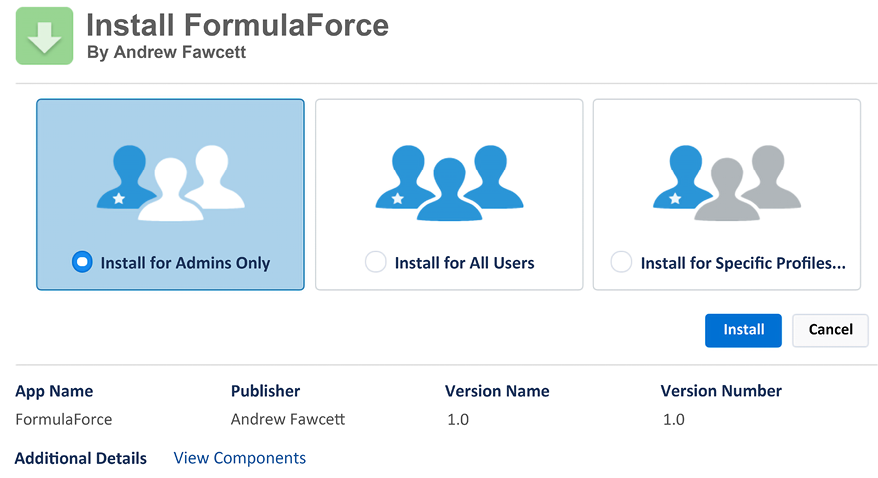
Building and Publishing Your Application
Leveraging Platform Features
Application Storage
Apex Execution and Separation of Concerns
Part II: Backend Logic Patterns
Application Service Layer
Application Domain Layer
Application Selector Layer
Additional Languages, Compute, and Data Services
Part III: Developing the Frontend
Building User Interfaces
User Interfaces and the Lightning Component Framework
Part IV: Extending, Scaling, and Testing an Application
Providing Integration and Extensibility
Asynchronous Processing and Big Data Volumes
Unit Testing
Source Control and Continuous Integration
Integrating with External Services
Adding AI with Einstein
Other Books You May Enjoy
Index