

If we want to animate the scene, the first thing that we need to do is find some way to rerender the scene at a specific interval. Before HTML5 and the related JavaScript APIs came along, the way to do this was by using the setInterval(function,interval) function. With the setInterval() method, we can specify a function that, for instance, would be called every 100 milliseconds. The problem with this function is that it doesn't take into account what is happening in the browser. If you were browsing another tab, this function would still be fired every couple of milliseconds. Besides that, the setInterval() method isn't synchronized with the redrawing of the screen. This could lead to higher CPU usage and bad performance.
Modern browsers luckily have a solution for the problems associated with the setInterval() function: the requestAnimationFrame() function. With the requestAnimationFrame() function, you can specify a function that is called at an interval defined by the browser. You can do any drawing that you need to do in the supplied function and the browser will make sure it is painted as smoothly and efficiently as possible. Using this is really simple (the complete source can be found in the example, 04-materials-light-animation.html); you just have to create a function that handles the rendering as shown:
function renderScene() {
  requestAnimationFrame(renderScene);
  renderer.render(scene, camera);
}
In the renderScene() function, we call the requestAnimationFrame() method again in order to keep the animation going. The only thing that we need to change in the code is that instead of calling the renderer.render() method after we've created the complete scene, we call the renderScene() function once to kick off the animation:
...
  $("#WebGL-output").append(renderer.domElement);
  renderScene();
If you run the given code snippet, you won't see any changes compared to the previous example, because we didn't animate anything yet. Before we add the animation, I want to introduce a small helper library that gives us information about the frame rate that the animation is running at. This library, which is from the same author as Three.js, renders a small graph that shows us the Frames Per Second (FPS) that we're getting for this animation.
To add this statistic, we first need to include the library in the HTML <header> tag:
<script type="text/javascript" src="../libs/stats.js"></script>
And we add a <div> element that will be used as output for the statistics graph:
<div id="Stats-output"></div>
The only thing left to do is initialize the statistics and add them to the <div> element as shown:
function initStats() {
            var stats = new Stats();
            stats.setMode(0);
            stats.domElement.style.position = 'absolute';
            stats.domElement.style.left = '0px';
            stats.domElement.style.top = '0px';
            $("#Stats-output").append( stats.domElement );
            return stats;
        }
This function initializes the statistics. The interesting part is the setMode() function. If we set it to 0 we'll measure the FPS, and if we set it to 1, we can measure the rendering time. For this example we're interested in FPS, so 0 it is. At the beginning of our anonymous jQuery function, we'll call this function and we've got the statistics enabled:
$(function () {

        var stats = initStats();
        …
}
The only thing left to do is tell the stats object when we're in a new rendering cycle. We can do this by adding a call to the stats.update() method and to the render() function as follows:
  function render() {
            stats.update();
            ...
            requestAnimationFrame(render);
            renderer.render(scene, camera);
        }
If you run the code with these additions, you'll see the statistics in the upper-left corner as shown in the following screenshot:
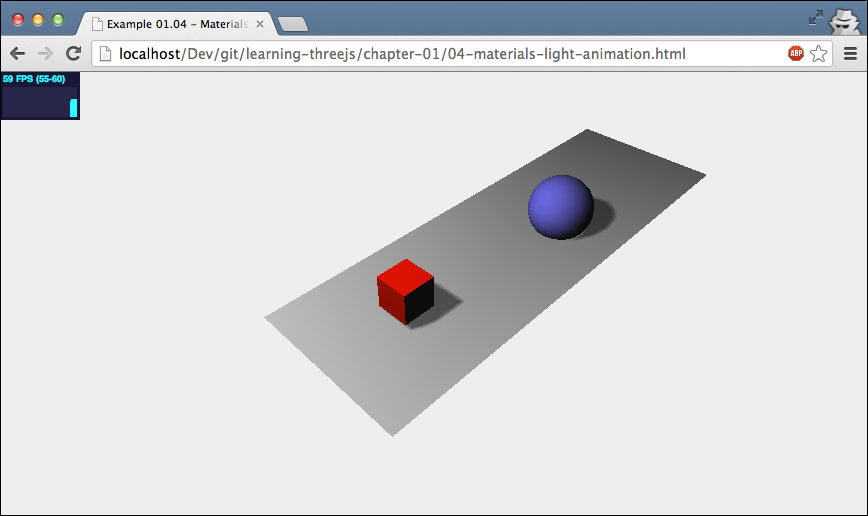
With the requestAnimationFrame() method and the statistics configured, we've got a place to put our animation code. In this section we'll expand the render() function with code that will rotate our red cube around on all of its axes. Let's start by showing you the following code:
function render() {
            ...
            cube.rotation.x += 0.02;
            cube.rotation.y += 0.02;
            cube.rotation.z += 0.02;
            ...
            requestAnimationFrame(render);
            renderer.render(scene, camera);
        }
That looks simple, right? What we did is that we increased the rotation property of each of the axes by 0.02 every time the render() function was called, which showed as a cube smoothly rotating around all if its axes. Bouncing the blue ball isn't that much harder.
To bounce the ball, we once again add a couple of lines of code to our render() function as follows:
var step=0;
function render() {
          ...
          step+=0.04;
          sphere.position.x = 20+( 10*(Math.cos(step)));
          sphere.position.y = 2 +( 10*Math.abs(Math.sin(step)));
          ...
          requestAnimationFrame(render);
          renderer.render(scene, camera);
        }
With the cube we changed the
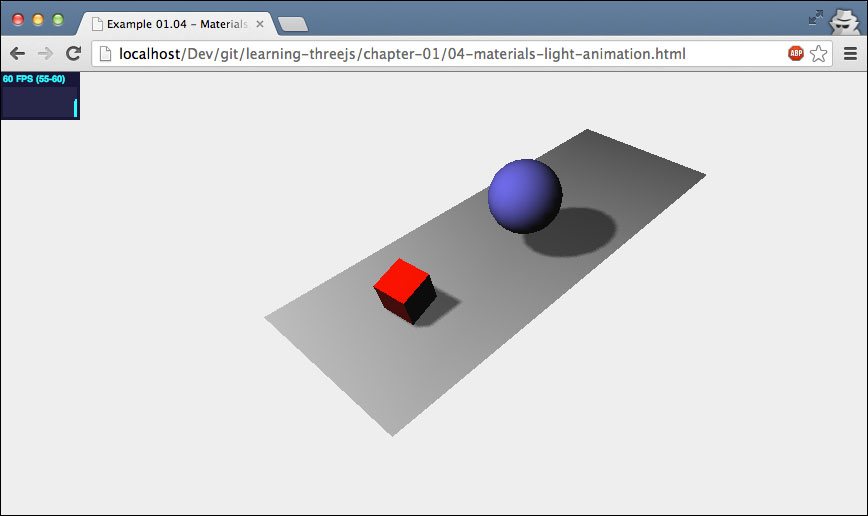
rotation property; for the sphere we're going to change its position in the scene. We want the sphere to bounce from one point in the scene to another with a nice, smooth curve.
For this we need to change its position on the x axis and its position on the y axis. The Math.cos() and Math.sin() functions help us in creating a smooth trajectory by using the step variable. I won't go into the details of how this works here. For now all that you need to know is that step+=0.04 defines the speed of the bouncing sphere. In Chapter 8, Creating and Loading Advanced Meshes and Geometries, we'll go into more detail of how these functions can be used for animation, and I'll explain everything. The following screenshot shows the scene with the animation enabled:
Before wrapping up this chapter, I want to add one more element to our basic scene. When working with 3D scenes, animations, colors, and properties like these, it often requires a bit of experimenting to get the correct color or speed. It would be very easy if you could just have a simple GUI that allows you to change these kind of properties on the fly. Luckily, there is one.