
A new way of creating
Before the changes to the editor in WordPress, creating and editing content was done using a simpler format with limited functionality. This editor, often referred to as the “Classic Editor,” while easy to use, was not very flexible and often made it difficult to create complex layouts and designs without using code or plugins. Often people would have to learn frameworks and systems to get simple tasks done, which on other platforms would be built-in. This meant that, for anything complicated, you would have to either learn coding or hire someone to assist you.
The world outside WordPress was starting to use block-based interfaces you could drag and drop, putting content at the heart of creating and empowering users through built-in tools. A decision was made that, to compete, the editor needed to change. This project was called Gutenberg, after Johannes Gutenberg, the printing press inventor, who revolutionized how information was shared and distributed.
Note
Gutenberg for WordPress was first introduced as a plugin in 2017 and later released into the product core in 2018 with WordPress 5.0.
This new editor made it possible to create much more complex and dynamic layouts and allowed users to interact with content blocks and styles without knowing the code.
There are several phases of this WordPress project, called Gutenberg, and so far, two have been completed: easier editing and customization. The current phase of the project is collaboration, and then multilingual.
It wasn’t just the interface that changed, though. The system of using blocks to create content, and the manner in which this was done, brought about a change in styling opportunities that were also drastically different. This allowed the creation of rich content that was flexible and available to a whole new range of people who were previously unable to use it due to the need for custom code or plugins. Here, as you can see in Figure 1.1, we have the editor itself. This is also known as the Block Editor when you are using blocks to create your site, not editing your entire site – where it would be referred to as the Site Editor.
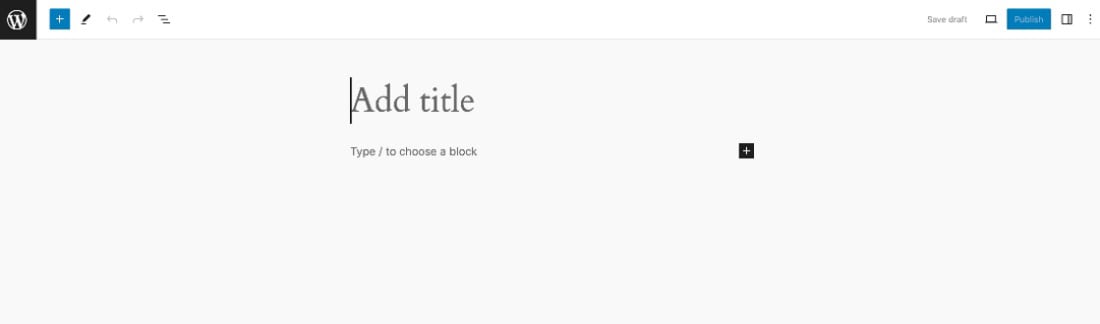
Figure 1.1 – WordPress Block Editor
The Block Editor has paved an entirely new way to create and style content within WordPress. Previously, where you needed to code, you can now add a block and style using design tools. This has been a foundational change in how things are created within WordPress.
Have you ever wanted to change something such as a font family or even something fancy, such as implementing some incredible duotone effect you’ve seen on images online? Previously, you’d have to do this using custom CSS or a plugin. This meant it was often inaccessible to many, yet it formed the basics of content creation – controlling simple styling.
One of the foundations of the work done in the first phase of the new editor was to bring the possibility of styling to more people. To do this, it had to go back to basics; it needed to start with the most simple format, that is, starting with blocks.
Note
If you are creating a new WordPress install, you most likely will have Twenty Twenty-Four activated by default at the time of this being published. What theme you use is up to you.
Throughout this book, we are going to be using default themes and alternating different ones all the way back to Twenty Twenty-Two. It’s useful to get to explore and know different ones, so as you walk through the examples, take time to get to know each theme also.
Discovering WordPress
In this book, there are many opportunities to follow along with examples. You can do that using your own site, often referred to as a local install or a demo site:
- Use WordPress Playground: This enables you to have a demo site, but is just in the browser, so anything you create will be removed each time. You can start trying this right here: https://wordpress.org/playground/.
- Install locally: This means having a server on your own computer you can use. There is a helpful guide on this within the WordPress handbook: https://make.wordpress.org/core/handbook/tutorials/installing-a-local-server/.
- Use hosting: You can have a website on a host and use file transfer, often even editing files through a hosting dashboard. Many hosts have “one-click” WordPress installs that make this easy for you too.
What is a block?
Blocks are the smallest unit of content and when combined they form the content or layout of a webpage. These blocks can contain text, images, videos, buttons, and many more types of content.
You can combine these blocks to create the structure and shape of your site, the same way you used building blocks as a child to play and build a variety of things. Within the editing interface, blocks can be added, removed, and rearranged using drag-and-drop or keyboard interactions.
They are a flexible and intuitive way to create content in WordPress without using any code. Blocks already come in the editor, but you can create your own with some coding or get them from the WordPress plugin directory.
Whatever you can think of – there is a block for that!
Discovering blocks in the editor
Finding blocks is done in several different ways; first, start typing. That’s it ... you’ve found your first block – the paragraph one. See Figure 1.2. Here, you can see the paragraph block added to the editor.
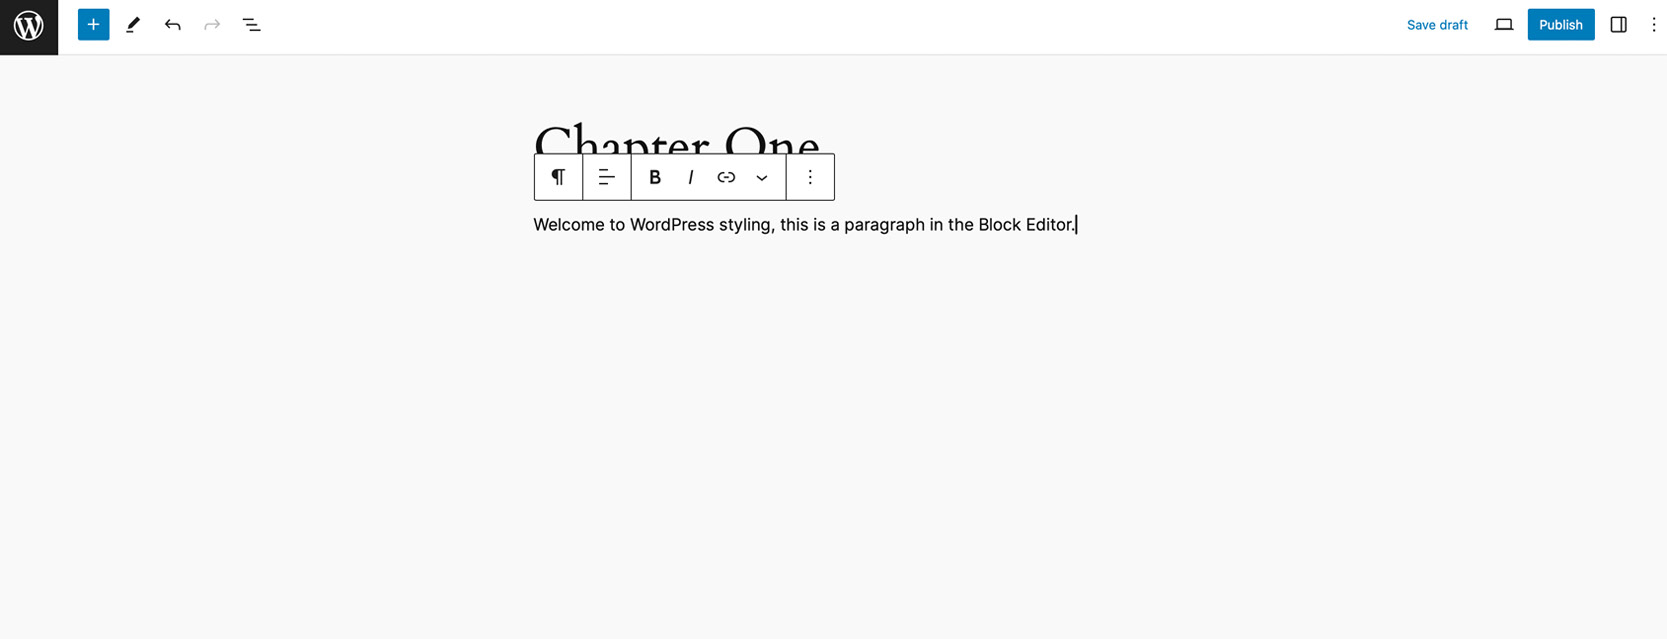
Figure 1.2 – The paragraph block
Want a header? Let’s do that together and show two methods of finding blocks.
Click the + icon, as shown in Figure 1.3, to browse whatever block you want and click and add it. The + icon is also known as the plus icon and enables you to add things to your content. It will appear in different places, as we will discover together now.

Figure 1.3 – Selecting a block from the block inserter
Here, in Figure 1.3, you can see the + icon appending blocks within the content. This appears just like the one in the toolbar to help you add content. You can also click Browse all to see the block library in its complete form, and even previews. See Figure 1.4.
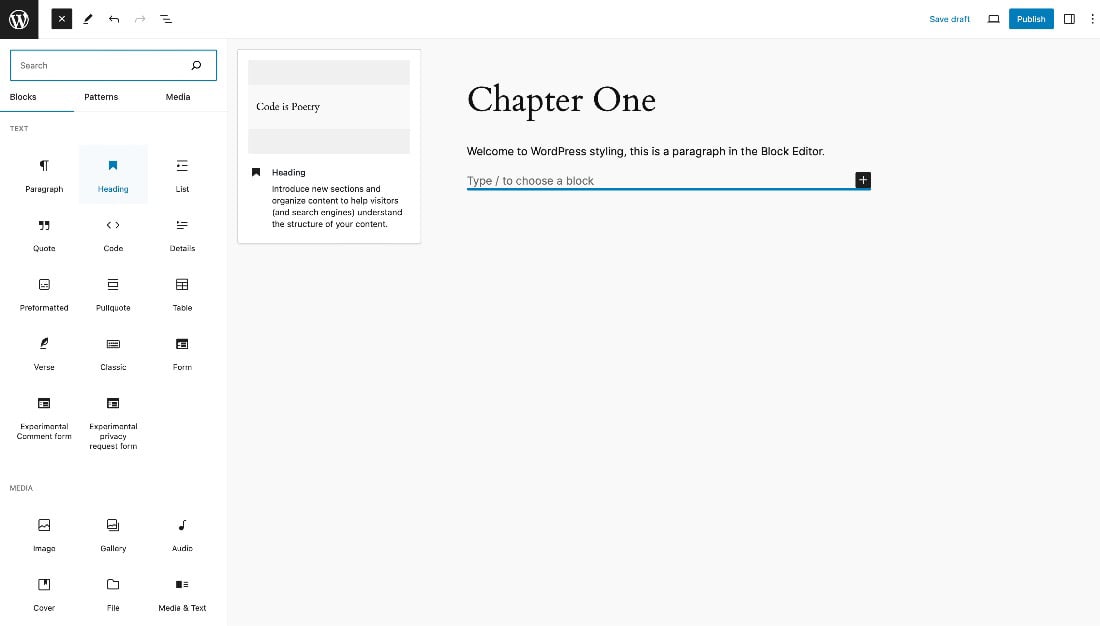
Figure 1.4 – Browsing the full block library panel
Click the block you want to add, and there you go.
Adding blocks faster
The / (forward slash) command is another easy way to add blocks. It allows you to quickly get the blocks added while you are in the flow of adding. In the following screenshot, you can see what you get when clicking /.
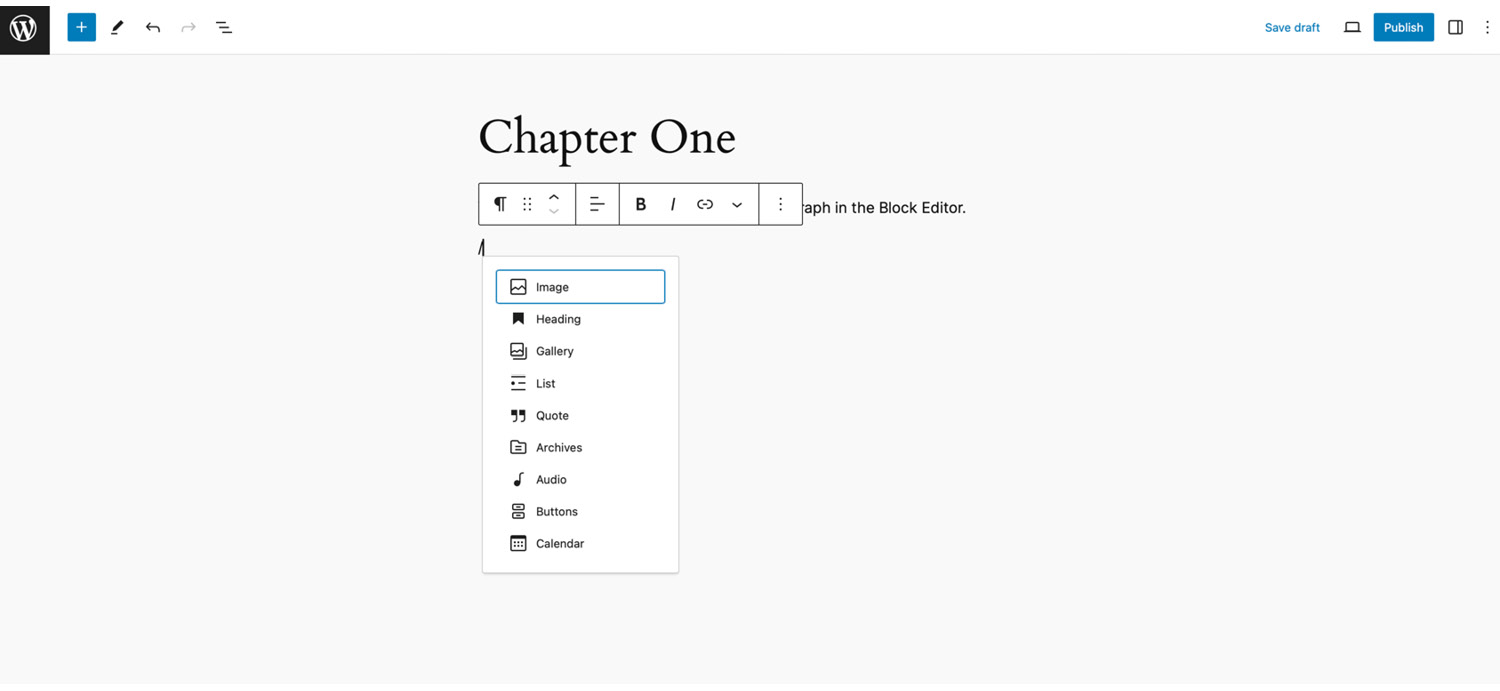
Figure 1.5 – Using / to add blocks
At times when you wish to focus on your writing, you can use the fullscreen mode (see Figure 1.5). This typically is your default view when first editing. In this mode, even with the sidebar visible to show the block’s properties, you get to use all the space on your screen.
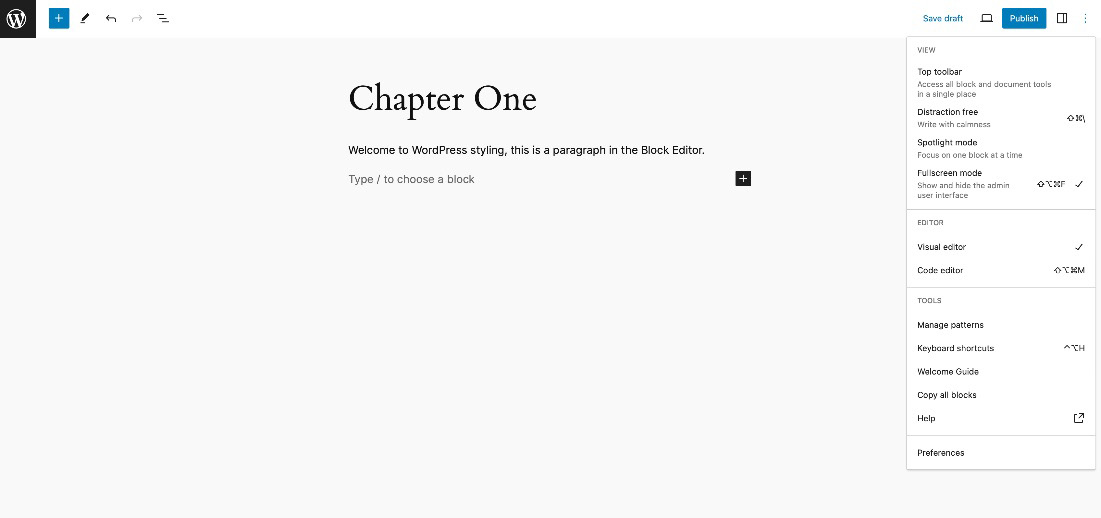
Figure 1.6 – Selecting fullscreen mode
Note
Under modes, you can adjust a range of options for your views. This way, you can customize your editing experience to how you want it. There is even Spotlight mode! Look at Figure 1.6. Using Spotlight mode and Distraction free, you can create an experience as shown in Figure 1.7. Have you ever wanted to see the outline of your content when in the editor? This handy little tip will allow you to do just that. Click Document overview, the stacked line icon, in the toolbar, and the following screen (Figure 1.7) opens; you can then navigate around it.
There is a lot you can do in this view, from grouping blocks to navigation and reordering.
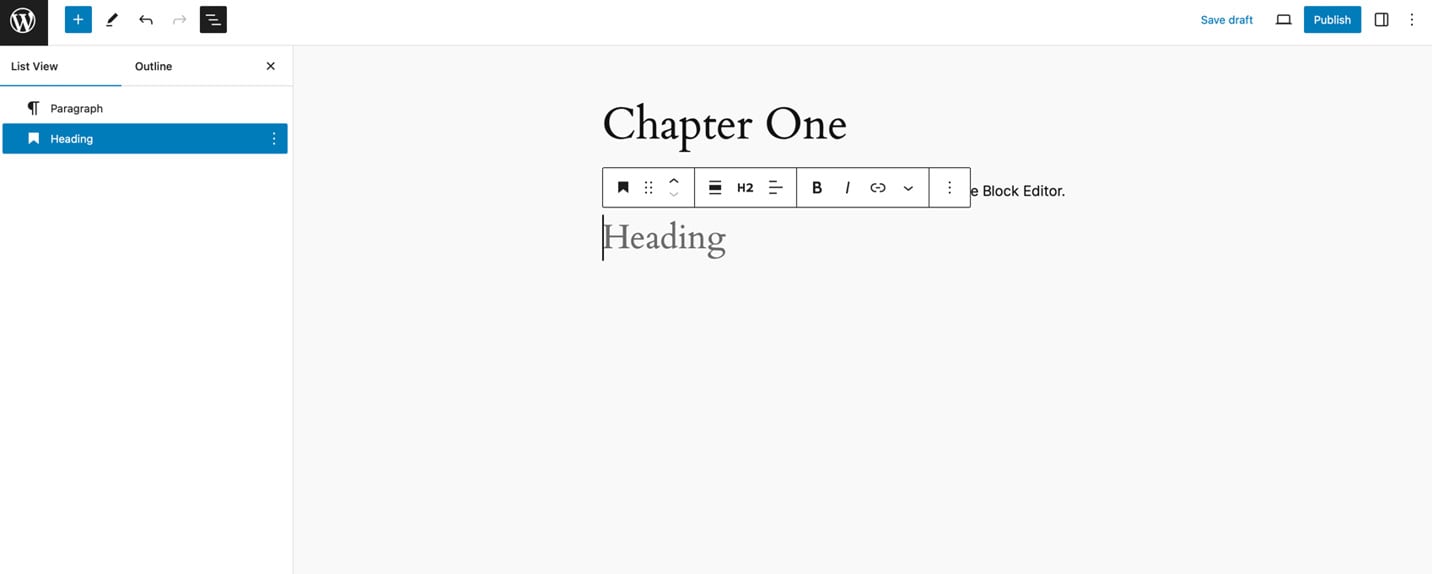
Figure 1.7 – List view within the editor
Want to know things such as stats – how much you’ve written, for example? No problem. Click the second tab, called Outline, as shown in Figure 1.8. You can also see useful heading structures, which really help SEO and accessibility.
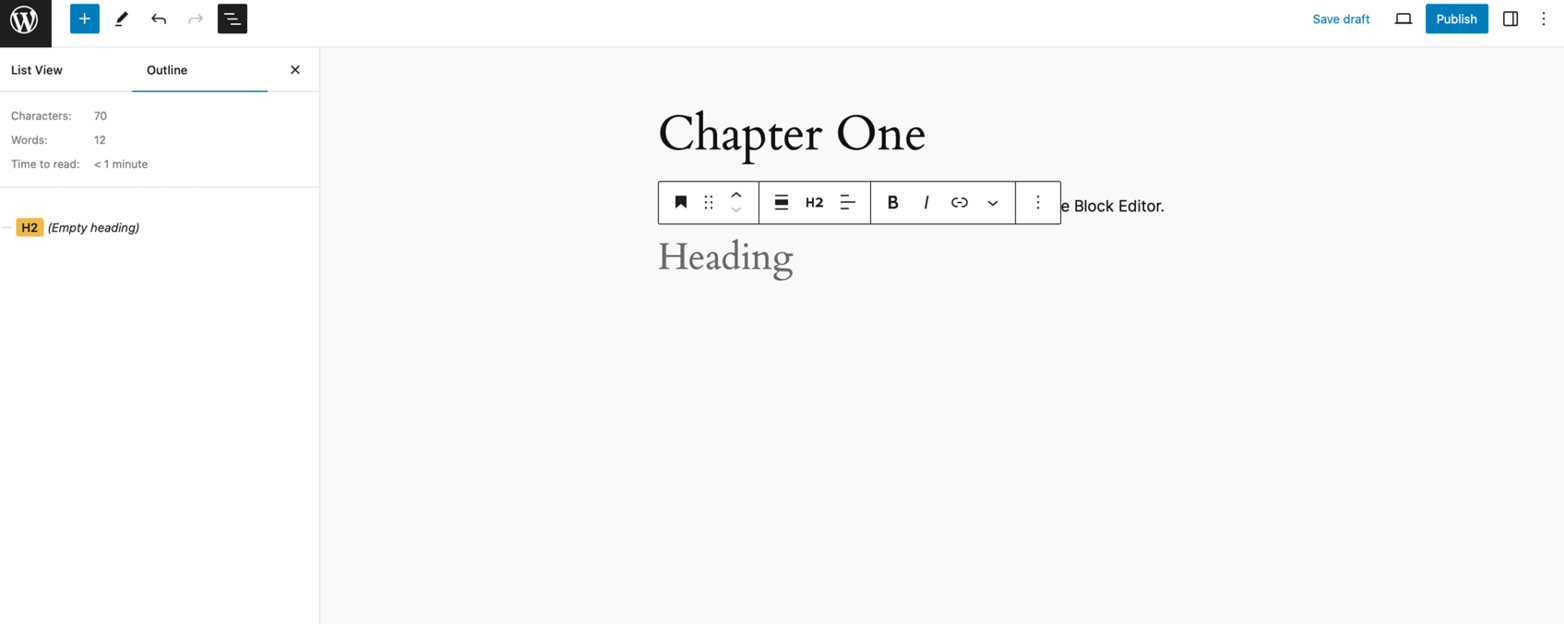
Figure 1.8 – The Outline tab
Blocks have several essential functions they all share. These can be found under block settings within the block toolbar. Let’s look into each block setting, one by one, as numbered in Figure 1.9.
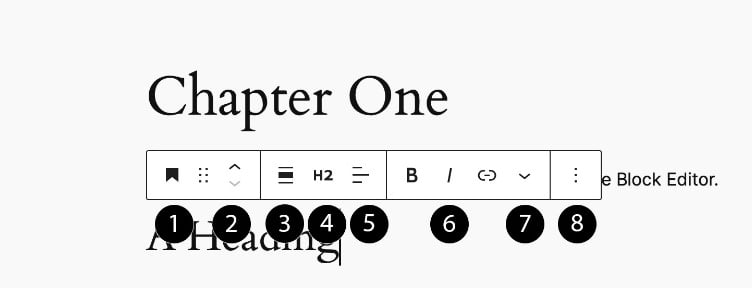
Figure 1.9 – Block settings
- Block label: What appears here depends on the theme and block. From quick transform to changing types, styles and patterns – you can access a range of helpful options.
- Movers and drag handles: This gives you the ability to grab the block to drag it up and down. Using the arrows is a way to click to reorder.
- Alignment: This is for the block itself.
- Block-specific controls: Here, headings can be changed to other heading levels (H1, H3, H4).
- Text alignment: This is for those blocks that are text.
- Text styling: Anything that adds styling to text, for example bold, italic, and linking.
- Additional tools: There is a dropdown that offers additional tools such as the use of footnotes, highlights, inline code, inline images, keyboard input, language, strikethrough, and sub and superscript. This opens the extra menus for text styling.
- More options: This is where you get block-specific controls for all blocks, for example, copy, duplicate, and add before/after. It also includes copy/paste styles, lock, rename, create pattern, move to, and edit as HTML, along with delete.
There is also a secondary place where you can find controls in the sidebar. To get there, you click the second icon from the right in the top toolbar, which is a rectangle with a smaller one to the side. See Figure 1.10. These block controls allow you to do extra things with a block that might be specific to it. They also have some styling options, which we will explore later.
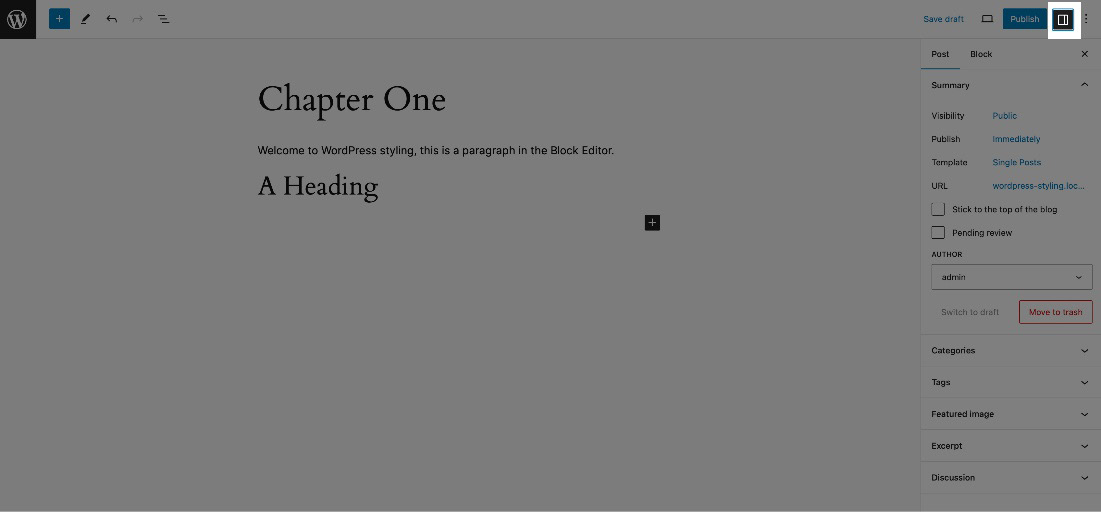
Figure 1.10 – Secondary block controls
Moving a block is easy; you use the movers. You must have selected the block to see these, with the keyboard or mouse.
In Figure 1.11, you can see there are arrows within the toolbar. These can be used to move the block and are called the block movers.

Figure 1.11 – Showing the block movers and the selection of a block
This isn’t the only way to move a block. Figure 1.12 shows using the “more” menu to move a block by selecting Move to. This is another option when looking to order your content.
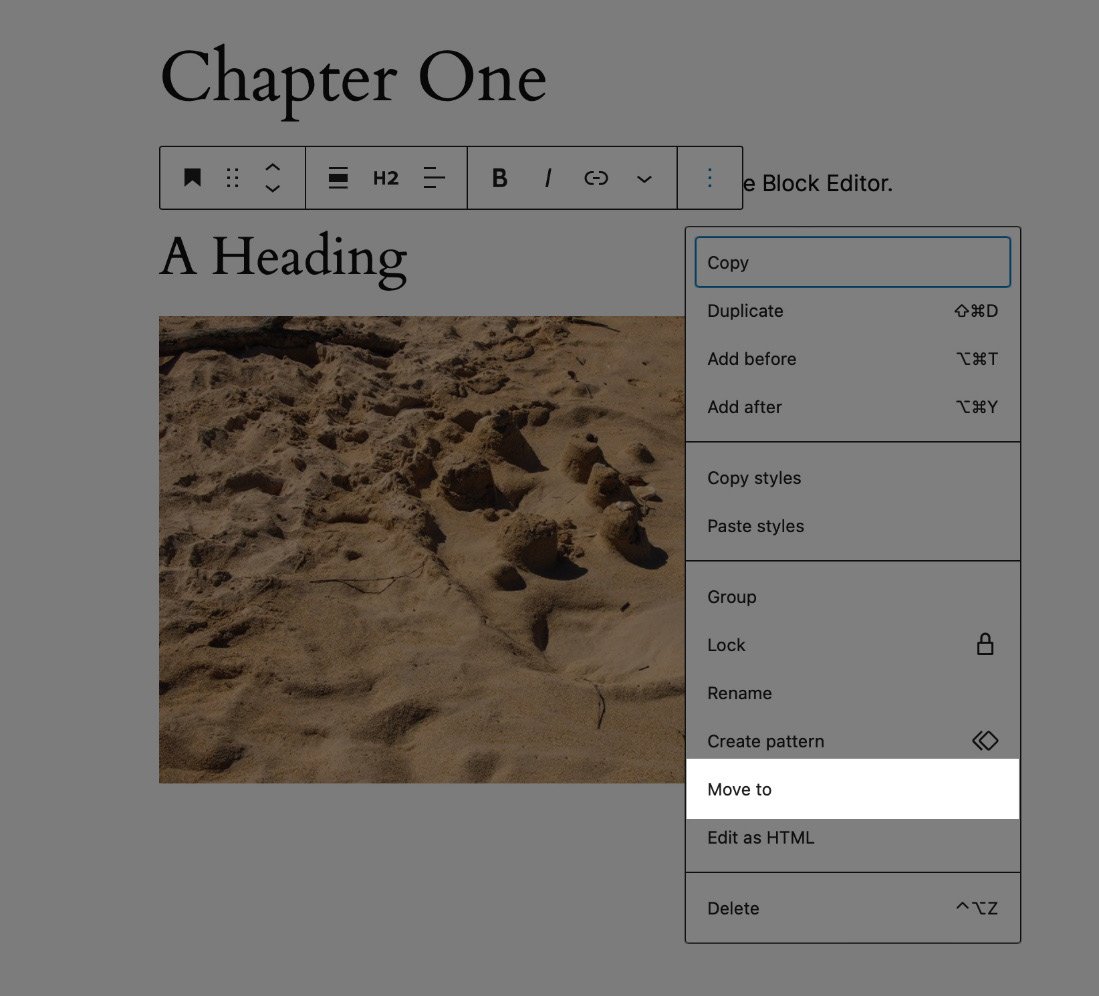
Figure 1.12 – Selecting and moving a block
As well as the arrows shown in the toolbar and the Move to option, there are even more ways to move blocks. You can move them using List View, which allows you to move them while seeing the entire overview. This can be found under Document Overview.
Now that we know what a block is, let’s find out what we can do with them by exploring the design tools.
Reset values
Within the editor, there is always the option to undo and redo; this is great as a step-by-step method of going back and forward. You can access that at the top of the editing screen, as shown in Figure 1.13.
Figure 1.13 – Undo and redo controls