
There are a number of bundled installers available for Windows which provide support for Apache, MySQL, PHP, and their administration. One such program is WampServer, which can be downloaded from the project website: http://www.wampserver.com/en/. There are versions for both 32 bit and 64 bit operating systems, so be sure to download the one for your operating system.
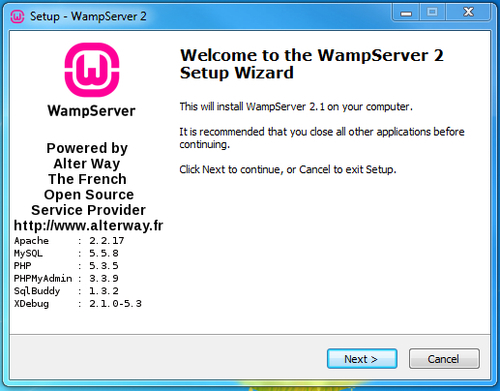
First things first, let's download WAMPServer from their website. Once downloaded, we then need to run the installer. The first stage of the installation is the standard overview screen, confirming that we are installing WampServer 2 on our computer, so let's click Next:
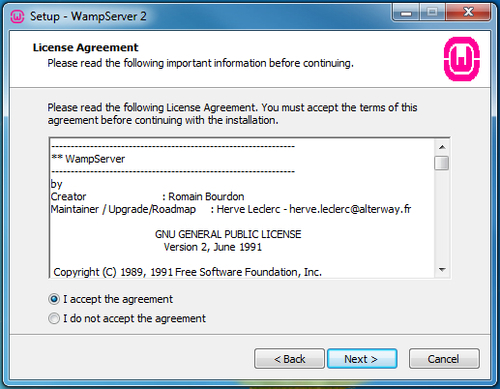
The next step is to read through the licence agreement which governs the software, select that I accept the agreement, and then click Next to proceed:
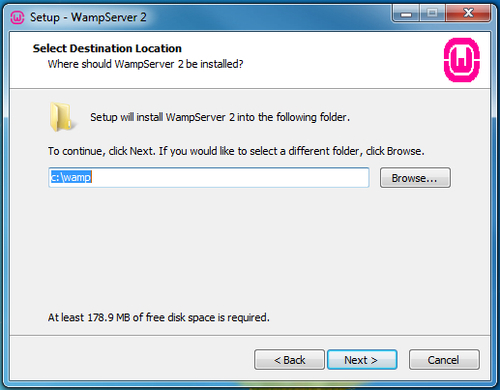
Next we need to select where we want to install WampServer, and click Next again:
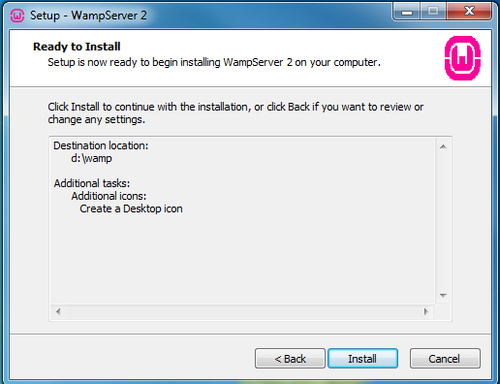
Before installing on our computer, WampServer then presents us with a review of the options we have selected to confirm; once we are happy with the details we click Install to start installing WampServer on our computer:
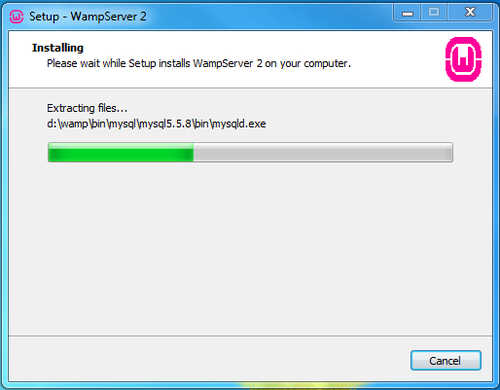
WampServer then starts installing; this process typically takes less than five minutes:
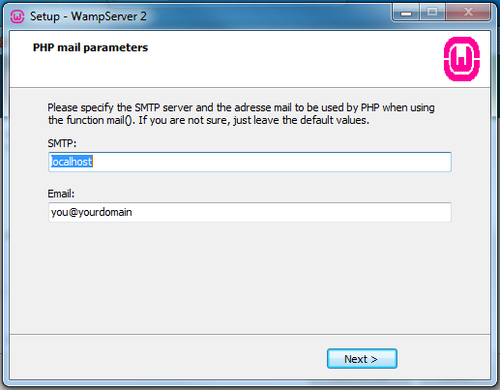
Once the installation has completed we are asked to confirm our primary web browser, by default it has selected Internet Explorer; if we are happy with that we should click Open. Otherwise we should browse for an alternative browser first. Next the installation asks for details for PHP mail; on most installations we won't be able to send mail from PHP scripts because we have no mail server installed, so just click Next:
We now have WampServer installed; if we click Finish, WampServer will start:

Tip
Apache not starting?
If WampServer won't start (the icon in the system tray will be red or orange), this is likely because something else is utilizing the computer port Apache runs on (port 80). Programs such as Skype do this, so you may need to close other applications before trying to start WampServer.
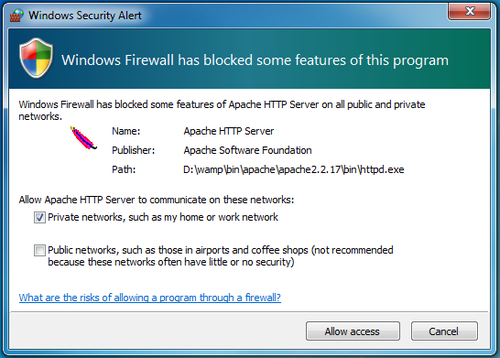
When WAMPServer starts for the first time, we will be prompted by the Windows Security Alert to allow apache to communicate over our network.
Now we have WampServer installed on our local computer; let's take a brief look at it, and then enable the PHP GD module and the rewrite the module for Apache.
When WampServer is running it is displayed in our computer's system tray alongside the clock. Clicking the icon displays a menu where we can configure our server, and start or stop various services:

Putting the server online would allow web pages on our computer to be accessible to other computers on our network, and potentially via the Internet. We can quickly start, stop, and restart the services, configure each of them, quickly open the folder containing our websites files, and quickly open our website or database manager in a web browser.
Within the WampServer menu the Apache, PHP, and MySQL options allow us to configure the various services. We can install modules and add-ons to the different components, or we can edit the configuration files for them.
There are two main features we will need enabled:
GD for PHP
Rewrite_module for Apache
Tip
Configuration Files
The files my.ini, php.ini, and httpd.conf are the configuration files for the three services; although we shouldn't need to edit these for our website, it is important to know where they are, in case we do need to change them later, as they control a lot of how the software works. These three files control a lot of how the software works and there is more information is available on their respective websites for the functions of each of the files. We can use the php.ini file to allow larger files to be uploaded by editing the upload_max_filesize and max_post_size sections to support larger files.
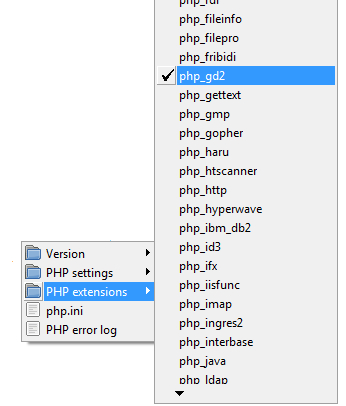
PHP's GD2 module is a graphics library that allows PHP to easily manipulate and manage images, including resizing images, recreating images, adding watermarks to images, and so on. Drupal has a number of image features which require an image module to be installed with PHP. By default, GD2 is installed with WampServer, but it is important that we check this and know where the setting is.
PHP's modules are enabled and disabled by clicking the WampServer logo in the system tray selecting PHP and then PHP Extensions.
From here we can enable or disable the GD2 extension:
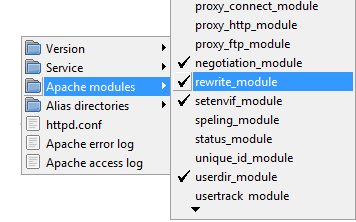
Apache has a module called rewrite which allows it to rewrite URLs, in particular to make them more friendly by rewriting URLs such as /home/about to index.php?q=home/about.
A number of Drupal's modules make use of this feature if it is available, so let's enable it! It can be enabled from Apache modules within the Apache menu: