

Earlier, we installed our build script along with the HTML5 Mobile Boilerplate. We'll now explore the build script a bit further by customizing it for our purposes. We'll need to make sure our styles, scripts, images, and markup are optimized for deployment. It will also be necessary for us to set up multiple environments to test our application thoroughly.
Let's start by configuring the build script for our needs, this way we'll have a custom build script that works for us and gets us going immediately.
First, let's make sure our scripts get concatenated and minified. So let's open all our index.html files and wrap all our scripts at the bottom of the page with the following comments:
<!-- scripts concatenated and minified via ant build script-->
<script src="path/to/script.js"></script>
<!-- end scripts-->
The previous comments are used by the ant task, or build script, to find all JavaScript files being used, concatenate, and minify them. The process will also use a timestamp for the newly optimized JavaScript file in order to bust caching on the server.
By default, the Ant Build script minifies and concatenates our styles. However, if we want to retain comments that identify a particular section of our app, such as the video or audio section, then we need to do something that will keep those comments.
The comments can be used to identify a section, and it can be written as follows:
/*!
  Video Styling
*/
Write the previous comments for each stylesheet.
We then need to add each of our stylesheets to the project properties so that each can be minified by the YUI compressor. To do this, we need to open up the project.properties file located in /build/config.
Then find the following line:
file.stylesheets =
Once we've found that line, let's add all our css files as follows:
file.stylesheets = audio.css,forms.css,location.css,singlepage.css,touch.css,video.css
Note, that there are no spaces after each file. This is necessary for the build script to process.
This is all we need to do at the moment for optimizing our styles.
Typically a project will run on a development, test, and production environment. The test environment should be closest to production in terms of configuration, allowing us to effectively reproduce any issues that might come up.
In order to build our environments correctly, let's go through the process of building our project. First, let's open up Terminal, a program that allows you to interact with the operating system of any Unix style computer through a command-line interface.
Once the terminal is up and running, we have to navigate to our project. Here are a couple of commands that will help you navigate:
cd /somesite
The previous command means we are changing our directory from the current directory to the somesite directory, relative to where you're now.
cd ../somesite
This command tells us to change the directory, but going up a level with ../ and then going into the somesite directory.
As an easier example to understand, my project exists in /Sites/html5iphonewebapp. So what I can do is use the following command to enter my project:
cd /Users/somuser/Sites/html5iphonewebapp
This changes the directory for me to the project where I am developing this application.
Once we've entered the project directory, we can start building our project. By default, the Ant Build script creates a production environment, which optimizes all parts of the process.
ant build
This command tells us to build our project, and as explained creates our production version in a directory labeled publish. You will also notice that when you run that command, your terminal will update, letting you know what step in the process the build is in.
Once the build is complete, your directory structure should look similar to the following screenshot:
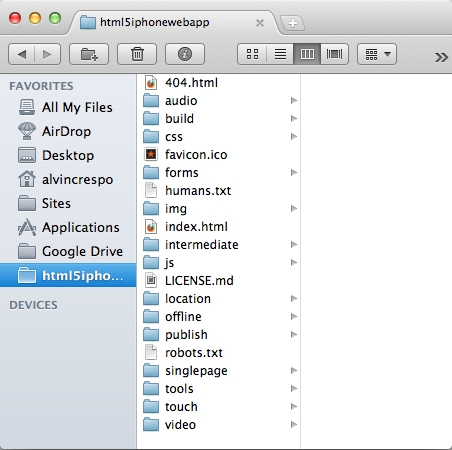
The publish directory represents the production environment. You will also see that an intermediate directory has been created; this is your test environment.
However, let's say you wanted to have full control of the build and wanted to create your environments manually, then one can do the following in the terminal:
ant build -Denv=dev
This command, ant build –Denv=, lets us define which environment we want to build and does it accordingly.
We now have a project that is ready to be built upon. There were many steps in this process, so I encourage you to practice this process in order to develop a good architecture and deployment process that works for you and/or your team.