

To sign on to App Inventor, go to http://appinventor.googlelabs.com.
Note
This URL will be changing sometime soon, but a redirect should be available. If asked, log in with your Google account information again—once logged in, you'll be remembered, and logging in should be automatic. The first time, you'll also be asked to agree to the Terms of use).
Once logged in, you will see something like the following screenshot. This is mine, so it has some ongoing projects listed; your first-time entry will, of course, have no projects listed yet.
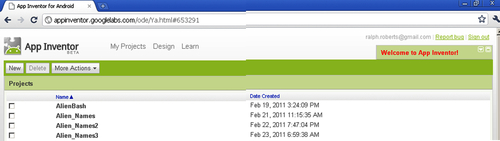 |
We have now entered the area where apps are designed.
This area contains the App Inventor Designer, which allows us to choose and place components (items such as buttons, sound players, labels, and so on. Chapter 2, Learning Components covers components in detail). It also stores projects for us (four of mine may be seen listed previously).
Left-clicking on a project's title opens it up for editing in the Designer. Or, a new project may be started by clicking on the New button. Clicking on Design just to the right of the App Inventor Beta logo opens the last project we were working on.
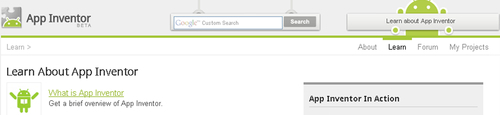
Left-clicking on Learn opens up the informational part of the App Inventor site (see the following illustration):
 |
Let's look briefly at the four buttons on the upper-right under the little Droid holding the Learn about App Inventor sign. We'll click on each of these in turn and introduce the area they bring up.
About: Clicking on this button takes us to introductory material and links to more information (see the lower part of the following screenshot) such as Learn to Invent, Connect with Other Users, and Get Help.
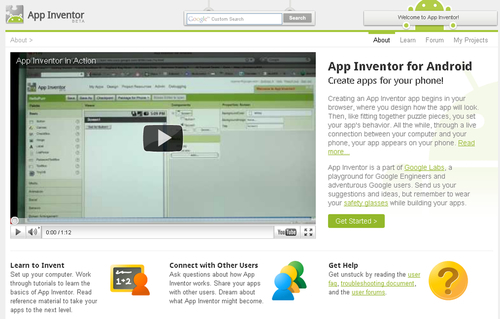 |
The App Inventor in Action video is a quick watch that gives a feel for how App Inventor works.
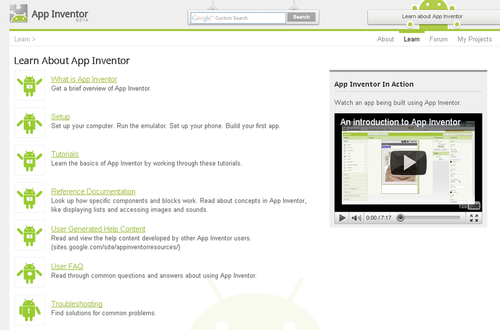
Learn: Clicking on Learn gives us links (shown in the next screenshot) to tutorials, setup information, reference documentation, user-generated help and tutorials (this section is gold-lots of good stuff and always growing), FAQs (Frequently Asked Questions), and troubleshooting hints (gee, not even all of my apps work the first time).
The video on the following screenshot—An introduction to App Inventor—is just over seven minutes long and a nice little intro to how App Inventor works.
 |
Forum: The Forum shown in the next screenshot allows us to interact with other users of Google App Inventor as well as some of the Google development staff. A place to both ask and (as our own knowledge grows) answer questions.
 |
My Projects: Which brings us back to the area where all the good stuff happens—our own projects.
Remember the little random number example program in the Preface? I showed you the blocks for it then. Well, below, in the Designer, is how I set the font size, color, and placement of the button (the components) of the app.
 |
We'll be spending quality time during the course of this book in both the App Inventor Designer (previous screenshot) and the Blocks Editor (following screenshot).
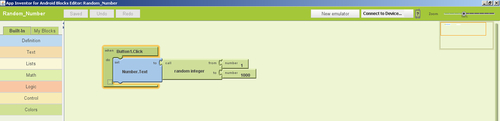 |
Anyway, explore the Google App Inventor site at your leisure, but, for now, on with installing our working environment.