-
Book Overview & Buying
-
Table Of Contents

Articulate Studio Cookbook
By :
Articulate Studio Cookbook
By:
Overview of this book
More and more companies find they need to build their training courses internally. They are turning to tools like Articulate Studio because it is easy to use and doesn't have a steep learning curve. If you are familiar with Microsoft PowerPoint in any way, you should feel right at home with Articulate Studio."Articulate Studio Cookbook" will get you ready to add Articulate Studio to your enterprise toolkit. This book gives you detailed yet simple steps to complete your training course. By following the clear steps in each chapter, you will gain an understanding of the software but also be able to complete specific tasks and common activities.The good thing about this book is that you can start anywhere and get the information that you need for a specific activity. Cross-references are provided if there is a skill located elsewhere that you need to complete a task.It can be frustrating to pick up a new piece of software and not know where to begin. With Articulate Studio, there is a whole suite of software to work with. You need to know how to work with Presenter, Engage, Quizmaker and Encoder to make great Articulate courses. Then, you'll need to know how to put them all together in a way that makes a professional looking, cohesive and smooth-flowing course. We'll make it easy to follow step by step until you have a professional course."Articulate Studio Cookbook" will help you go from Studio newbie to Studio guru. Dive in and choose your recipe.
Table of Contents (15 chapters)
Articulate Studio Cookbook

Credits
About the Author
About the Reviewers
www.PacktPub.com
Preface
 Free Chapter
Getting Started with Articulate Suite
Create Your Course with Presenter
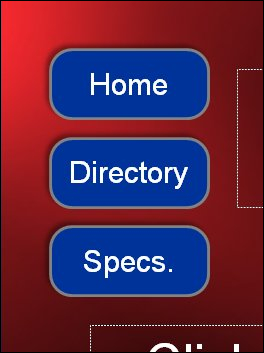
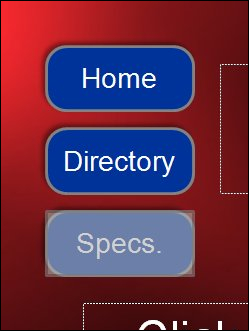
Preparing Your Player
Creating Assessments and Courses with Quizmaker
Taking Your Quiz to the Next Level
Creating Interactive Content with Engage
Basic Video Editing with Video Encoder
Combining All Three
Index