

Getting started with apps for Xamarin.Forms is very easy. The installer sets everything up, the IDE creates the project, and you're up and running in minutes! Lean!
Before we can start creating cross-platform apps, we need to get our tools in place using a single installer from Xamarin:
Go to http://xamarin.com/download
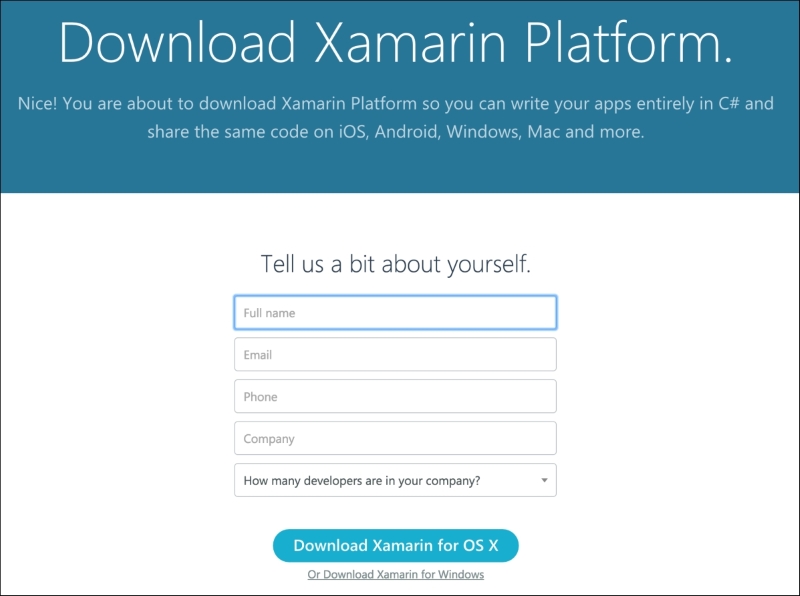
Enter your registration details.
Click the Download Xamarin for OS X button.
Once the download has completed, launch the installer, following the onscreen instructions. The setup will continue to download and install all the required components.
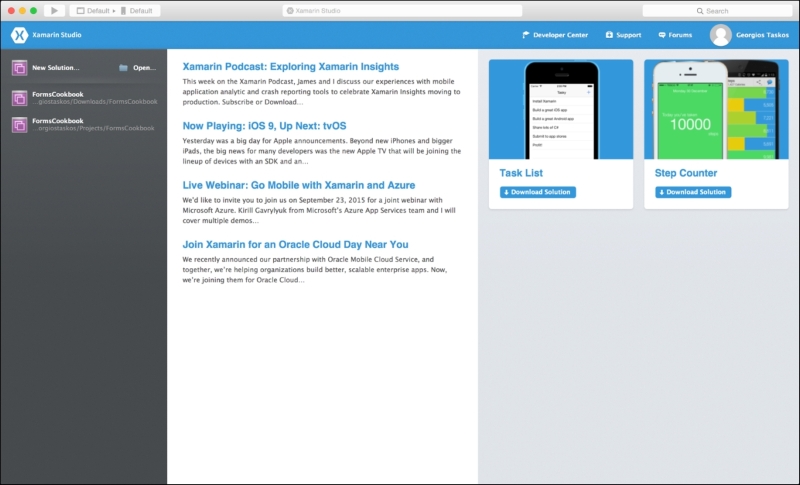
Once the install is finished, you will have a working installation of Xamarin Studio, the IDE designed for cross-platform development:
Creating a Xamarin.Forms solution is easy using the default templates in Xamarin Studio or Visual Studio. Depending on the IDE, you will get three (Xamarin Studio in Windows), four (Xamarin Studio in Mac), and four (Visual Studio) projects. Of course, you can open the solution in the desired IDE and add the projects missing while moving forward with development. In this section, we will create a Xamarin.Forms blank application in Xamarin Studio for Mac and then add the Windows Phone project in Visual Studio.
In Xamarin Studio, choose File | New | Solution, and in the Cross-platform section, App category, you will see two options: Blank Xamarin.Forms App and Single View App, as shown in the following screenshot:
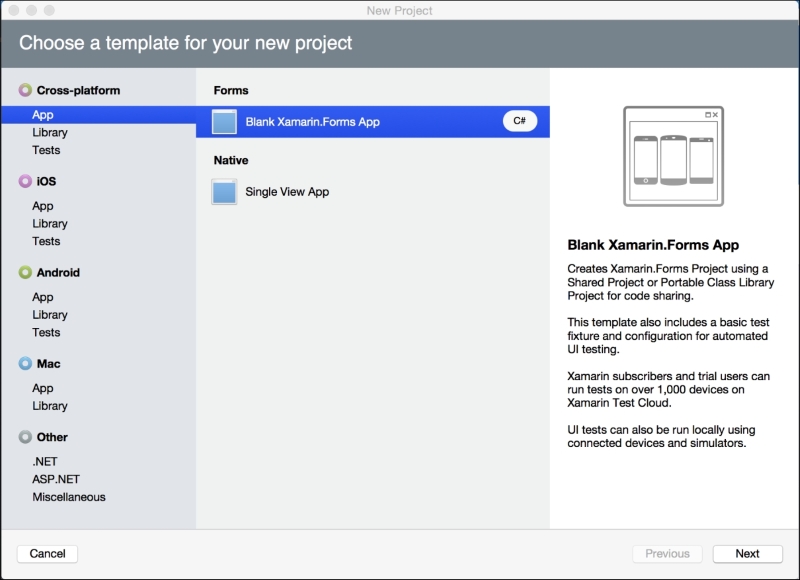
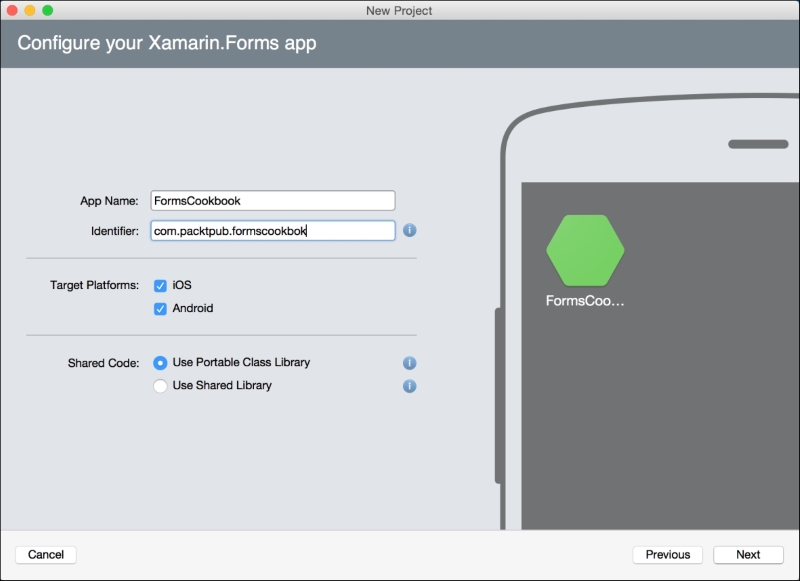
Choose Blank Xamarin.Forms App and click the Next button. You get to a screen with the options App Name, the name of your applications, and Identifier, which will be used as your package name for Android and the bundle identifier for iOS and the platforms you want to target.
The last option is if you want to use a Portable Class Library or a Shared Library as shown in the following screenshot. Shared Library will create a project that uses conditional compilation directives and it will be built in your main binary. With a Portable Class Library, on the other hand, you get to choose a profile you want to target and also distribute it via NuGet or the Xamarin Component Store. In this book, we only focus on the option of a Portable Class Library and its corresponding patterns and practices.
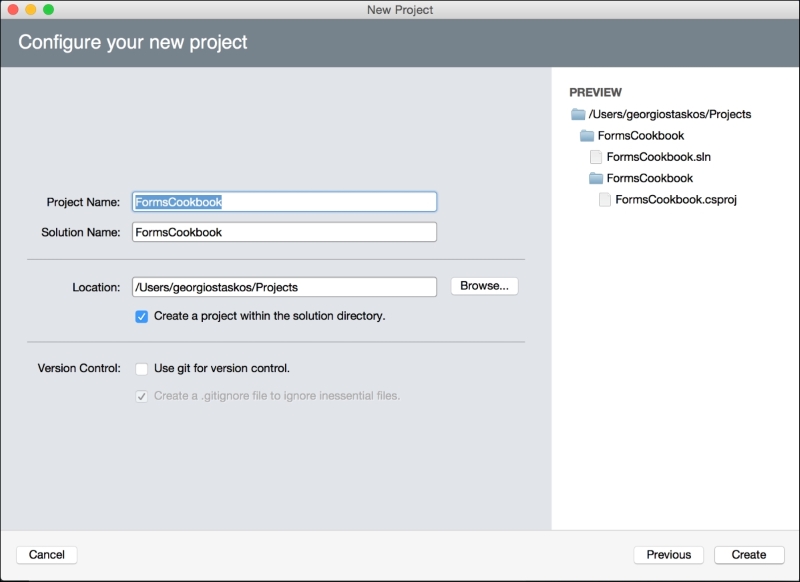
Click the Next button. Enter the project name, which will be used to create the names for each platform-specific project with the convention [ProjectName].[Platform] and a solution name as shown in the following screenshot. You can choose where to save the solution and if you want to use Git version control.
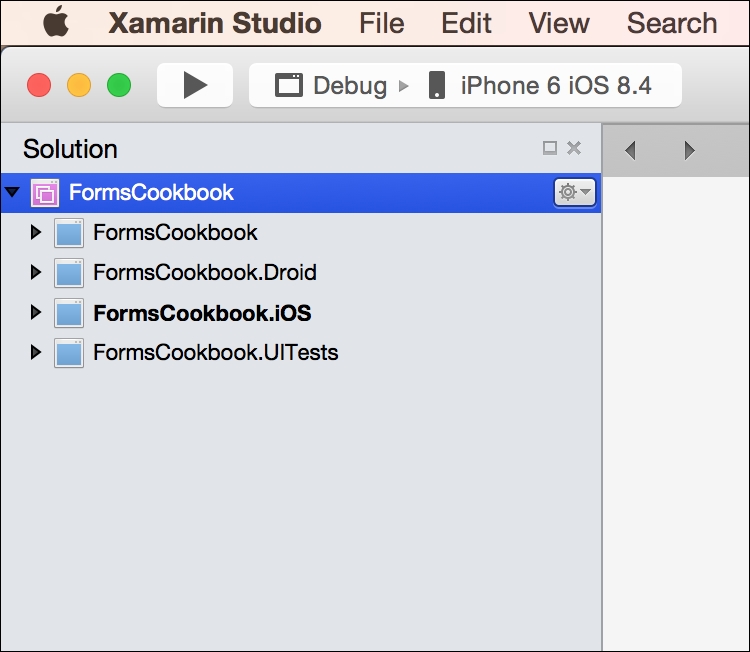
Click Create. Notice that we have a solution with four projects. You will learn later in Chapter 10, Test Your Applications, You Must how to create tests for our solution. This project is created only if we create the solution with Xamarin Studio.
With no hesitation, choose your iPhone simulator and click the play button. You will see the simulator starting and a simple app running with the message Welcome to Xamarin Forms!. Congratulations, you can do the same for Android by right-clicking in the project and Set As Startup Project. For Android projects, you can use either Google's emulators or the Xamarin Android Player, https://xamarin.com/android-player, which personally I find more efficient and faster. Click the play button and enjoy the same message in your favorite emulator.
Sweet! Three clicks and we have an application running in iOS and Android! Now, before we examine the project structure, let's jump into Visual Studio and add the Windows Phone project.
In Visual Studio, go to File | Open | Project/Solution and choose the
ProjectName.slnfile; in the example's case, theFormsCookbook.slnfile.In the Solution Explorer, right-click your solution and Add | New Project.
In the section Store Apps | Windows Phone Apps, click in Blank App (Windows Phone Silverlight) and choose a name; to be consistent, let's name it
[ProjectName].WinPhone, then press the OK button.
Choose either Windows Phone 8.0 or Windows Phone 8.1.
Voila! Another platform is added but it's missing some parts to work with our Xamarin.Forms solution. We need to add the required packages/libraries and make a small modification to the application starting point code.
Right-click in References of the Windows Phone project we just created and choose Manage NuGet Packages.
Search for the
Xamarin.Formspackage and hit Install to add it to the Windows Phone project.
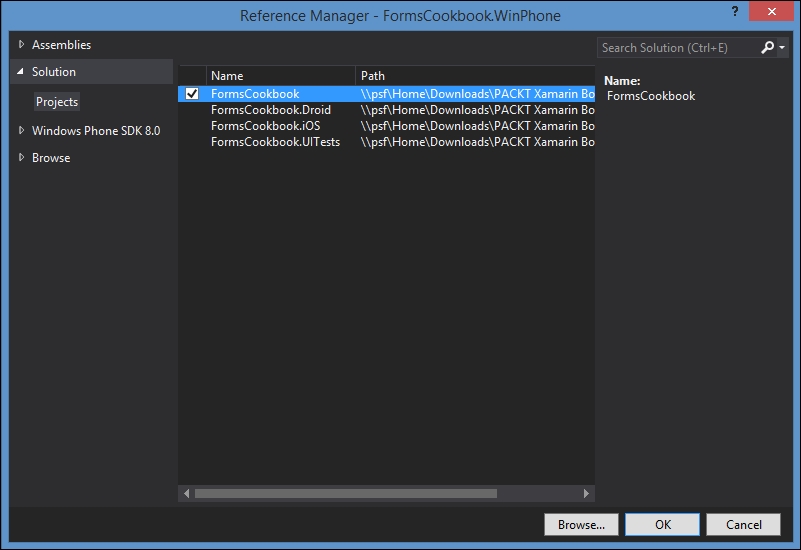
We also need to reference the PCL library. Right-click to References | Add Reference, and in the section Solution you will find the PCL with the Project Name. Check the box and hit OK.
We're almost done. We just need some code changes to the XAML
MainPageto convert it to an Xamarin.Forms application.Select the
MainPage.xamlfile and modify the root tag fromPhoneApplicationPagetoFormsApplicationPageas shown in the following screenshot:
You might need to bring the namespace in XAML. If you use any fancy tool like ReSharper you already took care of it; if not, add the following line to your project root tag that we just modified. Again, check the final result in the preceding screenshot.
xmlns:winPhone="clr-namespace:Xamarin.Forms.Platform.WinPhone;assembly=Xamarin.Forms.Platform.WP8"
We need to check the MainPage.xaml.cs behind-code file as well and change it to inherit from
FormsApplicationPageand the code in lines 13 and 14 as in the following screenshot: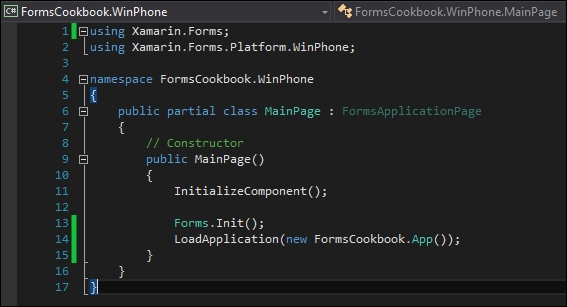
Right-click to the Windows Phone project and set as Start Up Project; press F5 or from the Debug | Start Debugging menu.
Congratulations! You have created a solution with three platform-specific projects (iOS, Android, and Windows Phone) and a core class library (PCL). Remember, the Windows Phone project will only be active when the solution is opened in Visual Studio.
So, we still have the beauty of native applications but we get to share the UI code as well! Sweet!
See in the following screenshot the Xamarin.Forms platform architecture that reflects what we just created:
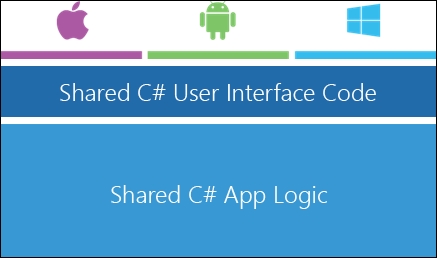
Our three platform-specific projects are at the top architecture layer, the shared C# user interface code below, and the Shared C# App Logic at the bottom.
Xamarin.Forms allows you to describe the UI once using a shared set of controls while still rendering a native UI. This is happening with the help of the native platforms' renderers; there is one for each supported control for every platform. So, when we add a Label control, the platform renderer will transform it to a UILabel for iOS, a TextView for Android, and a TextBlock for Windows Phone.
In the core Portable Class Library project, expand References | From Packages. Referenced are the libraries Xamarin.Forms.Core and Xamarin.Forms.Xaml; the first one contains all the core logic of Xamarin.Forms and the second is specific to the XAML code, which we will discuss in detail in Chapter 2, Declare Once, Visualize Everywhere.
Go to a platform-specific project now; let's see Android first. Expand References | From Packages, and we have again Xamarin.Forms.Core and Xamarin.Forms.Xaml, but also Xamarin.Forms.Platform.Android. This is the platform-specific library where all the Android renderers live and its responsibility is to take the UI abstractions and translate to a platform-specific UI.
The same applies to our iOS project with the platform-specific library having the name Xamarin.Forms.Platform.iOS.
In the references of the platform-specific projects you can see our core PCL reference too; it couldn't work without our base code, right?
That is all great! But how do these platform-specific projects connect to the Xamarin.Forms application? For that we have to look in the code behind every platform application entry point.
Start from the Windows Phone project. We modified our MainPage.xaml.cs code behind, and now it is not a Windows Phone Page type but Xamarin.Forms.Platform.WinPhone.FormsApplicationPage. The important calls is in the constructor, Forms.Init, and the LoadApplication methods. In the latter we pass a Xamarin.Forms.Appplication instance located in our PCL. Open the FormsCookbook.cs file in the PCL project. Here is our Xamarin.Forms entry point, with some UI code in the constructor. In the next section, we discuss and change this code.
For the iOS project, you will find the related method calls in the AppDelegate.cs, FinishedLaunching method implementation. The difference is that the AppDelegate class inherits from Xamarin.Forms.Platform.iOS.FormsApplicationDelegate.
And finally, in the Android project, the MainActivity.cs file is our MainLauncher activity and inherits from Xamarin.Forms.Platform.Android.FormsApplicationActivity. It initializes the platform specifics and loads the Xamarin.Forms application class in the OnCreate method implementation. Notice the difference in the Forms.Init method: it requires two parameters: an Activity and Bundle instances.