

Note
The "test_s3trigger_configured.txt" is available at the following GitHub repository: https://github.com/TrainingByPackt/Machine-Learning-with-AWS/blob/master/lesson2/topic_c/test_s3trigger_configured.txt
Next, we will upload the "test_s3trigger_configured.txt" file to our S3 bucket to verify the lambda s3_trigger function was configured successfully.
Navigate to the s3 page: https://console.aws.amazon.com/s3/
Click the bucket name you are using to test the s3_trigger function (in my case: "aws-ml-s3-trigger").

Figure 2.37: S3 bucket list
Click Upload.

Figure 2.38: S3 bucket list Upload screen
The following screen will display.
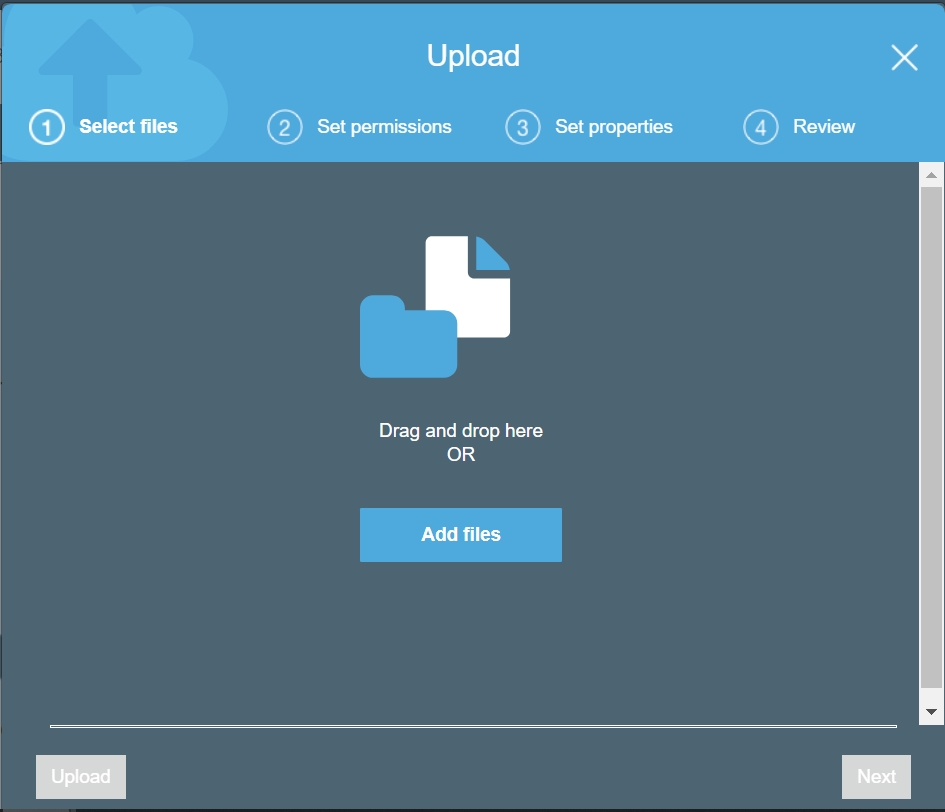
Figure 2.39: S3 Upload bucket "add files" screen.
Click Add files.

Figure 2.40: S3 Add files selection screen.
Navigate to the "test_s3trigger_configured.txt" file location. Select the file.
Navigate to the text file's location and open the file. The file contains the following text:
"I am a test file to verify the s3 trigger was successfully configured!"
Before we execute the s3_trigger, consider the output based on the following aspects of the text: sentiment (positive, negative, or neutral), entities (quantity, person, place, etc.), and key phrases.
Click Upload.

Figure 2.41: S3 file added to bucket for Lambda trigger test
Navigate back to the s3_trigger. Click Monitoring

Figure 2.42: Select Monitoring tab
Click View logs in CloudWatch.

Figure 2.43: Select the View logs in CloudWatch
Click on the Log Stream.

Figure 2.44: Select the Log Stream
Select the circle option next to Text to expand the output:

Figure 2.9: Click the circle option to expand the lambda output
Below is the first few lines of the output, and to see the entire output you need to Scroll down to view all of the results (see below). We will interpret the total output in the next step.
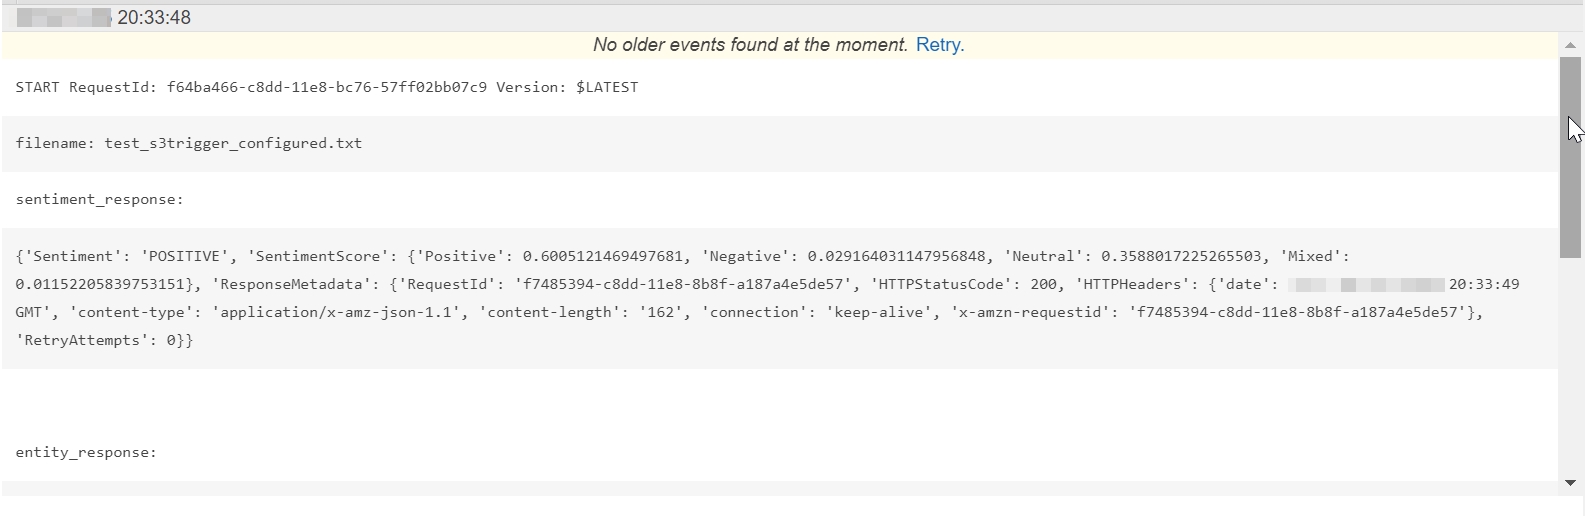
Figure 2.45: The top portion of the s3_trigger output
Sentiment_response -> Classified as 60.0% likely to be Positive
Sentiment_response:
{'Sentiment': 'POSITIVE','SentimentScore':{'Positive': 0.6005121469497681,'Negative': 0.029164031147956848, 'Neutral': 0.3588017225265503, 'Mixed': 0.01152205839753151},
entity_response --> Classified as 70.5% likely the type is Quantity
entity_response:
{Entities':[{'Score':0.7053232192993164, 'Type': 'QUANTITY','Text': '3 trigger', 'BeginOffset': 35, 'EndOffset': 44}],
key_phases_response -> Classified as 89.9% likely "a test file" and 98.5% likely 'the s3 trigger" are the key phrases.
key_phases_response:
{'KeyPhrases': [{'Score': 0.8986637592315674, 'Text': 'a test file', 'BeginOffset': 8, 'EndOffset': 19}, {'Score': 0.9852105975151062, 'Text': 'the s3 trigger', 'BeginOffset': 30, 'EndOffset': 44}],