Navigate to following link for obtaining the text data file that contain negative review comments https://github.com/TrainingByPackt/Machine-Learning-with-AWS/blob/master/lesson3/activity/localfoldernegative_movie_review_files/cv000_29416.txt
Navigate to S3: https://s3.console.aws.amazon.com/s3/home
Click the bucket for the "input-for-topic-modeling".
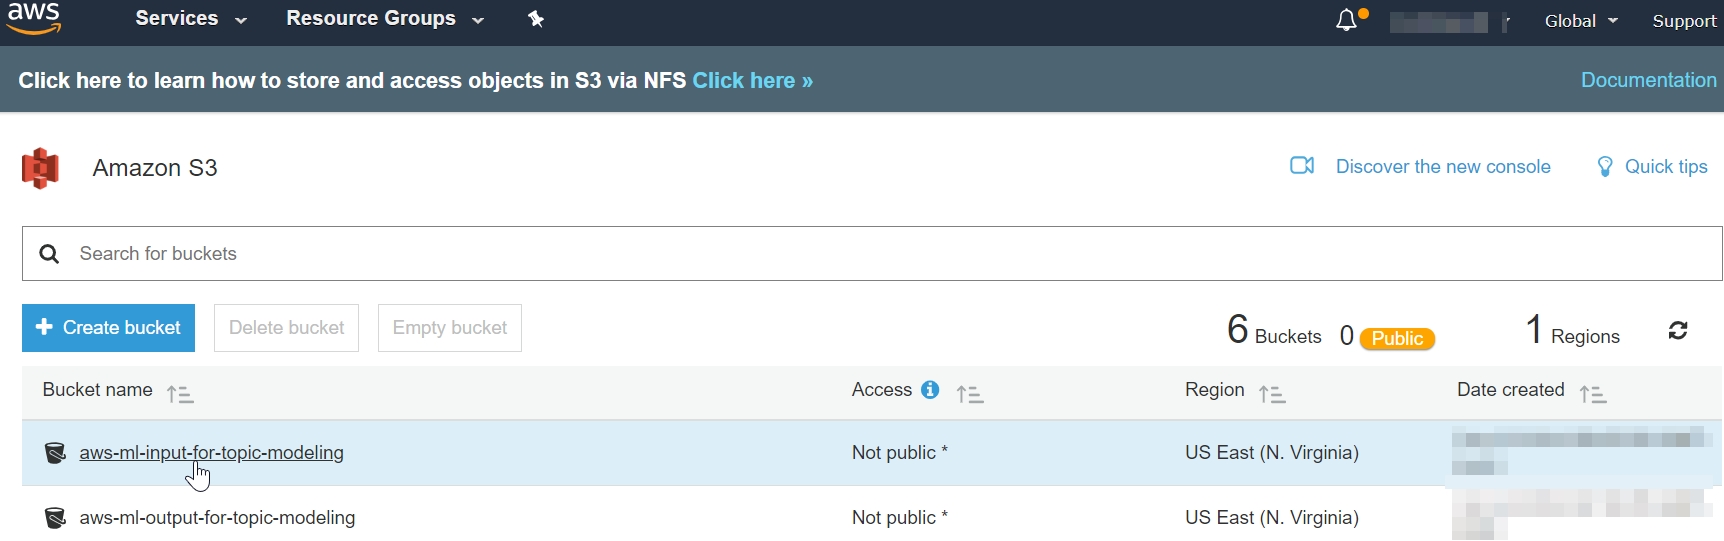
Figure 3.43: S3 home screen for 'input-for-topic-modeling'
Click Create folder.
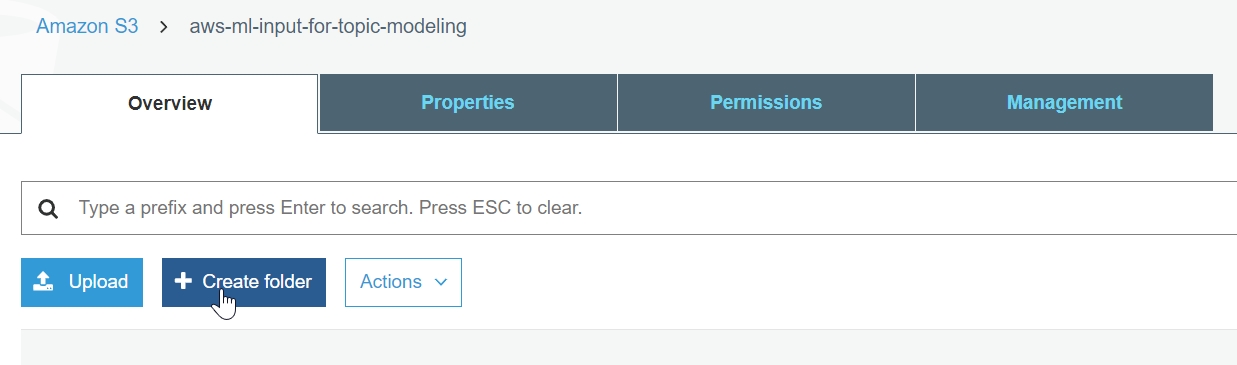
Figure 3.44: Click Create folder
Type "negative_movie_review_files", and click Save.
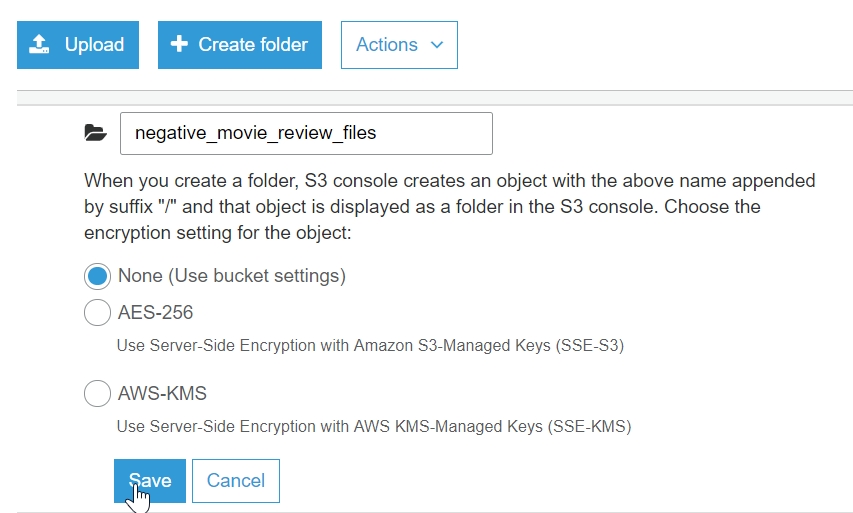
Figure 3.45: Click Save
Note
For this step, you may either follow along the exercise and type in the code or obtain it from the source code folder text_files_to_s3.py and paste it into the editor. The source code is available via GitHub in the following repository: https://github.com/TrainingByPackt/Machine-Learning-with-AWS/blob/master/lesson3/activity/text_files_to_s3.py
Firstly, you will import the os and boto3 packages using the following comment
import os
import boto3
Next, type in your unique bucket name.
BUCKET_NAME = '<insert a unique bucket name>'
BUCKET_FOLDER = 'negative_movie_review_files/'
Next, get the working directory of the local path to the text files:
LOCAL_PATH = os.getcwd() +'\\local_folder__negative_movie_review_files\\'
Create a list of all text files:
text_files_list = [f for f in os.listdir(LOCAL_PATH) if f.endswith('.txt')]Iterate on all files, and upload each to s3:
for filename in text_files_list:
    s3.upload_file(LOCAL_PATH + filename, BUCKET_NAME, BUCKET_FOLDER + filename)
Next, in your command prompt, navigate into to the "activity__topic_modeling_on_documents" directory and execute the code with the following: python text_files_to_s3.py
The result is 1000 text files uploaded to the S3 negative_movie_review_files folder. See below for the top S3 output (see below):
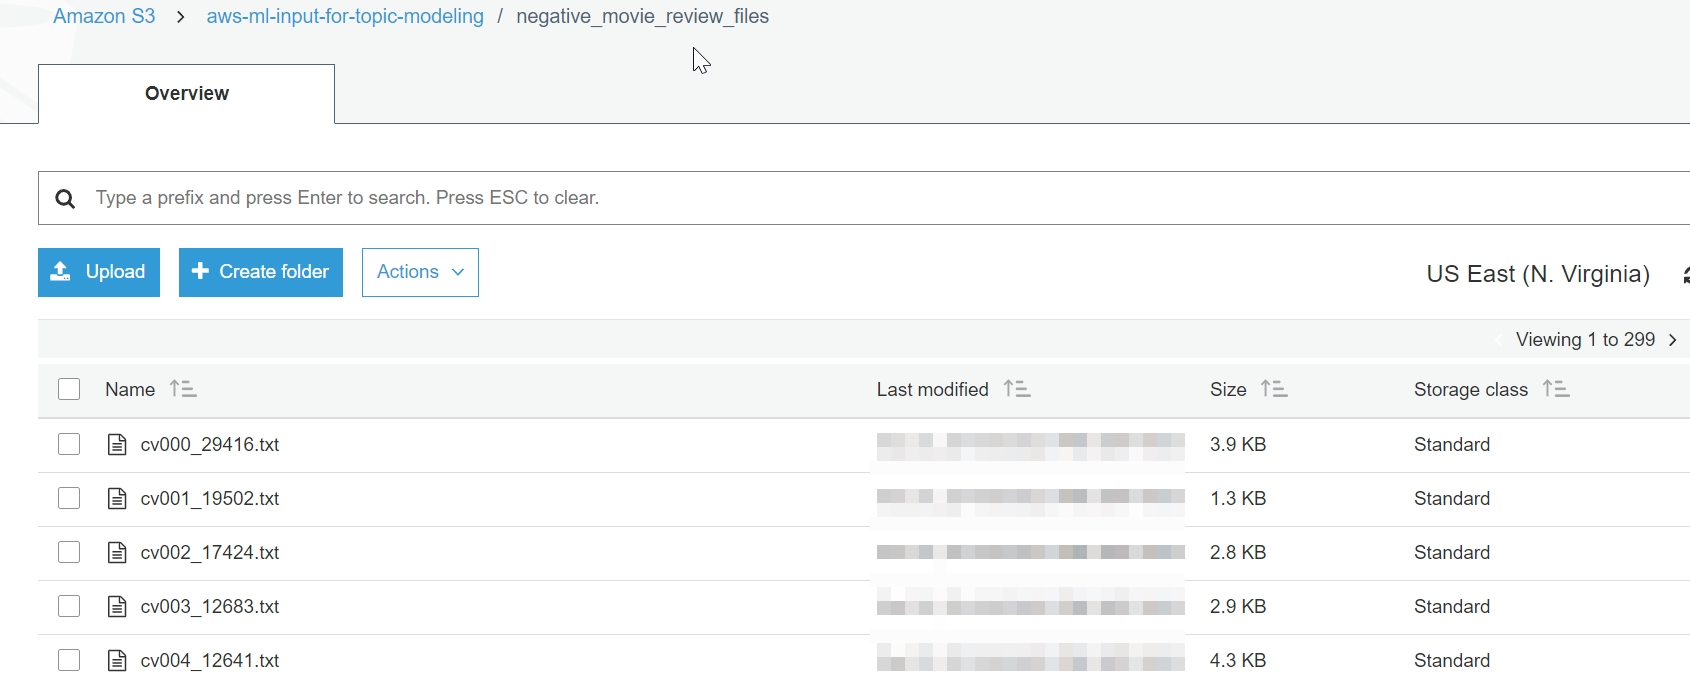
Figure 3.47: negative_movie_review_files in S3
Next, navigate to AWS Comprehend. Click the comprehend link: https://console.aws.amazon.com/comprehend/home.
Figure 3.48: Amazon Comprehend home screen
Now, click on the Organization.
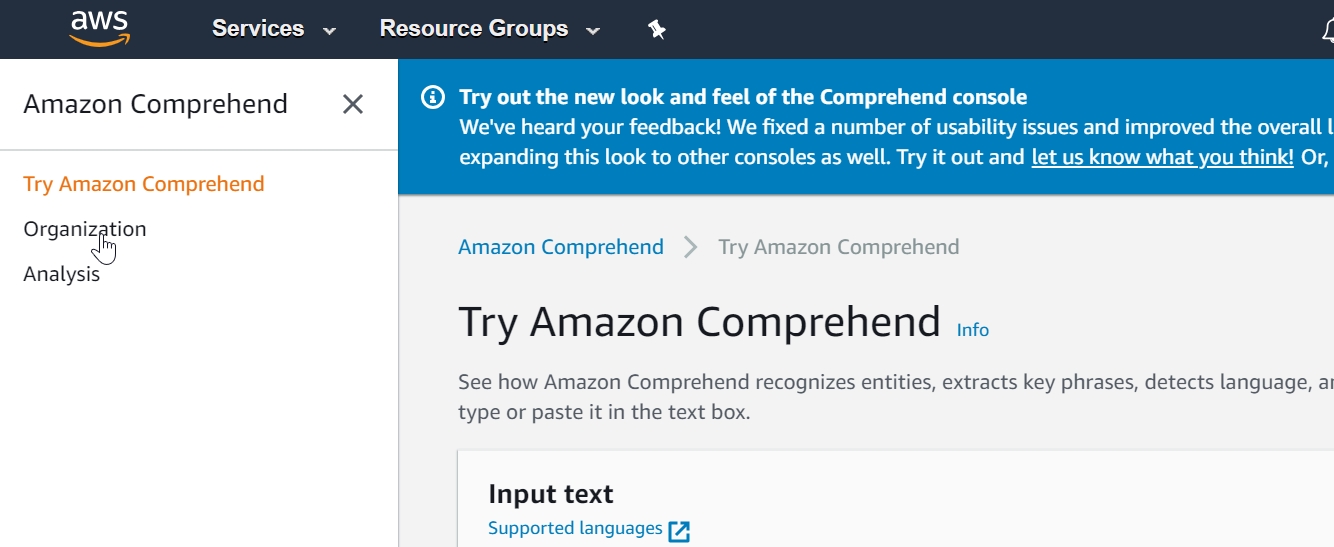
Figure 3.49: Select Organization
Now, click on the Create job.

Figure 3.50: Click Create job
Now, type "unknown_topic_structure_job" in the Name input field.

Figure 3.51: Enter 'unknown_topic_strucutre_job'
Now, scroll down to the Choose input data section, and click Search.
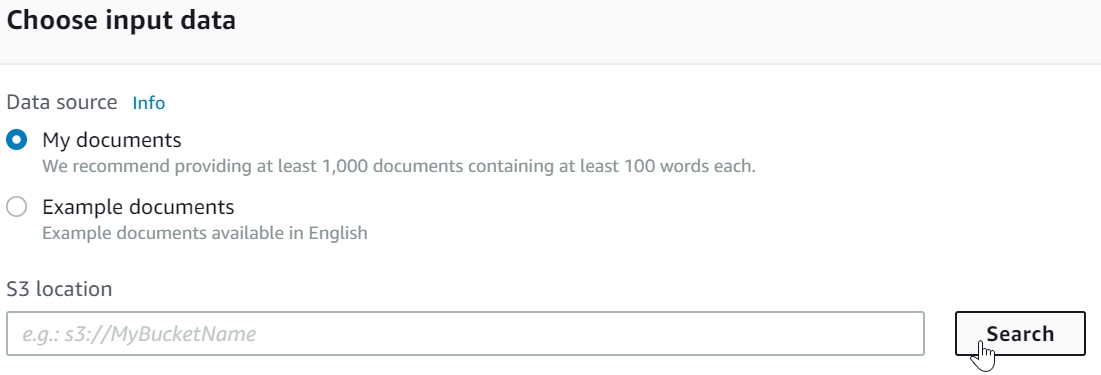
Figure 3.52: Select Search button
Click the arrow next to bucket you selected to input files for topic modeling ("aws-ml-input-for-topic-modeling").

Figure 3.53: Expand S3 bucket sub-folders
Click the circle next to the "negative_movie_review_files" folder.

Figure 3.54: Select the negative_movie_review_files folder
Now, click Select to choose the file.
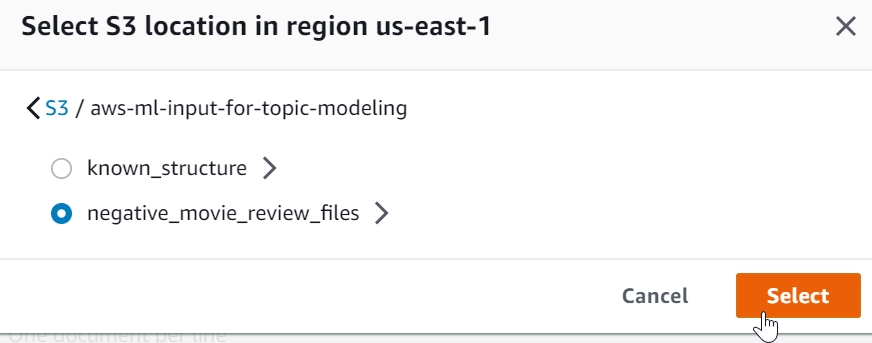
Figure 3.55: Click the Select button
You will be redirected to the Amazon Comprehend main page. Select "One document per file" selection from the Input format drop down.

Figure 3.56: Select One document per file option
Next, enter 40 in the Number of topics input field.

Figure 3.57: Enter 40 topics
Scroll down to the Choose output location, and click Search

Figure 3.58: Click Search
Select the output bucket you uniquely named for the topic modeling output.
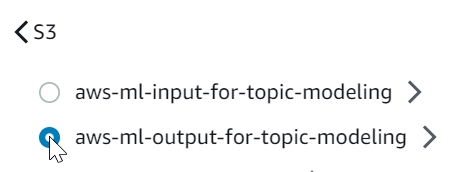
Figure 3.59: Select the S3 bucket for the topic modeling outtput
Click on the Select button.

Figure 3.60: Confirm by clicking the Select button
Click the dropdown and select the "AmazonComprehendServiceRole-myTopicModeingRole" IAM role.

Figure 3.61: Select the existing IAM role
Click on Create job button.
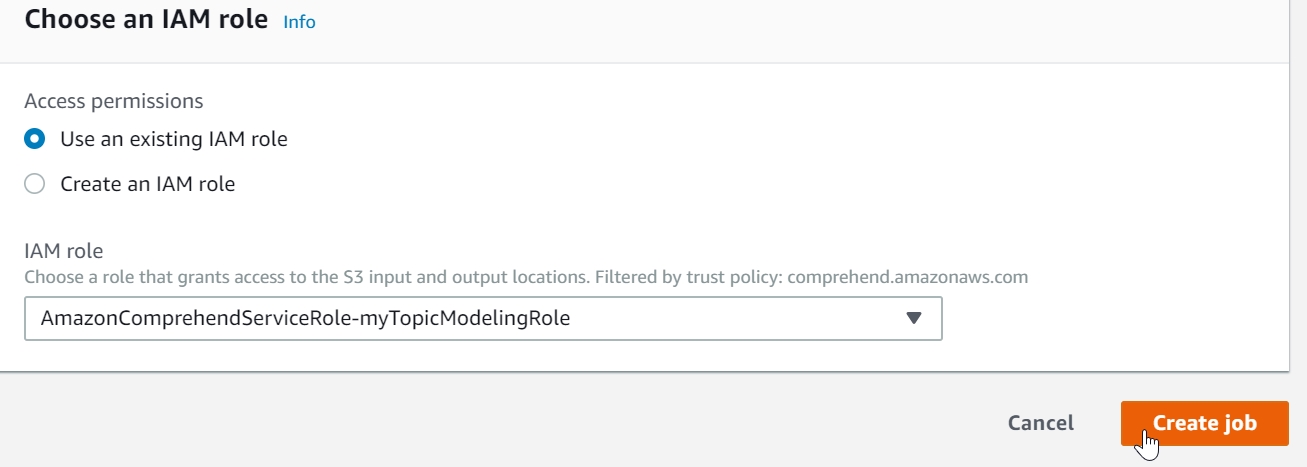
Figure 3.62: Click Create job
The topic modeling job status will first display "Submitted."

Figure 3.63: Status 'Submitted"
The topic modeling job status will next display "In progress". The topic modeling job duration is about 6 minutes.

Figure 3.64: "In progress" status
When the status changes to "Completed." Click the "unknown_topic_structure_job" link.
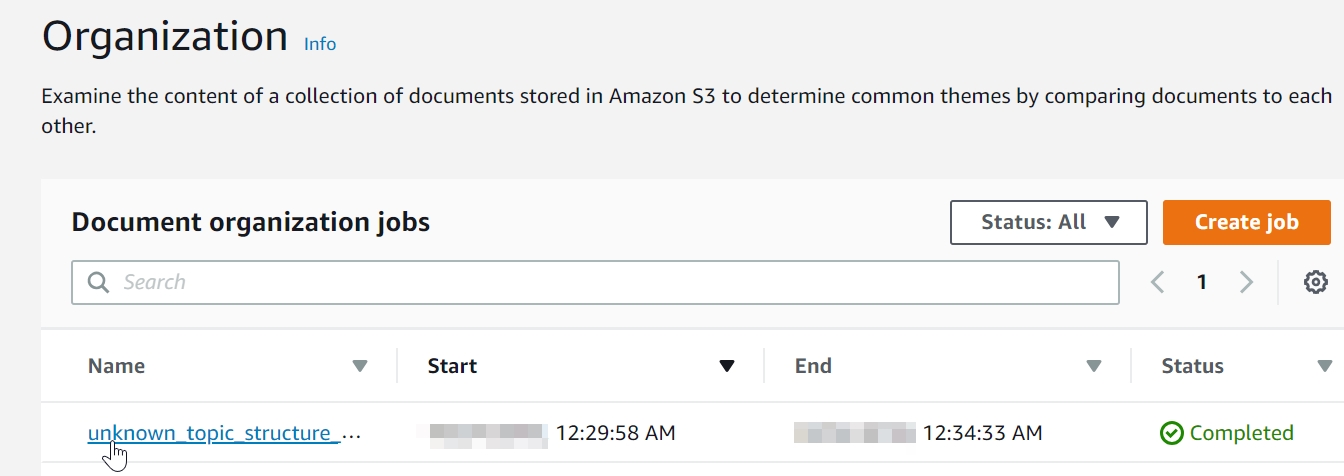
Figure 3.65: Select the hyperlinked topic modeling link
Scroll down and click the topic modeling output hyperlink (*yours will display a different unique topic modeling job alphanumeric character string).

Figure 3.66: Click the topic modeling output S3 location
You will be directed to the S3 output folder for the topic modeling job. Click the hyperlinked folder.

Figure 3.67: Hyperlinked folder location
Click the output folder.

Figure 3.68: Click output
Click the output.tar.gz file.

Figure 3.69: Click output.tar.gz file
Click on Download as.

Figure 3.70: Click Download as
Right-click the output.tar.gz file and click Save link as…
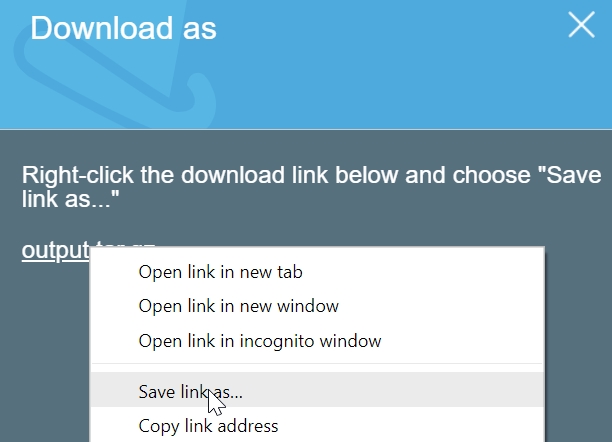
Figure 3.71: Select Save link as...
Select the Desktop and click Save.
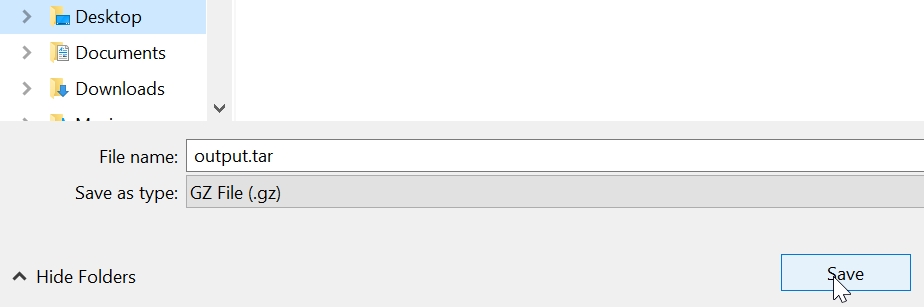
Figure 3.72: Click Save
Navigate to the Desktop. Right-click the output.tar.gz file and select Extract Here. Right-click the output.tar file and select Extract Here

Figure 3.73: Select Extract Here
The result is two CSV files: doc-topics.csv and topic-terms.csv. Click and download the topic modeling output.
For Reference the extracted CSV files are available via the following GitHub directory:
https://github.com/TrainingByPackt/Machine-Learning-with-AWS/blob/master/lesson3/activity/SOLUTION__topic_modeling_output/doc-topics.csv
Note
For this step, you may either follow along the exercise and type in the code or obtain it from the source code folder in the file local_csv_to_s3_for_analysis.py and paste it into an editor. For reference, the source code is available via GitHub in the following repository:https://github.com/TrainingByPackt/Machine-Learning-with-AWS/blob/master/lesson3/activity/local_csv_to_s3_for_analysis.py
Firstly, we will Import boto3
import boto3
Next, import pandas
import pandas as pd
Create the S3 client object.
s3 = boto3.client('s3')Next, create a unique name for the s3 bucket to store your source CSV files. Here, the selected "unknown-tm-analysis" but you will need to create a unique name.
bucket_name = '<insert a unique bucket name>' #
Next, create a new bucket.
s3.create_bucket(Bucket=bucket_name)
Create a list of the CSV file names to import.
filenames_list = ['doc-topics.csv', 'topic-terms.csv']
Iterate on each file to upload to S3
for filename in filenames_list:
    s3.upload_file(filename, bucket_name, filename)
Next, check if the filename is 'doc-topics.csv'
if filename == 'doc-topics.csv':
Now, get the doc-topics.csv file object and assign it to the 'obj' variable.
obj = s3.get_object(Bucket=bucket_name, Key=filename)
Next, read the csv obj and assign it to the doc_topics variable.
        doc_topics = pd.read_csv(obj['Body'])
    else:
        obj = s3.get_object(Bucket=bucket_name, Key=filename)
        topic_terms = pd.read_csv(obj['Body'])
Merge files on topic column to obtain the most common terms per document.
merged_df = pd.merge(doc_topics, topic_terms, on='topic')
Print the merged_df to the console
print(merged_df)
Next, navigate to the location of the CSV's in a command prompt, and execute the code with the following command:
"python local_csv_to_s3_for_analysis.py"
The console output is a merged dataframe that provides the docnames with their respective terms and the term's weights (see below):

Figure 3.74: Activity merged topic modeling output

Machine Learning with AWS
By :
Machine Learning with AWS
By:
Overview of this book
<p>Machine Learning with AWS is the right place to start if you are a beginner interested in learning useful artificial intelligence (AI) and machine learning skills using Amazon Web Services (AWS), the most popular and powerful cloud platform. You will learn how to use AWS to transform your projects into apps that work at high speed and are highly scalable. From natural language processing (NLP) applications, such as language translation and understanding news articles and other text sources, to creating chatbots with both voice and text interfaces, you will learn all that there is to know about using AWS to your advantage. You will also understand how to process huge numbers of images fast and create machine learning models.</p>
<p>By the end of this book, you will have developed the skills you need to efficiently use AWS in your machine learning and artificial intelligence projects.</p>
Related Content you might be interested in
Current Title:
Machine Learning with AWS
Table of Contents (9 chapters)
Machine Learning with AWS
Preface
 Free Chapter
Introduction to Amazon Web Services
Summarizing Text Documents Using NLP
Perform Topic Modeling and Theme Extraction
Creating a Chatbot with Natural Language
Using Speech with the Chatbot
Analyzing Images with Computer Vision
Appendix A
Customer Reviews