Book Image

3D Printing Designs: Design an SD Card Holder

By : Joe Larson
Book Image

3D Printing Designs: Design an SD Card Holder

By: Joe Larson

Overview of this book

Want to model a 3D printed prototype of an object that needs to be replaced or broken? This book will teach you how to accurately measure objects in the real world with a few basic measuring techniques and how to create an object for 3D printing around the objects measured. In this book, you'll learn to identify basic shapes from a given object, use Vernier and Digital calipers and grid paper tracing techniques to derive measurements for the objects. With the help of measurements, you'll see to model these objects using Blender, organize the parts into layers, and later combine them to create the desired object, which in this book is a 3D printable SD card holder ring that fits your finger.
Table of Contents (11 chapters)

The best settings


Blender has a reputation for being difficult and unintuitive to use. This is true for the default settings. However, Blender is also very easily adjustable with a few settings and can be made much easier to use. How you set up your instance of Blender will depend on what your setup is like.

To access the settings, in the top menu select File | User Preferences. In the Blender User Preferences panel that comes up, select the Input tab button:

A scroll-wheel mouse and number pad

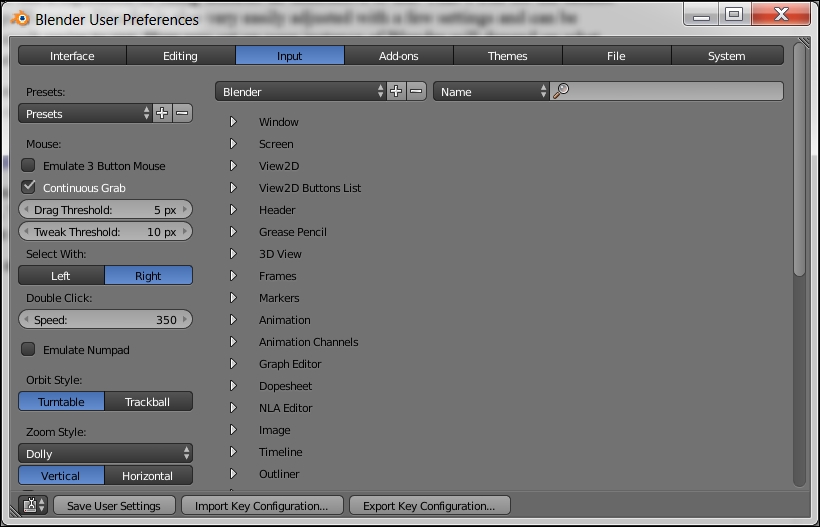
The recommended setup for Blender is to use your keyboard and a mouse with a scroll wheel. In this case, there is only one setting that is recommended to be changed from the default:

  1. Click on the button that says Left under the words Select With.

  2. Click on the button that says Save User Settings:

Changing this one setting will make Blender much more intuitive to use.

Because the default is for the right mouse button to be the select button, and some may prefer to keep this default, this book will refer to...