Now it's time to mount an SD card holder on the ring. The first step is to make a virtual SD card in Blender.
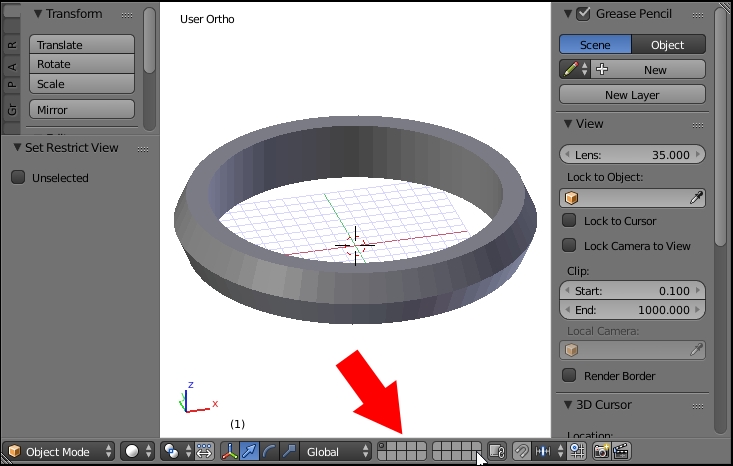
When working on a project with multiple parts in Blender, it's possible to organize things by using layers. While the idea of layers may not make as much sense in 3D as in a 2D graphics editor, the idea is similar. Shapes in different layers may share the same space, and they can be looked at and edited separately and independently. Layers are found in the menu at the bottom of the 3D View, as shown here:

By default, the ring was created in the first layer, and there is a dot in the first layer to indicate that there is an object in it. To switch to an Empty layer, simply click on a square on the layer icons at the bottom of the 3D View or type a number from the top row of the keyboard.
The number keys across the top of the keyboard (unless you're emulating the number pad) from 1 to 0 will switch to the corresponding layer in the top row...


