
Importing media into the Elements Organizer
As mentioned in Chapter 1, Photoshop Elements General Features Overview, when images are imported into the Elements Organizer, they are not physically copied into the application; they are just linked from the place where they are stored (typically, this is the Pictures folder) to the Organizer. Should Elements or your computer develop a technical issue and you have to delete and reinstall the application, you just need to reinstate the catalog from the backup version, and it automatically re-links all files. Sometimes, it's necessary to actually point the program to the hard drive where the images are stored, but as often as not, Elements will search and find every image that was previously linked in the catalog. It's a clever program.
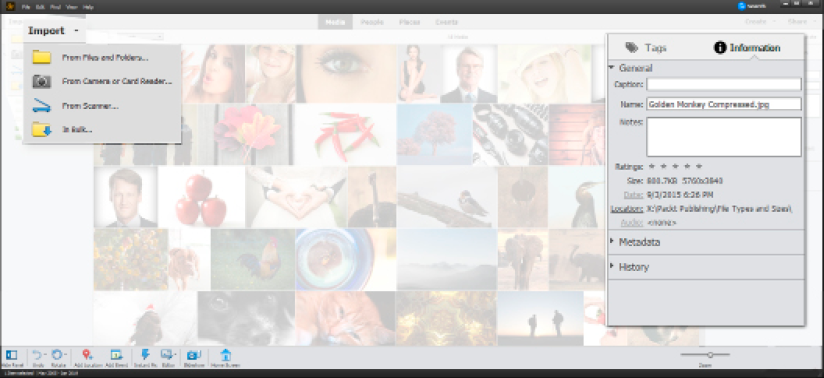
Import: Using the Import button (on the top left-hand side in the Organizer), you can bring images, audio, or video clips into the Elements Organizer directly using the From Files and Folders option. These files can physically reside anywhere – locally, on the computer, or externally on a drive. There are also options to import files directly from a camera or a card reader, or in bulk from pre-organized folders. The panel on the right-hand side of the main window holds both keyword and metadata information about each file. Click the small Keyword/Info button on the lower right-hand side of the main screen to open/close this panel.
Because of this linking process, it's not advisable to rename or move files that have already been imported into Elements. If files are moved or renamed using the Windows Explorer or Mac's Finder, the next time Elements starts, it will prompt you that the file is missing and immediately start a search for the file. This is fine if the name remains the same, but if it has a new name, it will have to be re-imported. You can leave Elements to complete the search, or do it yourself, if you know where the file was moved to. How long Elements takes to locate a moved file depends on how big your photo collection is.
The import process is fast because Elements only copies thumbnails and the metadata (essentially text) when it forms a link to the original files. So, to avoid wasting time searching for files that have been renamed or moved after they were imported into the Organizer, it makes sense to sort out the storage hierarchy on the computer or external drives before importing to the application.
We all have different ways with which to organize our busy photographic lives. Some prefer to store files by date, others prefer to name everything according to events in their lives. There's no right or wrong way to do this. The best method is the one that you are going to remember.
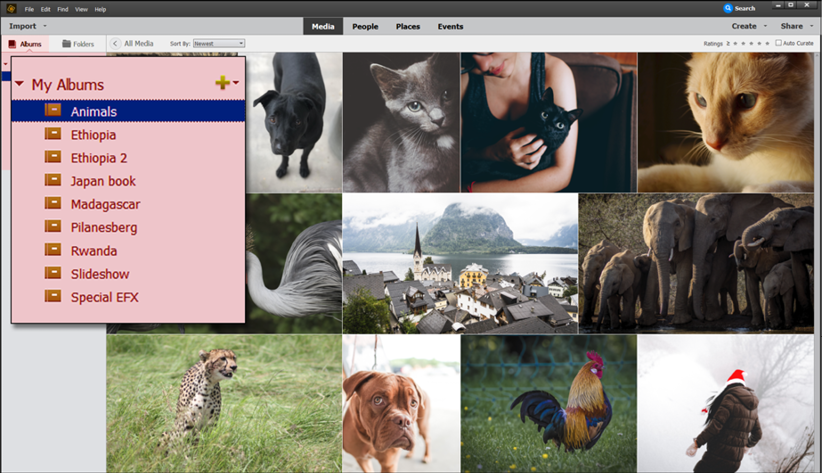
Making albums: In this screenshot, I have created an album called Animals. Selecting the album on the left-hand side of the window will display the contents of that album in the main window. As with most features in Elements, an album can be renamed at any time. The huge advantage of creating albums, apart from enabling you to easily compartmentalize your work into smaller, more practical collections, is that you can have the same image or images in multiple albums without increasing the space taken up on the storage drive.
Tip:
Before you import a second batch of images, it makes sense to sort out the first batch, because if you continue to import folder after folder of images, before long, you'll have thousands displayed in the main screen, and that can get very confusing. Once imported into the Organizer, you can see exactly where on your hard drives those imported files reside through the Folders menu in the left-hand bin.
That said, there are basic rules I can suggest that will make the editing process flow better:
- Download and organize your files into pre-made folders as often as you can. If you download on a regular basis, it will help you keep abreast of the Elements imports and will also ensure that you don't accidentally overwrite files on a camera memory card.
- Always add keyword tags to freshly imported files. The longer you leave organizing your work, the more confusing it gets.
- Divide your images into events—these might be "work", "trips", "family", "weekends away", and so on. Create an album for each big trip, an album for a conference, an album for the kid's birthdays, and so on. These are essentially virtual folders that are used for compartmentalizing image files inside Photoshop Elements. Dragging image thumbnails to populate these albums doesn't alter the location of the originals.
- Use keywords, tags, and star ratings to help you sort images into a sense of order that you can work with (I particularly like ranking images according to keywords and the star attribute hierarchy because they are easy to do).
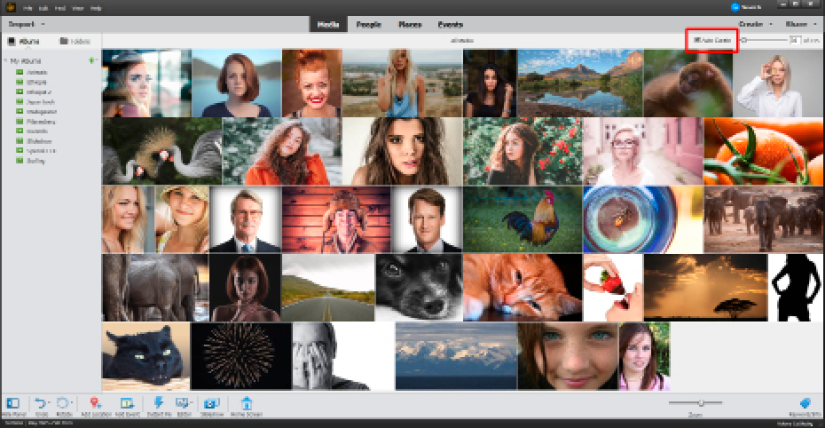
Auto Curate: Photoshop Elements has a number of quite powerful but often overlooked features – including this one, called Auto Curate, highlighted here in red, which picks the top 500 images from the Organizer. The results might surprise you. With your media displayed in the main window, check the Auto Curate box and watch as Elements finds 50 of the best images from anything up to 20,000 images (according to Adobe). As I think most of the images in my test media are good anyway, it's a mystery how it finds 50 (or any number you choose) of the best. Nonetheless, this is worth a look for a quick, frustration-free selection.
- Give everything a proper name once it is edited
- As new images appear in the Organizer, they show up in the main window as thumbnails. Make the thumbnails bigger/smaller using the zoom slider at the bottom right-hand side of the screen. Use the edge-of-screen sliders to scroll down the page to see more thumbnails, or just use the up/down keyboard arrows.
- All the details of this filing system (albums, tags, keywords, thumbnails, original files, and so on) are part of the Elements catalog, which is something that needs backing up to a location different to where the original files are stored.
Some photographers prefer to divide image collections into multiple catalogs. For example, wedding photographers might have a separate catalog for each client. For most of us, one catalog is enough because you can only open one catalog at a time anyway.
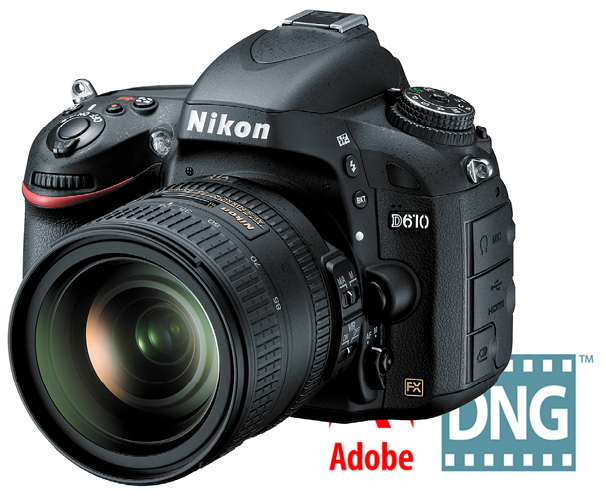
Nearly all DSLRs and mirrorless cameras use the JPEG and RAW file formats. Most of the cheaper point-and-shoot type cameras only use JPEGs. That said, JPEGs can be opened and read by a very wide range of applications—photo software and even Microsoft Word and PowerPoint. RAW files are far less universal and require a specific software to work. In Elements this is called Camera RAW. As each new camera model produces an entirely new type of RAW file, Elements has to be updated reasonably regularly so it can keep up to date with all the new stuff coming on to the market. If you have just bought a new camera, don't be surprised if Elements cannot read its RAW files. You might have to wait till the next Adobe Camera RAW update before the application can open them. In the interim, you can always use the software that came with the camera to open RAW files or download the free Adobe DNG file format converter, convert your RAW files to the DNG format and edit from those till the new software is ready.