

Creating your first window
After all the necessary software products have been installed, we are ready for our first smoke test. We will create a small, non-resizable window, and its only purpose is to check your system for the correct path and configuration. You will be able to move it around, minimize and restore it, and close it… that’s mostly all at this stage.
But believe me, seeing your first test window on the screen will make you smile. For basic window operations, we are going to use GLFW to open and close a window.
GLFW is an open source toolkit that is used to handle the tasks around the application window, and it is available for different OSs and hardware platforms.
GLFW will do the following tasks with a few lines of code, independent of your OS:
- Create and destroy the application window
- Handle the window events (such as minimize, resize, or close)
- Add an OpenGL context or Vulkan support to enable 3D rendering
- Get the input from the mouse, keyboard, and gamepads/joysticks
If you want to check the source for this example, head to the chapter01 folder in the Git checkout or the extracted source for this book, and then go to the 01_simple_window folder. You can follow the explanation of the code snippets, or in case you have no questions about the intention of the code lines, you can compile the code in advance and check the code snippets only for clarification.
For the window code, start with the Window.h header file:
#pragma once
#include <string>
#include <GLFW/glfw3.h>
class Window {
  public:
    bool init(unsigned int width, unsigned int height,
      std::string title);
    void mainLoop();
    void cleanup();
  private:
    GLFWwindow *mWindow = nullptr;
};
After the include guard, we need to include the std::string header, which we will use to pass the window title to the instance, and the GLFW header for the GLFW functions.
The Window class contains a handle for the GLFW window that we will create as a private member, along with three other public methods.The init() method is used to initialize the new window; the mainLoop() method runs the code of the main loop of the window where we do all the work; and the cleanup() method cleans up the window to shut down the application properly.
The implementation of the three functions is done in the Window.cpp file:
#include "Window.h"
#include "Logger.h"
We include our previously created header file for the Window class, plus the header file for the Logger class to ensure the console logging is available:
bool Window::init(unsigned int width, unsigned int height, std::string title) {
  if (!glfwInit()) {
    Logger::log(1, "%s: glfwInit() error\n",
      __FUNCTION__);
    return false;
  }
  /* set a "hint" for the NEXT window created*/
  glfwWindowHint(GLFW_RESIZABLE, GLFW_FALSE);
  mWindow = glfwCreateWindow(width, height,
    title.c_str(), nullptr, nullptr);
  if (!mWindow) {
    Logger::log(1, "%s: Could not create window\n",
      __FUNCTION__);
    glfwTerminate();
    return false;
  }
  Logger::log(1, "%s: Window successfully initialized\n",
      __FUNCTION__);
  return true;
}
The init() function checks whether GLFW could be initialized at all. If something unexpected happens, it will return false in the main() function and stop the program.
The window hint set with the glfwWindowHint() call is a special property in GLFW, which changes the settings for the creation of the next window. For example, we can disable the ability to resize our window. After this, the creation of the window itself is done, and the result is saved inside our member variable. If the window cannot be created, the process of creating a window will also be aborted and GLFW will be terminated. In a successful window creation, we output a log line to the console and return to the main() function, stating that everything went fine.
The mainLoop() function does nothing special for the first window; it simply checks whether the user generated an event to close the window, that is, by selecting the close button. If this is not the case, it instructs GLFW to poll any events. This call is required to react to anything happening to the window itself – keyboard presses, mouse events, and window operations such as minimizing or even closing:
void Window::mainLoop() {
  while (!glfwWindowShouldClose(mWindow)) {
    /* poll events in a loop */
    glfwPollEvents();
  }
}
Finally, the cleanup() function destroys the window and terminates GLFW, removing our window from the screen and ending the usage of GLFW. At this point, the destroy window operation is slightly redundant, as glfwTerminate() also kills all windows that are still onscreen. But using the explicit destroy function on the application window should remain here, in case of later additions to the termination process of the application:
void Window::cleanup() {
  Logger::log(1, "%s: Terminating Window\n",
      __FUNCTION__);
  glfwDestroyWindow(mWindow);
  glfwTerminate();
}
To compile the preceding code, we also need a file named CMakeLists.txt in our project folder. This file instructs the CMake build system about the configuration of the project; it states which files to compile and how to add the required additional dependencies.
In the following code snippet, at the top of the file, we set the minimum version of CMake to 3.19. This is the first version that provides support to find the shader compiler for Vulkan. We will need this in Chapter 3 for the Vulkan renderer:
cmake_minimum_required(VERSION 3.19)
Setting C++17 as the minimum version might seem a bit overkill for the projects in this book, but as I stated earlier, I will try to get rid of the legacy features of C++ and use the newer ones instead:
set(CMAKE_CXX_STANDARD 17)
set(CMAKE_CXX_STANDARD_REQUIRED ON)
The next lines add the cmake folder inside the project folder to the list of locations CMake uses to store helper scripts for the find_package command:
# use custom file to find libraries
if(WIN32)
  list(APPEND CMAKE_MODULE_PATH "${CMAKE_CUR
  RENT_LIST_DIR}/cmake")
endif()
As the current version of CMake does not search for GLFW, I have added a script to search for it. This extra script requires GLFW to be stored in a fixed location on the system, and by using the location we have chosen at installation time, we are able to use the single GLFW installation for all projects in the book, instead of having a copy per project.The GLFW search script is only needed on Windows, as Linux already includes a helper script in the GLFW package. So,we instruct CMake to only add this on Windows by using a check to WIN32. This variable is only defined on Windows.
Next, we name our project Main. You could use any arbitrary name here, and this could be used in other commands by referencing a variable. Then, we add the C++ (*.cpp) and header (.h) files in the local folder via a GLOB search and add them to the list of files to compile to our main executable, which will also be named Main. Under Windows, this will automatically get an extension, resulting in Main.exe:
project(Main)
file(GLOB SOURCES
     .h
     .cpp)
add_executable(Main ${SOURCES})
Now, the CMake command called find_package is used to locate the GLFW headers in version 3.3 or higher, marking GLFW also as required for the code compilation. The corresponding CMake helper script will set a couple of variables if GLFW has been found – here, the two important ones are GWLF3_LIBRARY and GLFW3_INCLUDE_DIR. Due to the different searches on Windows and Linux, we will reuse the GLFW3_LIBRARY variable to avoid any further splits in the control structures:
find_package(glfw3 3.3 REQUIRED)
#variable is set by FindGLFW3.cmake, reuse for Linux
if(UNIX)
  set(GLFW3_LIBRARY glfw)
endif()
Finally, the last two lines of the following code add the GLFW3 headers to the list of include paths for the compiler and the library to link to the final executable:
include_directories(${GLFW3_INCLUDE_DIR})
target_link_libraries(Main ${GLFW3_LIBRARY})
Now you can build the project, and it should compile the code without any errors or warnings. If the compilation fails, please check the Technical requirements section for all the required tools and libraries.
Start the executable file, Main.exe (Windows) or Main (Linux), and you will see a small window appear on the screen, as shown in the following screenshot:
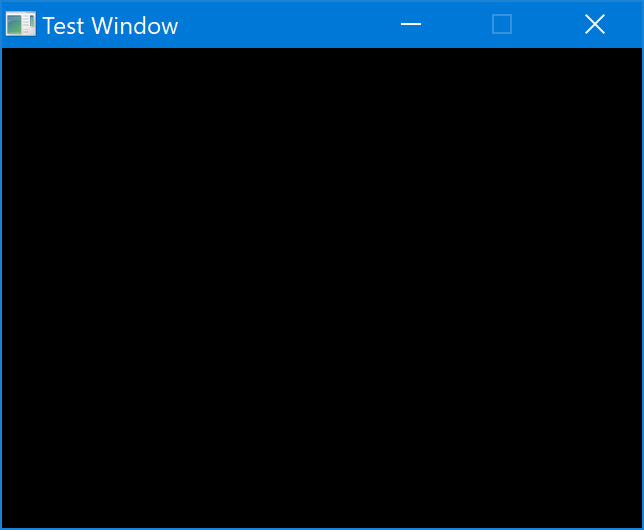
Figure 1.20: Your first window
Depending on your OS, the window might be filled in black, white, or even contain some parts of the screen where it was opened. The system does a “cheap” copy when creating the window, and we don’t clear the window content. So, don’t be alarmed if you don’t get exactly the same picture as Figure 1.1. As long as your window has the proper caption and the OS-specific buttons to close and minimize, everything has worked fine.
Now, let’s check out the available 3D-rendering APIs on the system.