

Producing a leaflet
Flyers are a common way to promote an event or to inform about a product. A folded leaflet is particularly handy as a giveaway and to carry around, so let’s see how to produce one.
How to do it...
The intended layout is very different compared to the already shown document types. Fortunately, there’s a document class for it, with the name leaflet. We will use this one now. Let us start filling it with some content:
- Start with the leaflet document class. Choose a base font size of 10 pt, and set the notumble option, which keeps the back side printed in the same direction:
\documentclass[10pt, notumble]{leaflet} - Use an extended font encoding:
\usepackage[T1]{fontenc} - If you want a non-default font, load it. This time, we chose the Linux Libertine font:
\usepackage{libertine} - Switch to sans-serif as the default font family:
\renewcommand{\familydefault}{\sfdefault} - For better text justification, load the microtype package:
\usepackage{microtype} - Load the graphicx package for including a picture:
\usepackage{graphicx} - Switch off the page numbering:
\pagenumbering{gobble} - Begin the document:
\begin{document} - Set title, author, and date. Then, print the title:
\title{\textbf{\TeX\ Live Install Party}} \author{\Large\textbf{Your \TeX\ team}} \date{\textbf{August 11, City Hall Cellar}} \maketitle - Include a centered image. For a demonstration, we chose the CTAN lion, which you can download at https://ctan.org/lion and convert to PDF:
\begin{center} \includegraphics[width=\linewidth]{ctanlion.pdf} \end{center} - Add some text:
We'd like to welcome you to our famous yearly
\TeX\ install party! Bring your laptop and have free
cold soft drinks while we assist you in installing
the latest \TeX\ version on your computer.
We will provide
- A bulleted list can be a good idea for a catchy text. Use an itemize environment for it; each list item starts with an \item command:
\begin{itemize} \item a fast internet connection for downloading, \item media such as DVDs and USB sticks with the latest \TeX, \item \TeX\ books for buying with a discount, \item chat with \TeX\ experts. \end{itemize} - End the page. Fill in more text on the next leaflet pages, which will be printed on the back side of the paper, next to each other:
\clearpage
Fill in text for page 2 (on the back side)
\clearpage
Fill in text for page 3 (on the back side)
\clearpage
Fill in text for page 4 (on the back side)
\clearpage
- Now, pages 5 and 6 of the leaflet come to the front side of the paper. Use \section to get a heading:
\section{Schedule} - You can add a timetable using a tabular environment. By inserting @{} in the column format options, we suppress spacing at the left and right:
\begin{tabular}{@{}rl@{}} 6 pm & Welcome \\ 7:30 pm & Live install presentation \\ 8 pm & Book authors available for talks and signing \\ 9:30 pm & Bar closing \end{tabular} - End the paragraph using an empty line, continue with writing text, and finally, end the document:
From 6pm to 10pm: install support and free \TeX\ copies on DVD on our welcome desk. \section{Accomodation} Hotel, Meals, Travel information here \section{Sponsors} Information about our local \TeX\ user group and Open Source projects sponsor \clearpage \section{Contact} Names, Phone numbers, email addresses \end{document} - Compile and have a look at the first page:
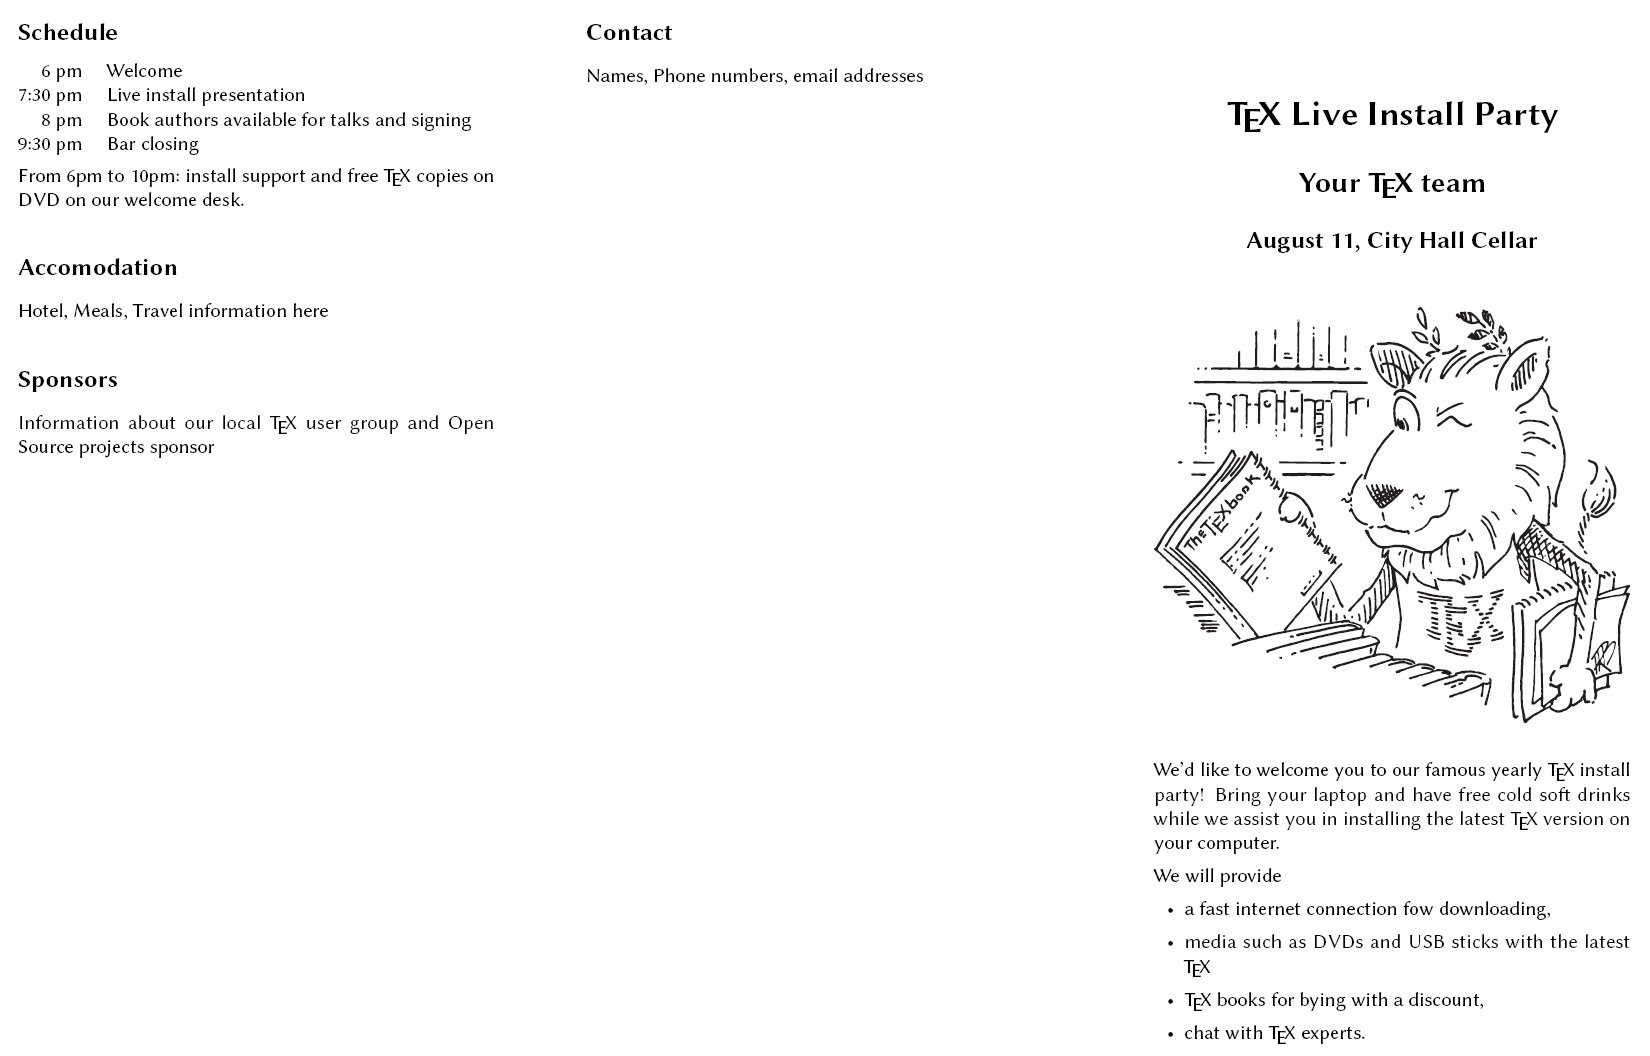
Figure 1.7 – A foldable leaflet
The back side still contains just some dummy text, helping to identify the position where the text finally lands on the page.
How it works...
In the first line, we loaded the leaflet class with a font size of 10 pt. The tumble option enables printing the back side upside down, which can be helpful for double-sided printing. This is the default. We used the notumble option instead, which suppresses that default behavior so that the output is better readable on the screen.
The next three lines contain our font settings. We used the Linux Libertine font. We specified T1 font encoding. You can read more about encodings in Chapter 2, Tuning the Text, specifically in the Improving justification and hyphenation recipe. Furthermore, we set the default font family to be sans-serif. I prefer the clean look of sans-serif on a flyer or a leaflet, which usually contains little text in narrow columns.
The remaining part of the preamble is as follows:
- We loaded the microtype package, which improves the justification capabilities by tiny font adjustments. This is especially useful in a situation with narrow columns, such as in this case.
- We loaded the graphicx package to include images such as a logo or a geographic map.
- We hid page numbers. The gobble option stands for \gobble, which is a TeX command that removes the following command or control sequence so that the page number will be absorbed.
Our document body shows the usual sectioning commands and text. You can see that we added an explicit space after the TeX logo with a backslash and a following space. That’s because a space after a macro, such as \TeX, indicates the end of the macro. It doesn’t produce a space in print because punctuation may follow.
To have an image in our template, we used the CTAN lion drawn by Duane Bibby; simply replace it with your own image – a geographic map or a logo, for example.
The remaining text is straightforward and shows some useful layout details, such as the following:
- Centering using the center environment:
\begin{center} ... \end{center} - Arranging points in a bulleted list by using an itemize environment
- Setting up a tabular environment for text, which should be aligned in columns
In the \begin{tabular}{@{}rl@{}} line, the rl characters stand for two columns, where the first one is right-aligned and the second one is left-aligned. The @{code} expression inserts a piece of code instead of a space before or after a column, so @{} replaces it with nothing, which means removing it. We’ve got two columns without additional whitespace on the left or the right, saving our previous line space.
There’s more...
The leaflet class provides some options and commands for customization.
Adding fold marks and cut lines
By default, a small folding mark is printed on the backside. If you would like to omit it, add the nofoldmark option when loading the class:
\documentclass[10pt,notumble,nofoldmark]{leaflet}
You can draw a vertical dotted line with scissor symbols using the \CutLine command in the preamble with a page number as an argument. The line will go between this one and the preceding page, which is as follows:
\CutLine{3}
It would print a dotted line with two scissor symbols on the back side, between pages 2 and 3, where a folding mark would be placed by default. The \CutLine* starred command version would not print the scissors.
Adjusting the margins
Similar to standard classes, you could use page headers and footers. There are none by default here. Standard commands such as \setlength{\headheight}{...} and \pagestyle could be used. leaflet provides an additional command to declare the margins:
\setmargins{top}{bottom}{left}{right}
Adding a background image
You can add an image to the background of a certain page:
\AddToBackground{pagenumber}{\includegraphics{filename}}
Use the \AddToBackground* starred version to let it be printed onto the background of the combined page.
Instead of using the \includegraphics command, you could use another positioning, including or drawing code. Here, the Absolute positioning of text recipe in Chapter 2, Tuning the Text, may be helpful.
Changing the sectioning font
The font size of the section headers is already a bit smaller than with standard classes. If you want to change the headings’ size, shape, or color, you can redefine the \sectfont macro. For example, if we also enabled using color by \usepackage{xcolor}, we could write the following code:
\renewcommand{\sectfont}{% \large\sffamily\bfseries\color{blue}}
This would give a large sans-serif font in bold and with blue color.
For further information regarding fonts, refer to Chapter 3, Adjusting Fonts.