

If your system doesn't support WebGL, there is an alternative renderer that you can use to render your scenes: the CanvasRenderer object. This renderer doesn't use WebGL to render the output, but directly uses JavaScript to draw the HTML5 canvas element.
In the r69 Version of Three.js, the canvas renderer has been removed from the default distribution. To use this renderer, we have to first import the following two files:
    <script src="../libs/CanvasRenderer.js"></script>
    <script src="../libs/Projector.js"></script>
For this recipe, you can take a look at the 01.02-canvasrenderer-skeleton.html example from the sources in this chapter. If you open this example in your browser, you'll see a cube, pretty much like the one in the previous recipe:
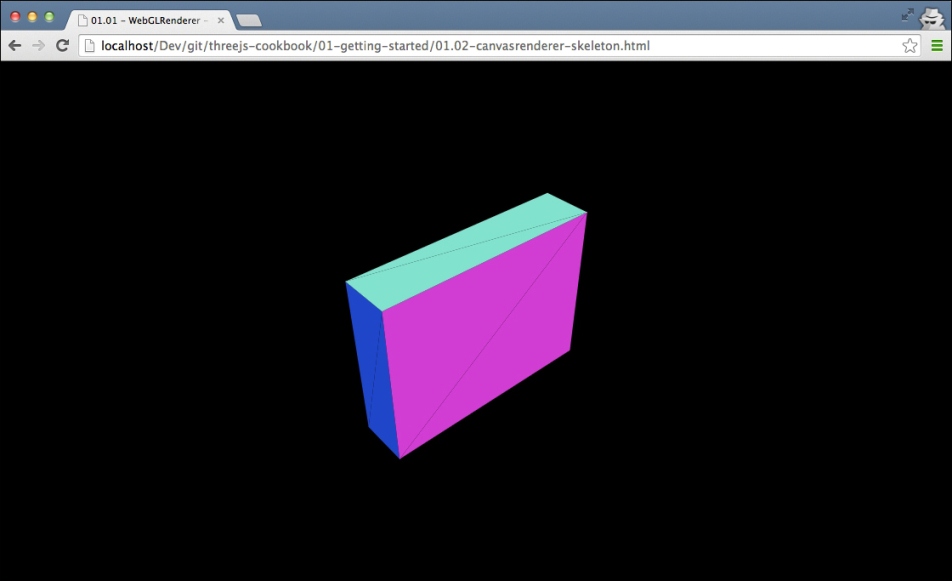
This time, however, this cube is rendered with the HTML5 canvas element. HTML5 canvas is supported on many devices, but provides less performance than the WebGL- based solution.
To set up the WebGL renderer, you will follow exactly the same steps as we showed in the previous recipe, Getting started with the WebGL renderer, so we won't go into the details in this section but we'll just list down the differences:
To get started with the
THREE.CanvasRendererobject, the only thing we need to change is the following:Replace the
THREE.WebGLRendererobject in the following piece of code:renderer = new THREE.WebGLRenderer(); renderer.setClearColor(0x000000, 1.0); renderer.setSize(window.innerWidth, window.innerHeight);Replace the THREE.WebGLRenderer object with the
THREE.CanvasRendererobject as follows:renderer = new THREE.CanvasRenderer(); renderer.setClearColor(0x000000, 1.0); renderer.setSize(window.innerWidth, window.innerHeight);
And that's it. With this change, we move from rendering using WebGL to rendering on the HTML5 canvas.
The main difference between the HTML5 canvas renderer and the WebGL renderer is that this approach uses JavaScript to directly draw to the HTML5 canvas for rendering your 3D scene. The main issue with this approach is the lousy performance. When you use the THREE.WebGLRenderer object, you can use hardware-accelerated rendering. However, with the THREE.CanvasRenderer object, you have to completely rely on software-based rendering, which will result in lower performance. An added disadvantage of THREE.CanvasRenderer is that you can't use the advanced materials and features of Three.js, as that relies on WebGL specific functionality.
If you can use the WebGL approach given in the Getting started with the WebGL renderer recipe, you should really use it. It provides more features than those that are available with the canvas-based approach, and has much better performance.
In the following recipe, Getting started with the CSS 3D renderer, this will also show a different approach where we use the CSS 3D-based renderer to animate the HTML elements. CSS 3D also provides hardware accelerated rendering, but only has support for a limited set of Three.js features.