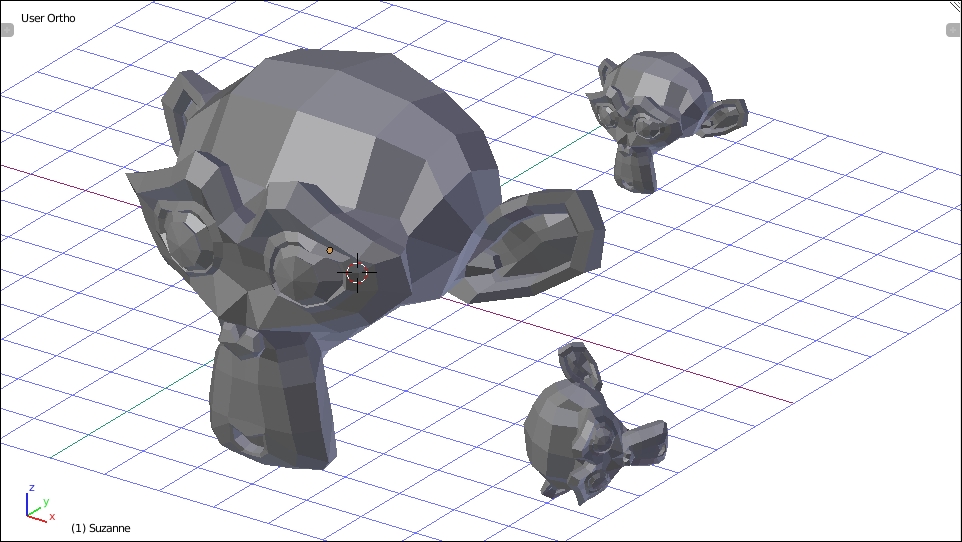
In Blender, transforming an object changes the size, direction, or location of a thing without changing its shape. There are three basic transformation commands that are used frequently: Grab and Move, Rotate, and Scale.
To transform an object, be sure the object is selected, and then, from the 3D View menu:
Select Object | Transform | Grab/Move or press G on the keyboard to move the object
Select Object | Transform | Scale or press S on the keyboard to scale the object
Select Object | Transform | Rotate or press R on the keyboard to rotate the object
Then, move the mouse or use the arrow keys to transform the object. When the transformation has been accomplished, press Enter or the select mouse button to end the operation, or the transformation can be cancelled by pressing the not-select mouse button or the Esc key. The following diagram shows these object transformations:

Transformations can also be undone after they're completed by pressing Ctrl + Z.


