
Understanding where SketchUp fits in the 3D printing workflow
3D printing is not a simple process of just pushing the “Print” button on your 3D printer and sitting back and waiting for the print to finish. To get your printer started on a print, you first have to create the geometry that will make up that print. This file then has to be made into a format that your printer will understand. Telling your printer to start printing the file is actually one of the final steps in the 3D printing workflow.
To understand where SketchUp fits into this workflow, let’s take a look at the whole thing, step by step, from idea to final print. I think that the easiest way to visualize this workflow is shown in Figure 1.1:
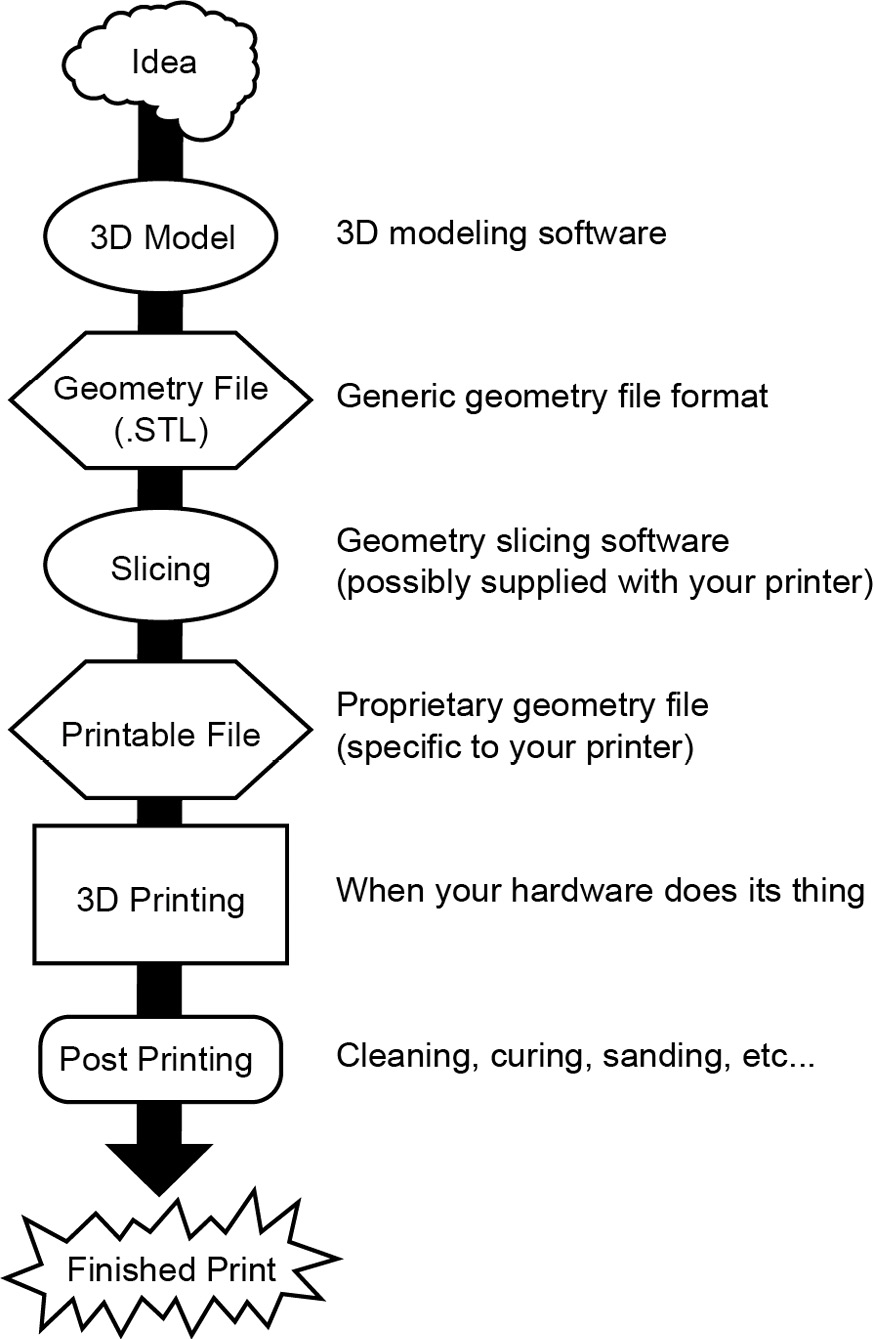
Figure 1.1 – Brief 3D printing workflow overview
While this is a general overview and may miss a specific step or two from your final workflow, this does cover the basics. To see exactly where SketchUp fits into this workflow, let me walk you through the process with an actual 3D print project:
- Idea – This is where it all starts. Whether it is the need to replace a broken knob on your stove, create a piece for a board game, or bring a piece of art into the world, the first step is identifying what you want to create. I decided that I wanted to create a tiny coffee cup. Often, in the afternoon, my wife will ask for a cup of coffee. Since she does not want to be kept up at night, she will ask if I can make her a cup of “baby caffeine” coffee, which is made with mostly decaf coffee grounds and a little bit of regular. Next time she asks for this, I will pour her some coffee in a baby coffee cup!
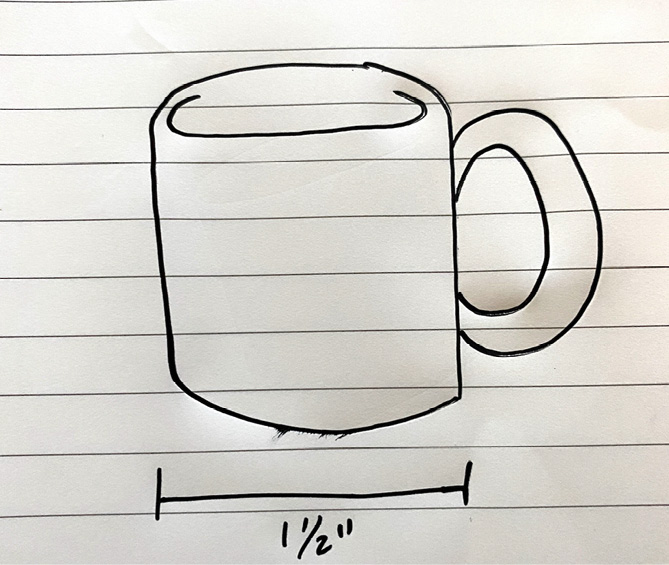
Figure 1.2 – A hand drawing of my idea
- 3D Model – The next step is turning your idea into a 3D model. In some cases, this may mean finding an existing model to use as a starting point, while in other cases, it may mean starting from scratch. Regardless, you will need to create a three-dimensional representation of the thing that you want to print. This step is where SketchUp comes into play. In SketchUp, I can create a 3D model of the baby coffee cup. Any details I want in this print are included in the model and the final model will be at the proper scale.
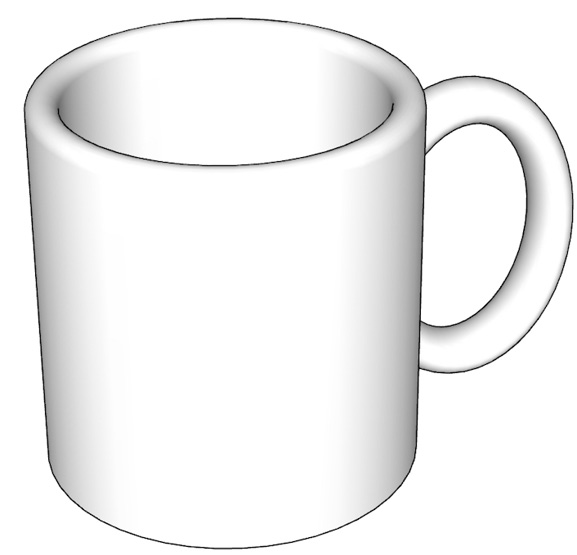
Figure 1.3 – A 3D model of my baby coffee cup
- Geometry file – While there are multiple file formats that can contain 3D geometry, most 3D prints end up, sooner or later, as a
.stlfile. This type of file contains simple information about 3D geometry, breaking it down into a bunch of connected triangles and showing where they exist in relation to each other. Once I completed my model in SketchUp, I exported it as a.stlfile. In Figure 1.4, you can see that saving my coffee cup as a.stlfile revealed all the triangular surfaces used to make up the smooth surfaces:

Figure 1.4 – The original SketchUp model on the left, the .stl file geometry on the right
- Slicing – Now that the geometry is in a format that any program can read, it needs to be broken down into layers of 2D geometry that the printer will be able to create. Whether this file will end up being printed on an FDM or SLA printer, it will need to be sliced so that the printer can create the model one layer at a time. For my print, I used ChituBox to prepare my model (angling the model from the build plate, adding supports, and slicing for the printer). In the following figure, you can see the file that will be sent to the printer:
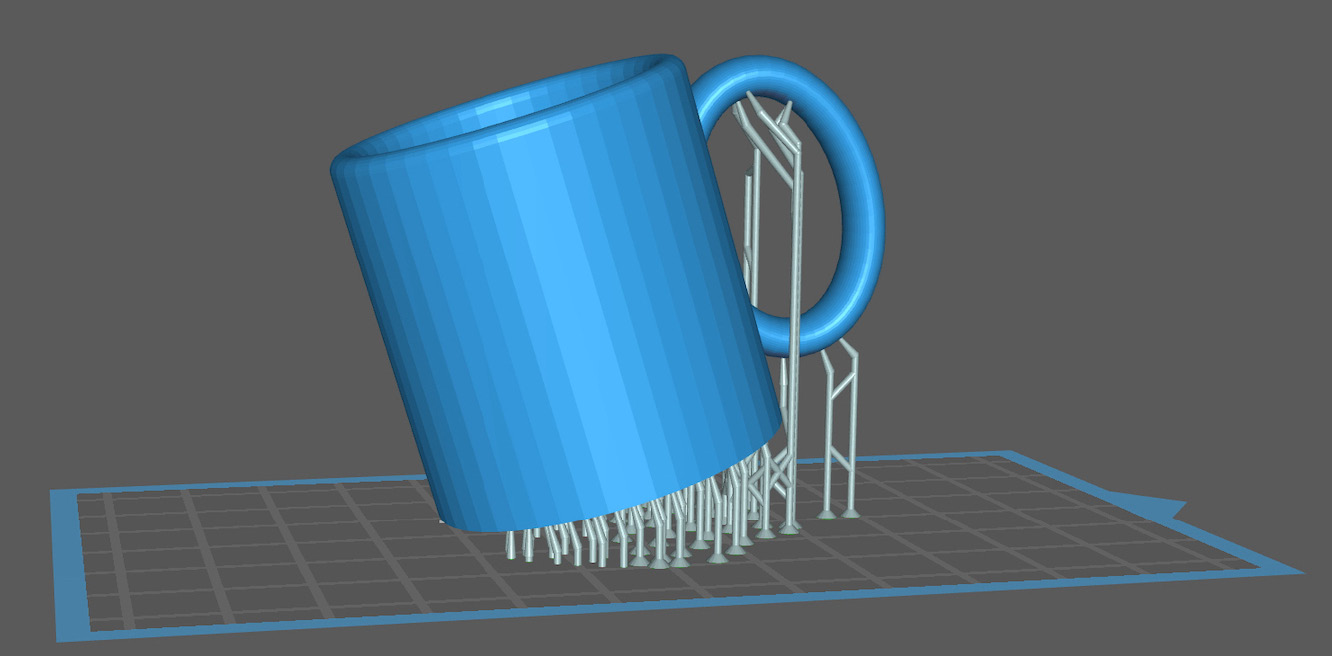
Figure 1.5 – My baby coffee cup design, sliced and supported
- Printable file – Once the slicing software is done, it will export a file that can be read by the 3D printer. This file may be in a proprietary format (specific to the printer). Often, 3D printer users will use the slicing software that came with the printer, while others may use third-party software. This is largely a personal choice. The important part is that you end up with the files that will tell the printer what to print. In my case, as I am printing to an Elegoo printer, which reads ChituBox files, I exported a
.ctbfile format onto a USB drive. - 3D Printing – Once the file is exported, it needs to find its way to the printer. This may happen via a USB cable, a flash drive, or over Wi-Fi. Once the file is on the printer, the magic happens. Well, it is actually less “magic” and more “waiting to see if the printer will print the whole thing without hitting any issues.” This step is the part that you see in all the YouTube videos about 3D printing. This is where you get to see your idea come to life! With this step, my baby coffee cup has come to life!
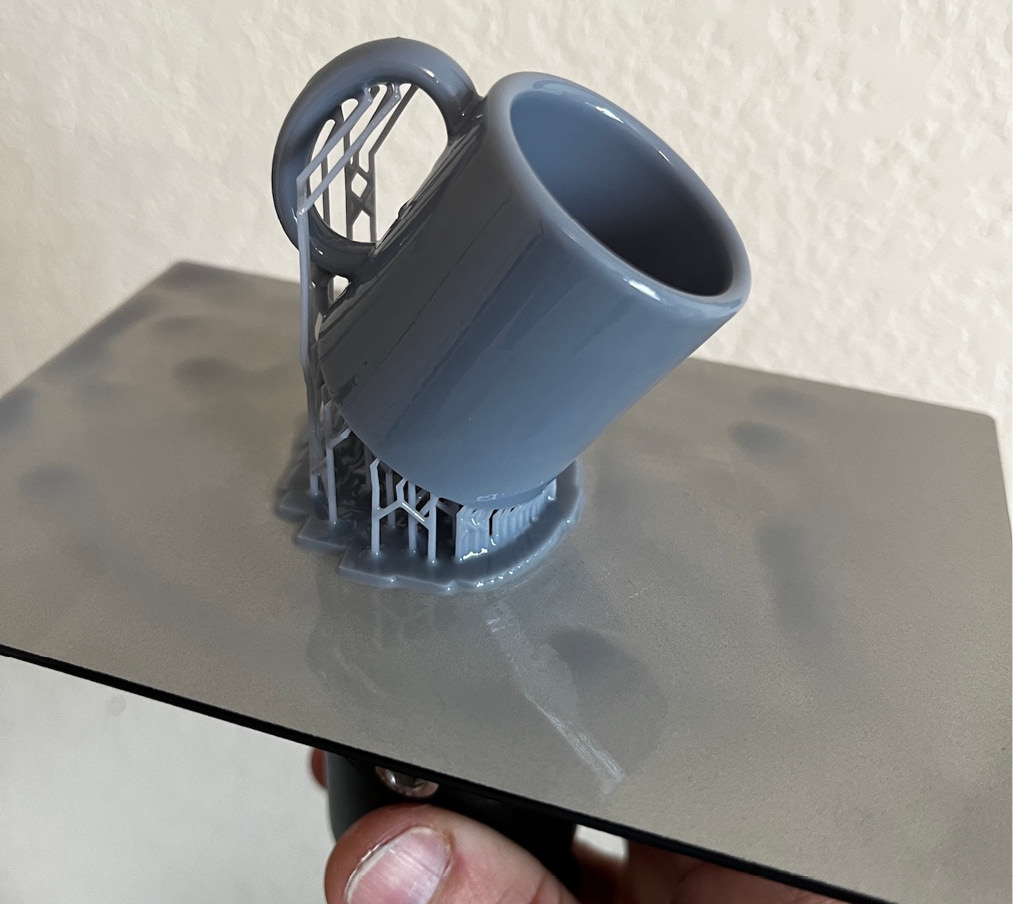
Figure 1.6 – The baby coffee cup exists!
- Post printing – I mention this step only because I am a realist. 3D printers are great in their ability to create real geometry from nothing. Fused plastic or cured resin turns our ideas into actual matter, which is awesome. Before you are done, however, you do have to clip support material, sand, and polish. There may even be some curing and painting before your vision is finally realized. For my project, this meant removing the supports, washing the cup in alcohol, curing the model in UV, then some light sanding and painting.
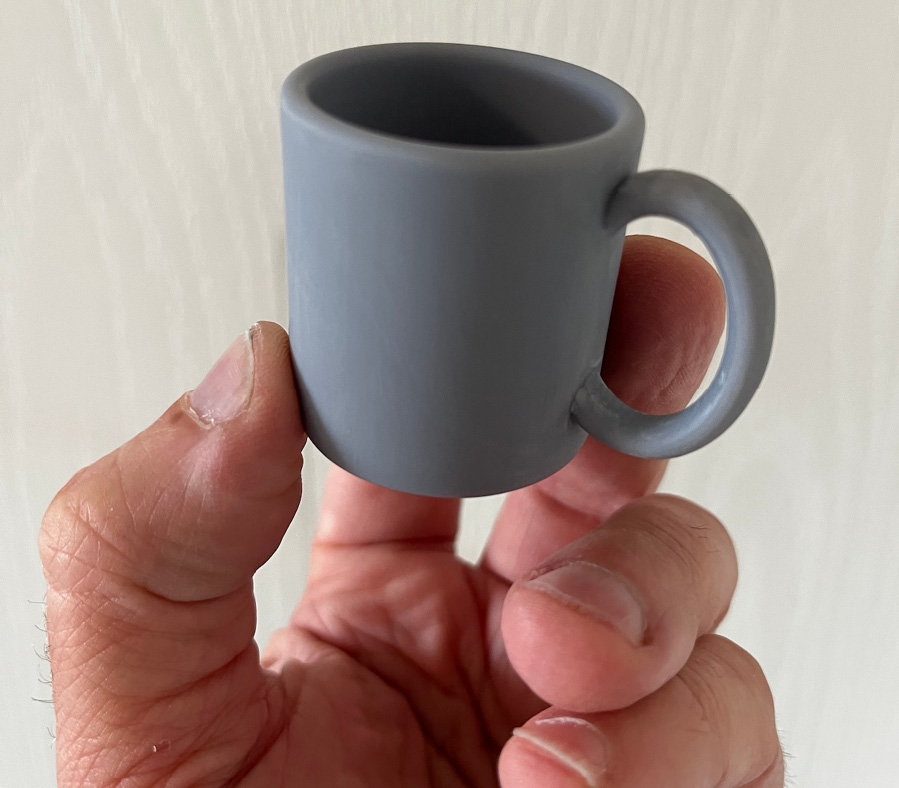
Figure 1.7 – This is my baby coffee cup, ready for paint
- Finished Print – Eight simple steps later, you are holding your idea in your hand! My baby coffee cup is ready for my wife’s next order of a “baby caffeine” afternoon coffee!
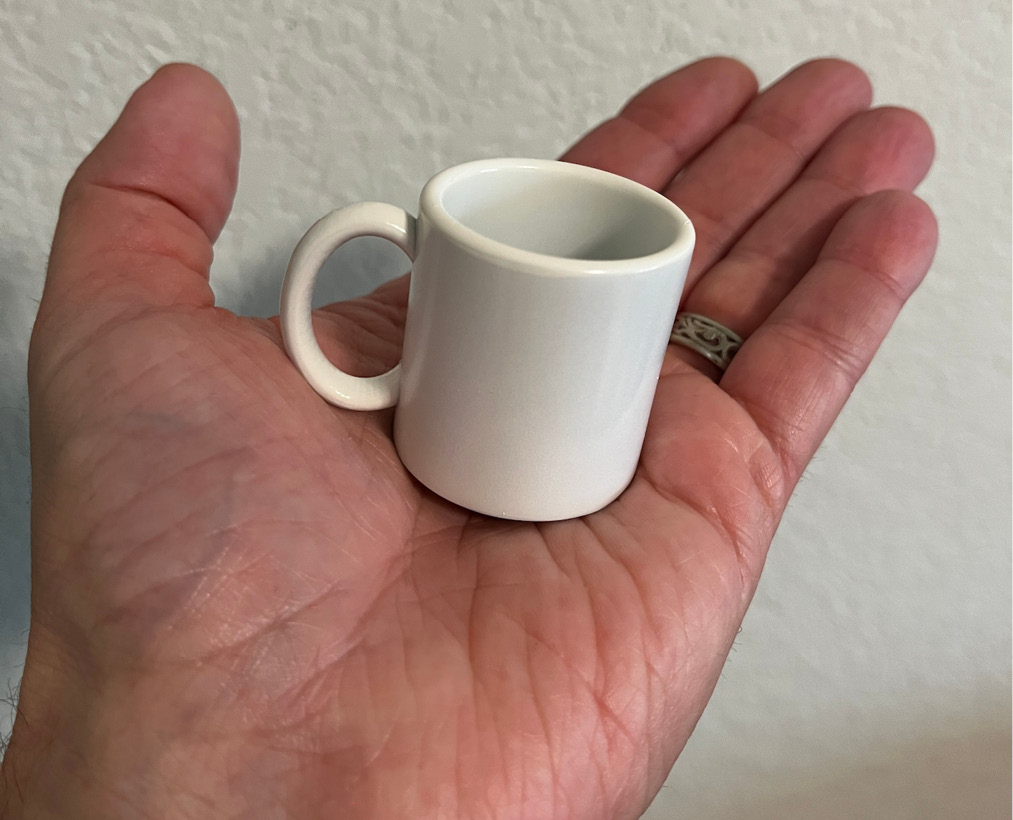
Figure 1.8 – The final print, painted and ready for use
When you step back and look at the steps, you will realize that there are quite a few of them. SketchUp will help you with two specific and very important steps. While all of these steps are necessary, the one that we will be focusing on in this book is the creation of 3D geometry and export of the .stl file.
Now that we are familiar with the broad strokes, let’s dive deeper into the creation of a brand-new 3D model and a .stl file in the next section.