
Using SketchUp as an editor
One of the most amazing things about the 3D printing community is the members’ willingness to share their printable creations. In some cases, you may purchase models from a creator or a company, or even use online tools to generate models of things, such as characters for games. In other cases, you may be able to download shared models for free and print them right away.
Depending on the model you download and your specific use for the print, you may want to make a change to the geometry before printing. This may be as simple as changing the size of the model but may be more involved, such as adding a figure to a custom base, or adding or removing geometry so that the model can serve a specific purpose in the real world.
Resizing models in the slicer
Every single slicing program I have used has had the option to set the scale of the imported geometry. This works just fine if you want to make it a little bigger or a little smaller, or if you need to scale to get your model to fit on the build plate. Where this can fall short, however, is if you want the model to be a specific height or length.
Take, for example, this ghost print. I printed a copy, but the bottom of the print did not sit flat. To fix this, I decided to add a base. I started by importing the .stl file in to SketchUp.
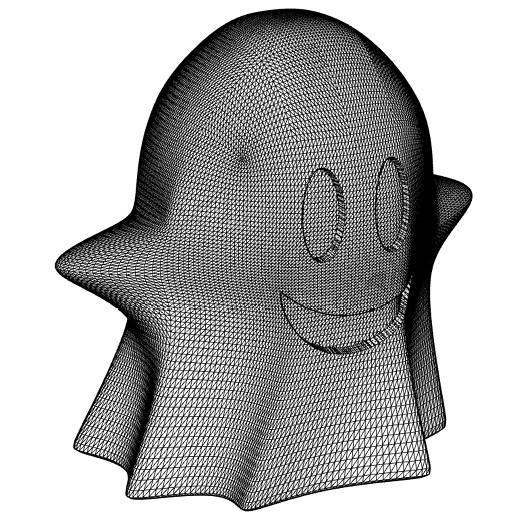
Figure 1.12 – Imported .stl ghost mesh
Once the mesh was imported, I modeled a quick circular base in SketchUp and merged the two pieces together. This created a new model that I could print that I know will sit flat on my desk.

Figure 1.13 – The imported ghost mesh merged with the new base geometry
Edits to imported models can be much more extensive and can include things such as breaking models into smaller, printable chunks or adding mechanical connection points between pieces. Basically, if you have a .stl file of a model and want to change anything about it, then you can make those changes in SketchUp.
Occasionally, you will have an issue with a model that just needs to be fixed, as opposed to any kind of edits. Let’s talk about repairing geometry in the next section.