
Making sense of the Blender UI
If this is your first time booting up Blender, it can be overwhelming – so many tabs and gizmos feeding you information. Of course, because you can do so many things in Blender, that also means there are a lot of options. So, before diving straight into topology, let’s take a moment to look through the UI.
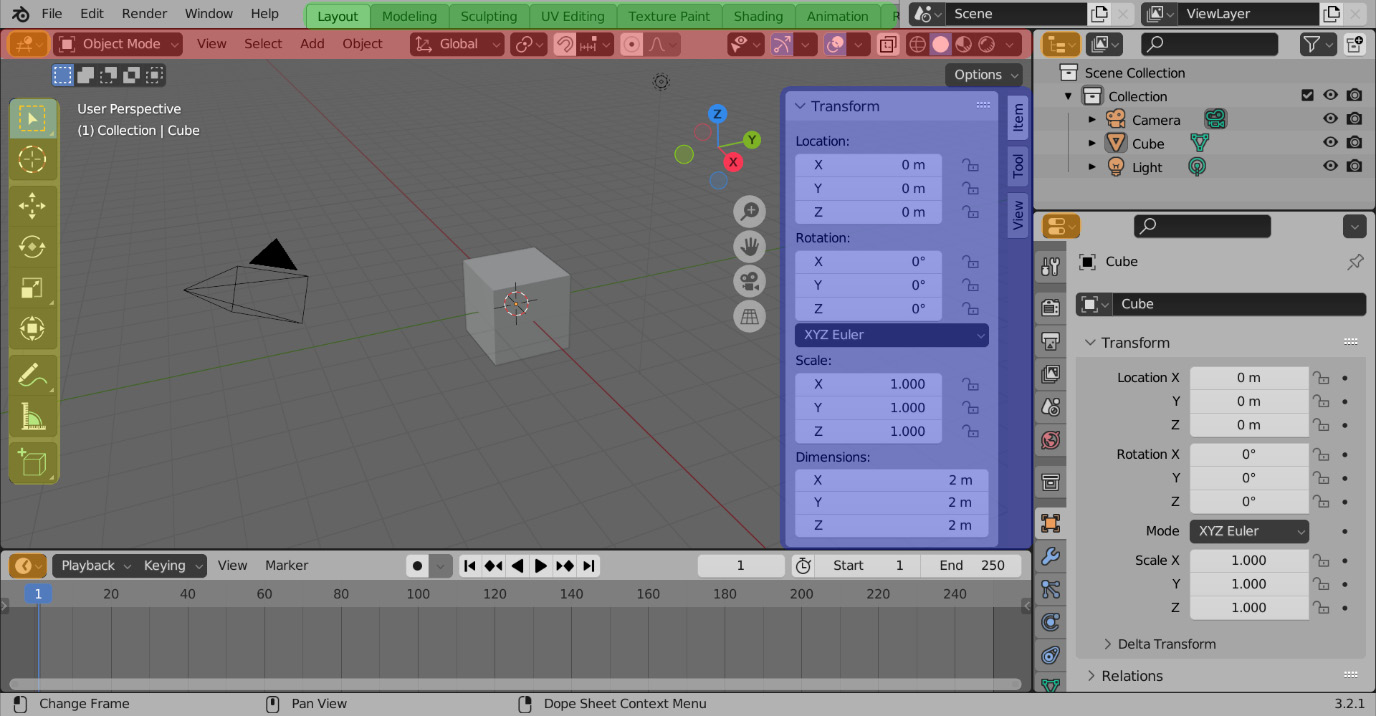
Figure 1.1 – The Blender UI
The Blender UI houses all of the different sections we will be using. The UI is broken up into five sections, the Header, Workspaces, Areas, the Toolbar, and the Sidebar. You can see these sections highlighted in Figure 1.1. Let us get a sense of what each of these areas contains:
- The Header, highlighted in red, contains object interaction mode, which determines how you want to affect an object, and the options for that mode. In the preceding figure, it is set to Object Mode.
- The Workspaces, highlighted in green, are preset tabs set up for a specific operation. In the preceding screenshot, we are in the Layout workspace.
- The Areas are where each of the individual editor types, highlighted in orange, are contained. Editor types are used to manage the many workflows of Blender.
- The Toolbar, highlighted in yellow, displays the tools for the object interaction mode that you have selected. Its visibility can be toggled by pressing T.
- The Sidebar, highlighted in blue, shows specific details about the object you have selected, such as its dimensions. It can be toggled by pressing N.
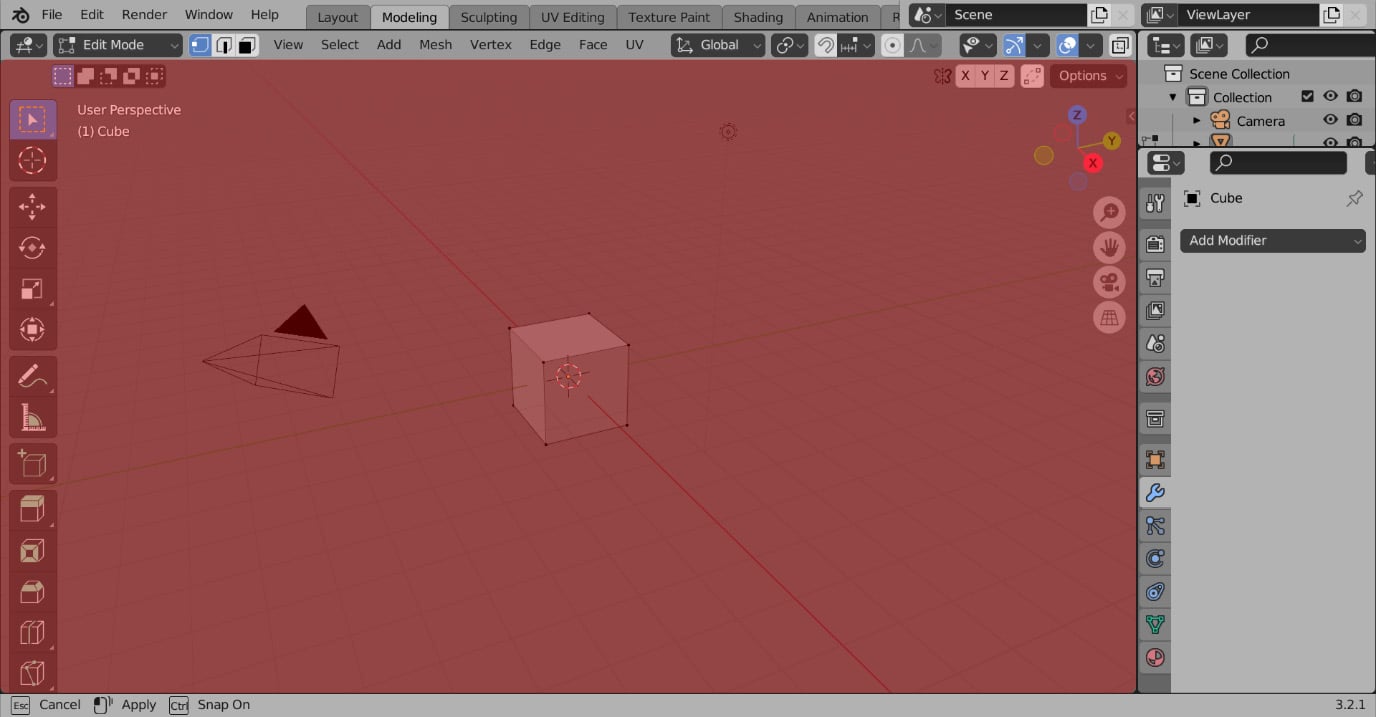
Figure 1.2 – The main region workspace
The workspace we will be working in the most will be the Modeling tab. The main region, highlighted in red in Figure 1.2, is the area that takes up the most screen space. The Modelling tab’s main region is the 3D Viewport by default. The viewport is the editor type that shows the 3D object. This is the area that allows you to move around in 3D space. These are highlighted in Figure 1.2.
Now that we know where the major parts of the Blender UI are, we can take a look at how to navigate in the 3D Viewport. This is the main area we will be using when looking at our models.