
What is a UV map?
To start out, what is a UV map? A UV map is a 2D representation of a 3D mesh. It is where you take all of the faces of your mesh and flatten them out. In Figure 4.1, you can see a cube next to its UV map:
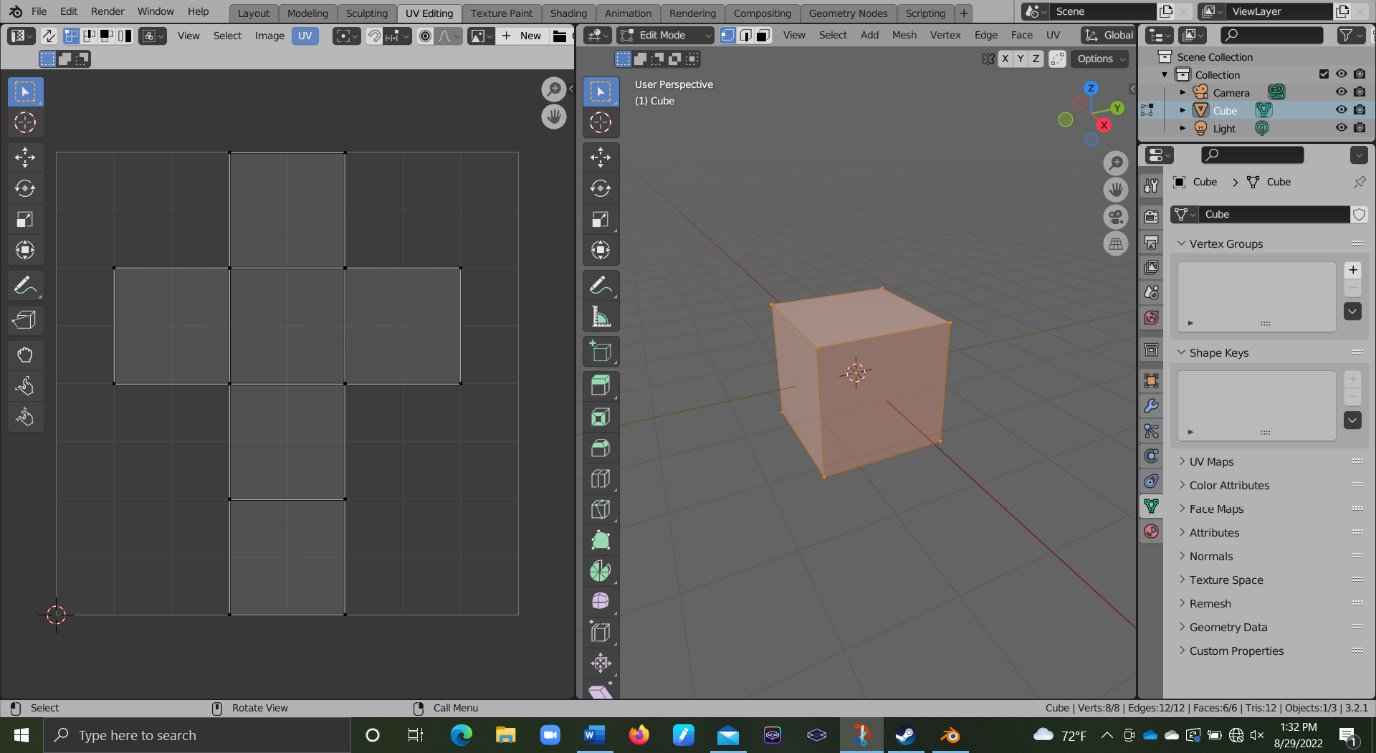
Figure 4.1 – UV map of a 3D cube
To view your UV map, it is easiest to navigate to a different workspace at the top of your screen. The workspace you are looking for is the UV Editing workspace. You can see this workspace in Figure 4.2:
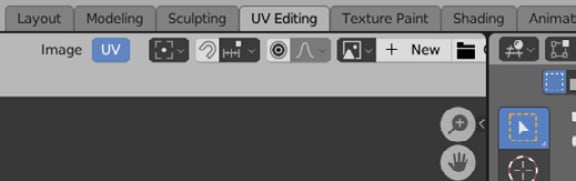
Figure 4.2 – UV Editing workspace
Now that we are in the UV Editing workspace, your screen should match the layout of Figure 4.1. To see your UV map on the left, go through the following steps:
- Select the object in Object Mode.
- Then switch to Edit Mode.
- And finally, press A to select all of the faces of the model.
By default, you can only edit the UVs of faces that you have selected.
With all of the faces selected, you should now see...