

Identifying grids on a complex shape
We are going to be using this object shaped like a pair of pants in Figure 2.29 as our practice shape.
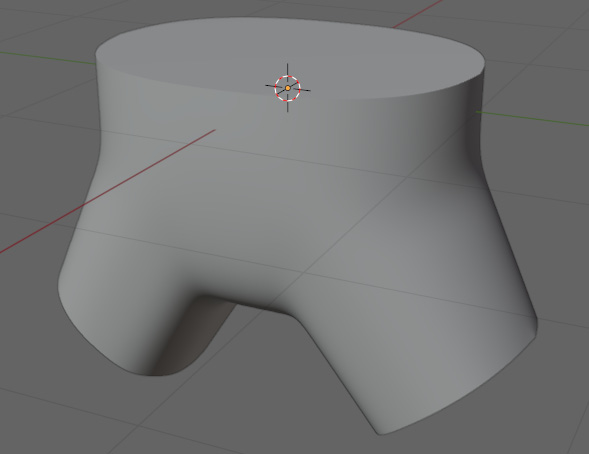
Figure 2.29 – Practice shape
In our example, we will be using a tool called snapping. Snapping snaps your selection to an edge, face, vertex, or volume. The example uses snapping to faces. Snapping to faces can be enabled by pressing the magnet at the top of the viewport, and the options can be shown by pressing the arrow next to the magnet. The settings can be seen in Figure 2.30.
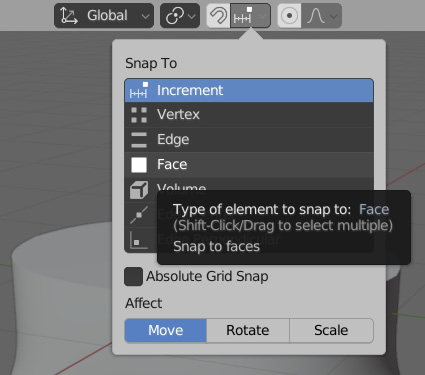
Figure 2.30 – Snap To menu
To start, we will identify the defining shapes of the mesh. All we are looking for are the specific areas that we know we want the edges to line up with. These areas are highlighted in Figure 2.31.
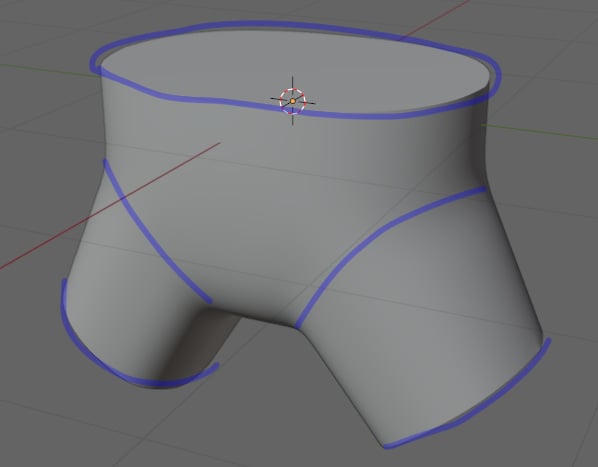
Figure 2.31 – Areas to line our vertices to
The next steps are going to give you an overview of the general process we are going to use...