

Applying the bending and stretching deformation rule
In Figure 3.1, you can see an elbow joint. This is one of the most common joints modeled on a mesh being deformed by an armature. Deformation refers to the bending or stretching of a mesh and is used to describe any shifting of the mesh after the mesh is finished.
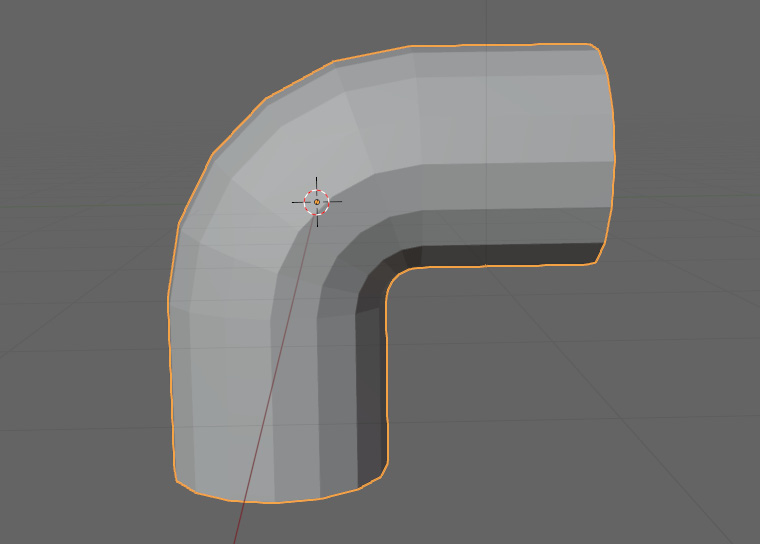
Figure 3.1 – An elbow joint
Our first deformation rule is that the edges of our grid need to be parallel to the axis of deformation. That is a bit of a mouthful, so we are going to break it down with a few examples. In Figure 3.2, we have a plane that has been bent around the y-axis.

Figure 3.2 – A plane bent around the y-axis
Go through the following steps to make this shape:
- First, start by pressing Shift + A.
- Add a plane from the mesh dropdown.
- Then, go into Edit Mode.
- Click on RMB, and select Subdivide.
- In the bottom left of the Viewport, the Subdivide tab will appear ...