
What a 3D mesh is and how it can be manipulated
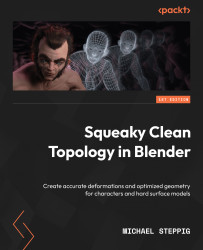
First, we will talk about what a 3D mesh actually is. A mesh constitutes one or more geometric points called vertices. These vertices can be connected by edges, and those edges can be connected with faces. A mesh is contained within an object. You can see all of these in Figure 1.7. An object contains one or more meshes and acts as a container for all of the data stored in the mesh.
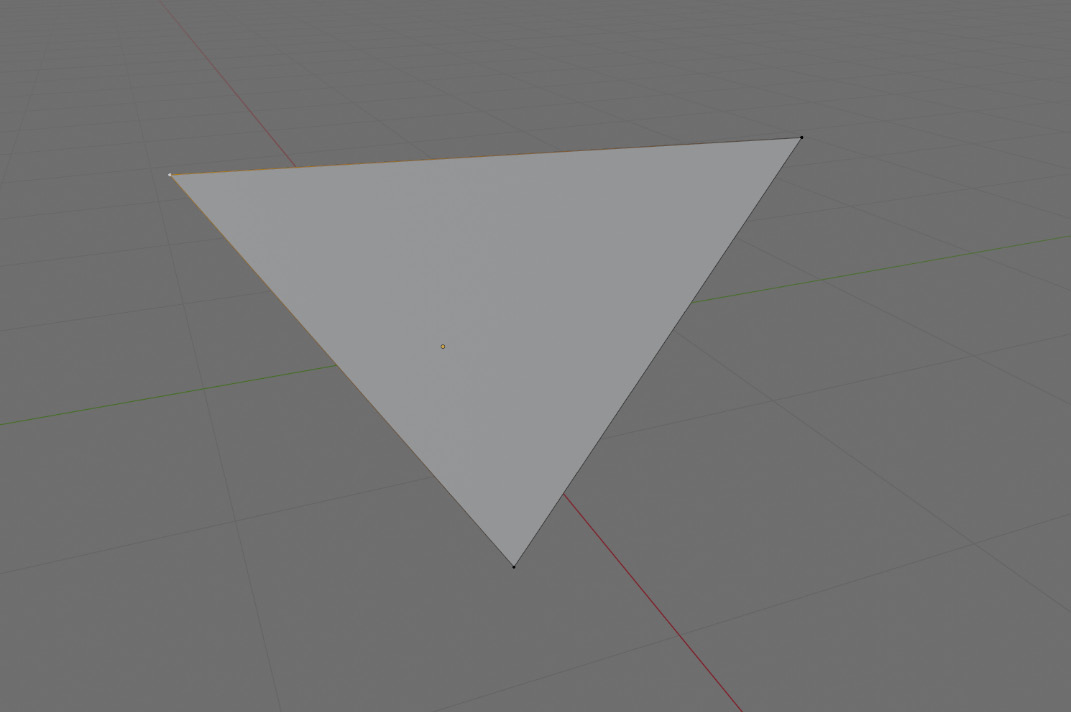
Figure 1.7 – Vertices, edges, and faces forming a triangle
To edit the mesh of an object directly, you need to have the object you want to edit selected in the object selection mode called Object Mode (see Figure 1.8). To select an object, follow these steps:
- Press the LMB on the object in the viewport.
- Then, switch the object selection mode to Edit Mode by pressing LMB on the icon at the top left and selecting it from the drop-down list.
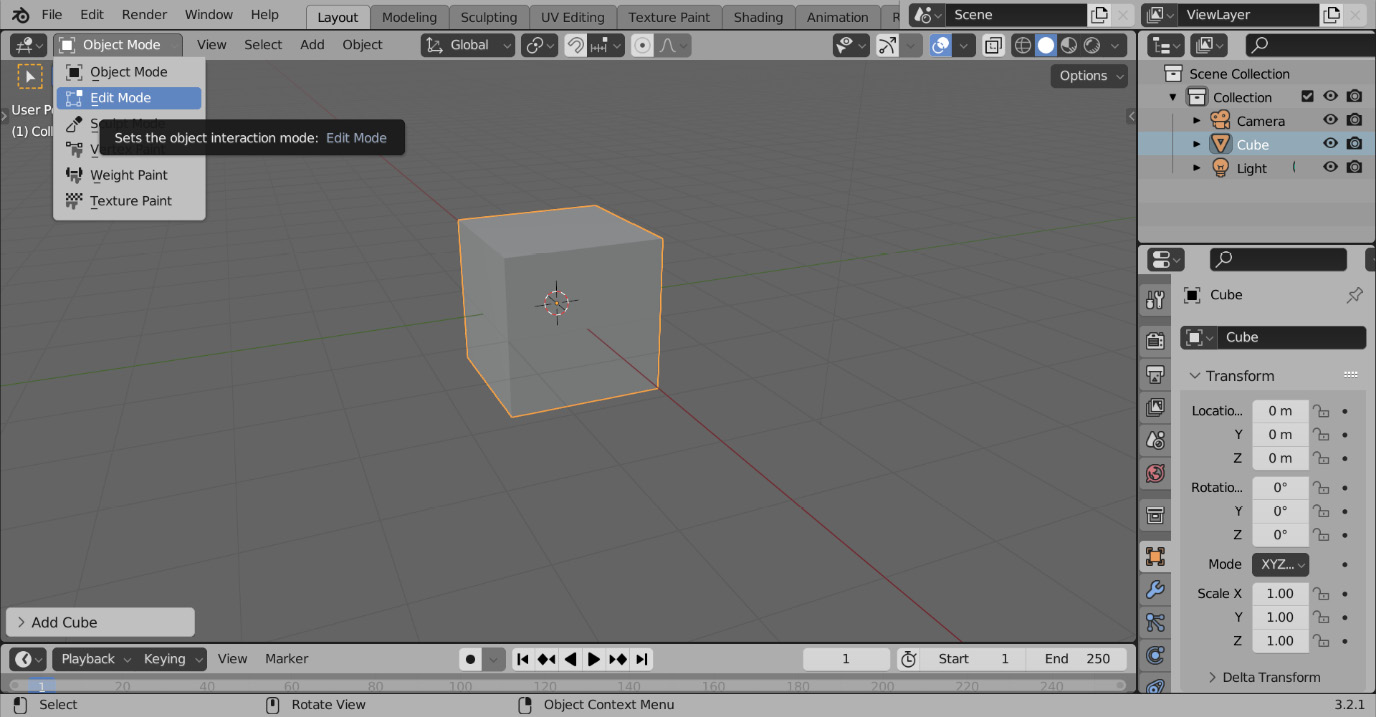
Figure 1.8 – The Object Interaction Mode tab
Alternatively, you can also press the Tab hotkey to switch to Edit Mode with the object selected.
Now that we are in Edit Mode, we can start to manipulate the mesh, starting with selection. Select modes are located in the top left of the header, as shown in Figure 1.9.
Figure 1.9 – Select modes – vertex, edge, and face from left to right
Select modes allow you to select a part of the mesh to change. The three buttons from left to right enable you to select a vertex, select an edge, and select a face respectively. You can enable these individually, or hold Shift and select multiple modes to enable.
To select a vertex, hover over the vertex you want to select and press the LMB. To select multiple vertices, hold Shift while selecting the other vertices. Selections have two types: selected and active. Selected vertices are a darker orange, while active vertices are highlighted in a brighter orange or white. Figure 1.9 shows two vertices selected, with one of them active.
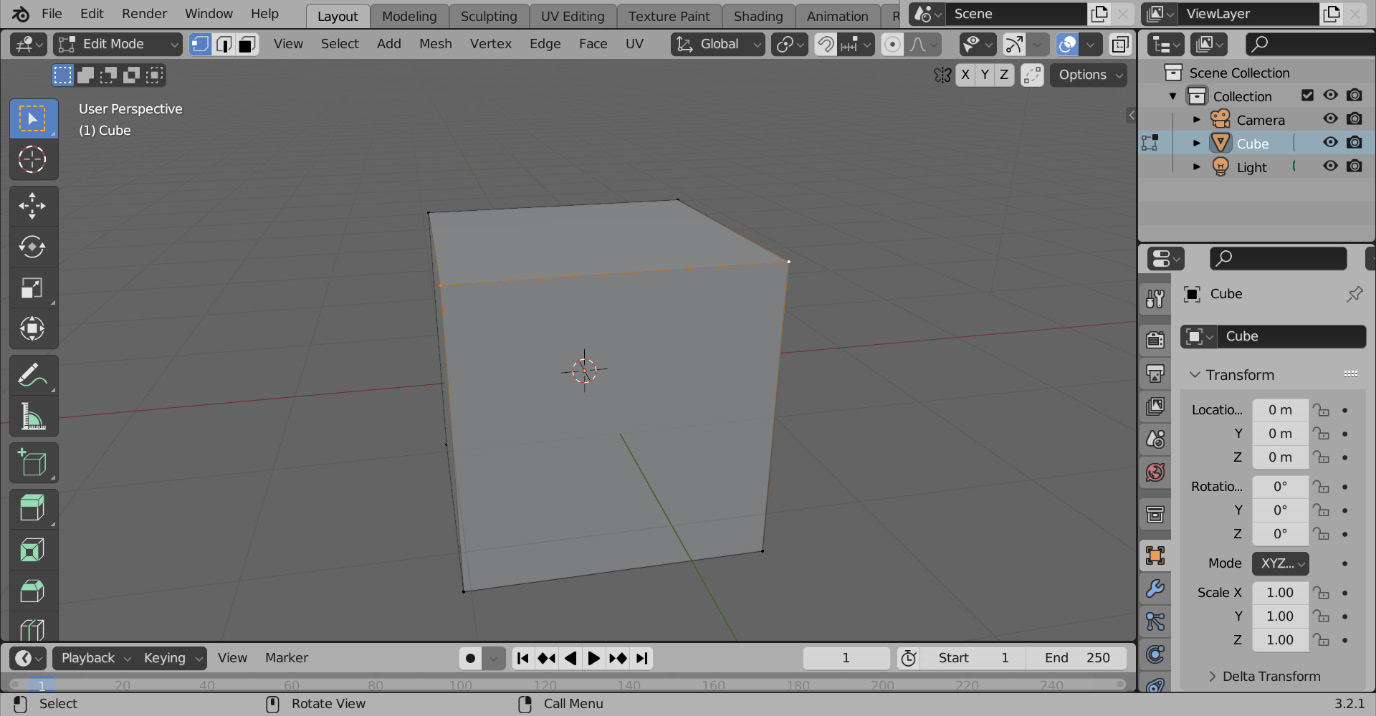
Figure 1.10 – The selected vertex on the left and the active vertex on the right
The active selection will always be the one that has its data displayed in the editor types and sidebar. You can press A to select everything and Alt + A to unselect everything.
Now that we know how to select different parts of the mesh, we can actually start doing operations
- To translate a mesh, just select the vertices, edges, or faces you want, and then press G and move your mouse to the desired location.
- It is equally easy to scale. Start by pressing S, and then move closer or farther from the point you are scaling from to change the scale.
- To rotate, press R and rotate your cursor around the point or rotation to change the rotation.
- To finalize any transform, simply press the LMB, and to cancel a transform, press the right mouse button (RMB).
- You can also lock all of these transforms along a specific axis. Just press X, Y, or Z after pressing the transform button and it will lock you into its respective axis.
In Figure 1.11, you can see the mesh being scaled along just the Z axis by pressing S and then Z.
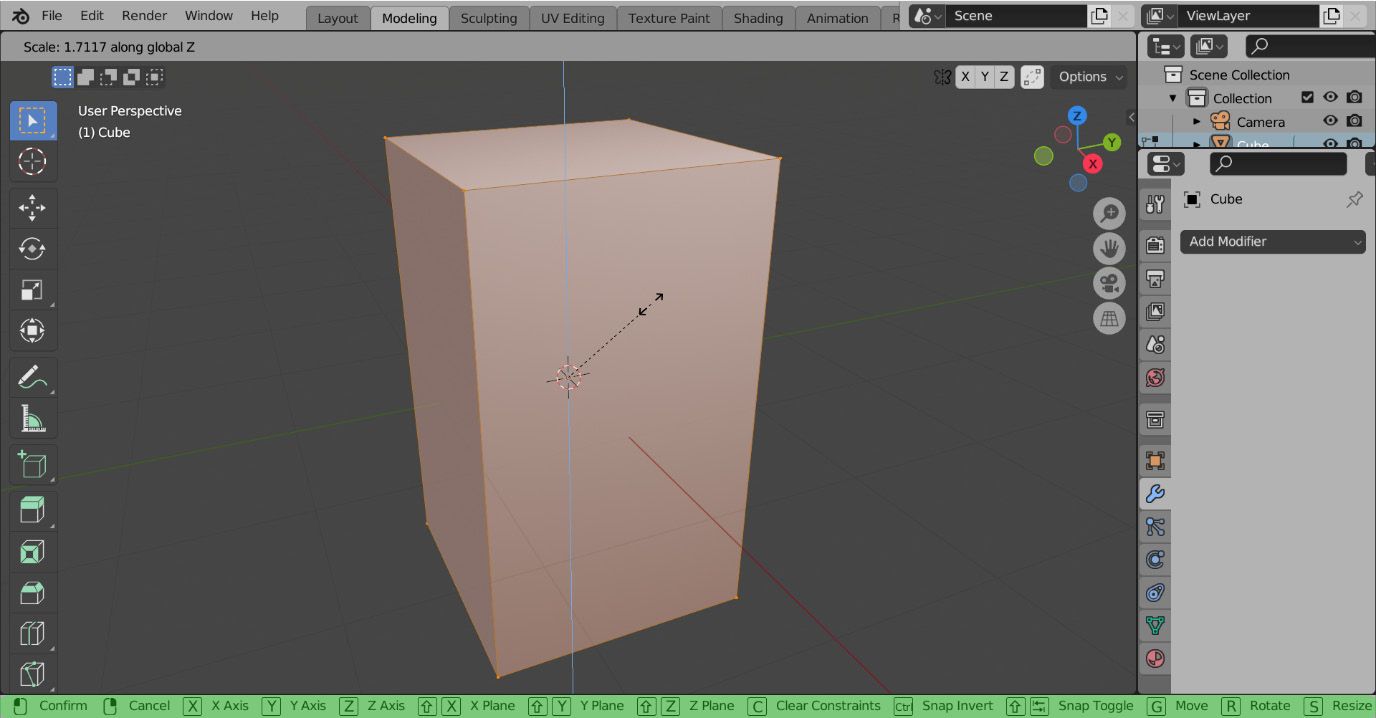
Figure 1.11 – Mesh scaling on the Z axis
Also, note that at the bottom of the screen, more transform options are listed, as highlighted in green in Figure 1.11. We will not be exploring these options within this book, but these can be helpful to know about when you start modeling on your own.
Now that we know how to move the mesh around, we can start adding some more geometry.