

Naming and renaming markers
To better identify markers when scoring to the picture, instead of using generic names such as Marker 1, Marker 2, and so on, we will use the imported spotting notes list in Logic Pro to name them. This will help to see clearly the events of the spotting list in the ruler within the scene cuts.
To do this, click on the List Editors button (shortcut D) and then click on the Marker tab:
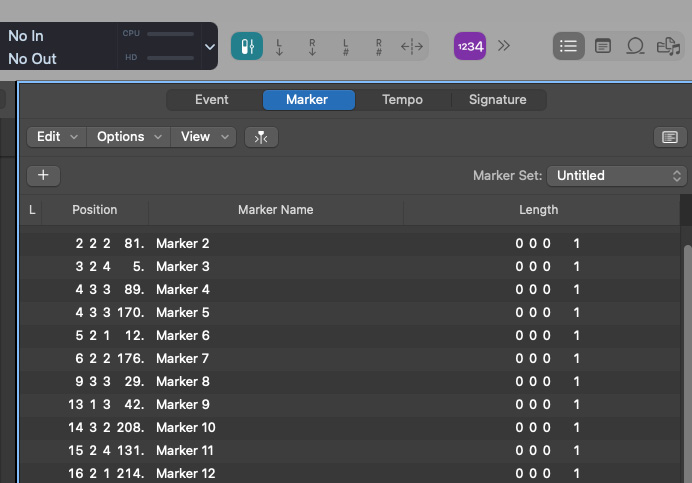
Figure 6.11: Marker window
With the Marker tab now blue, click, hold, and drag it to the middle of the Logic Pro Arrange window. When you let the window go, Logic Pro will create a floating Marker window.
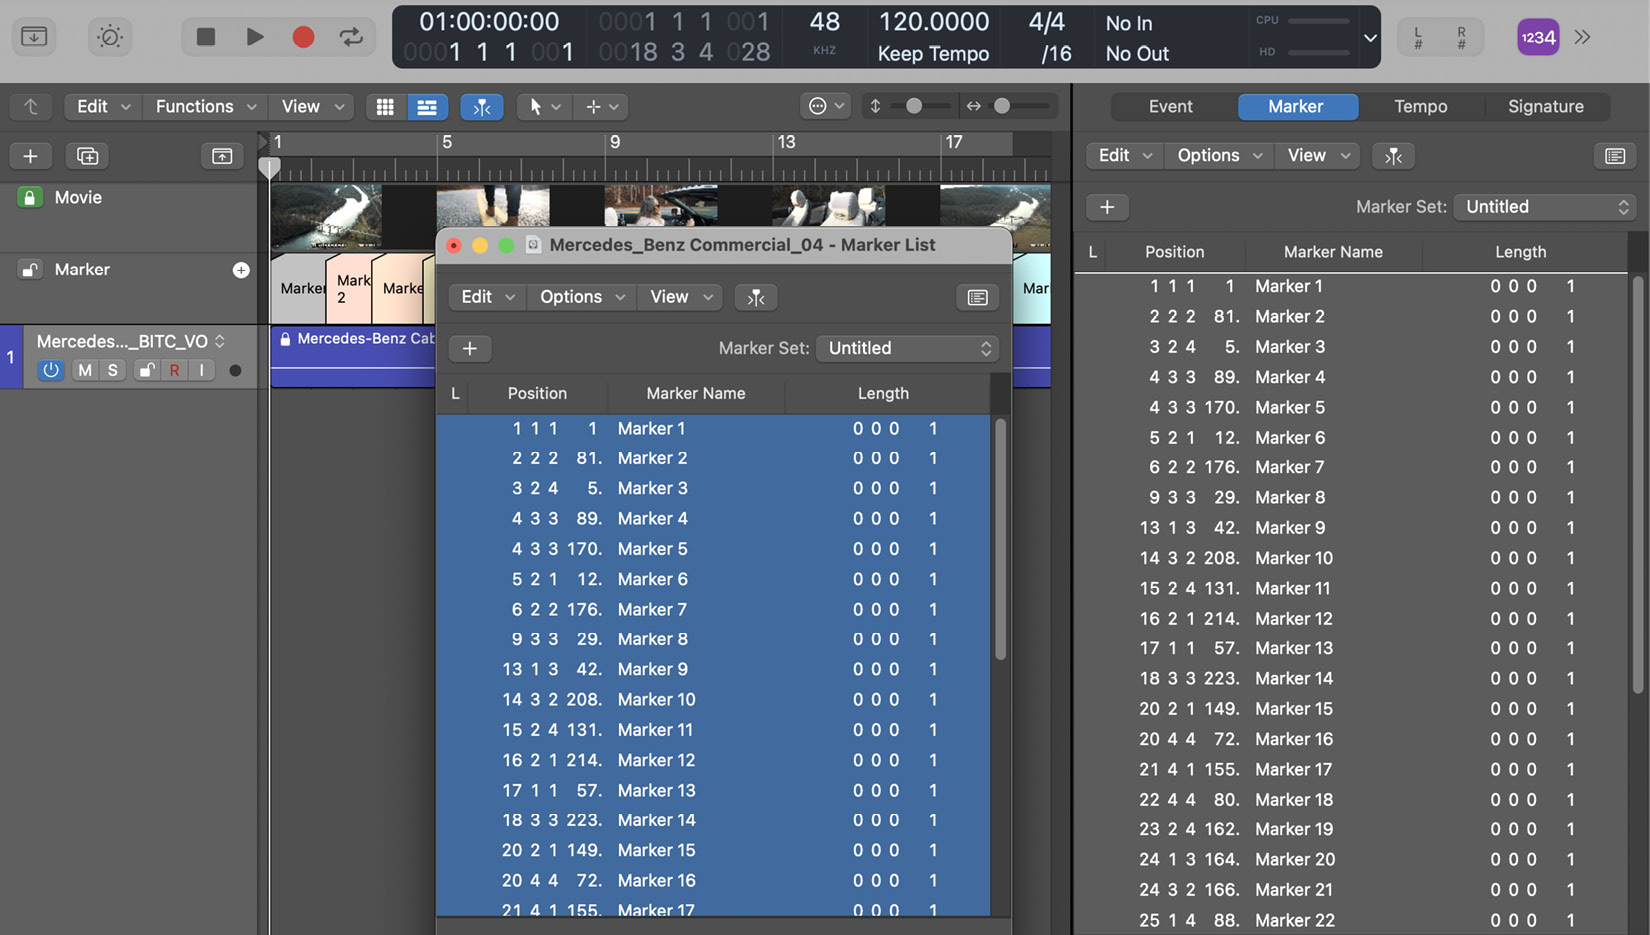
Figure 6.12: Floating Marker window
Next, click on the Notes tab and you should see Logic Pro notes and the floating Marker window:
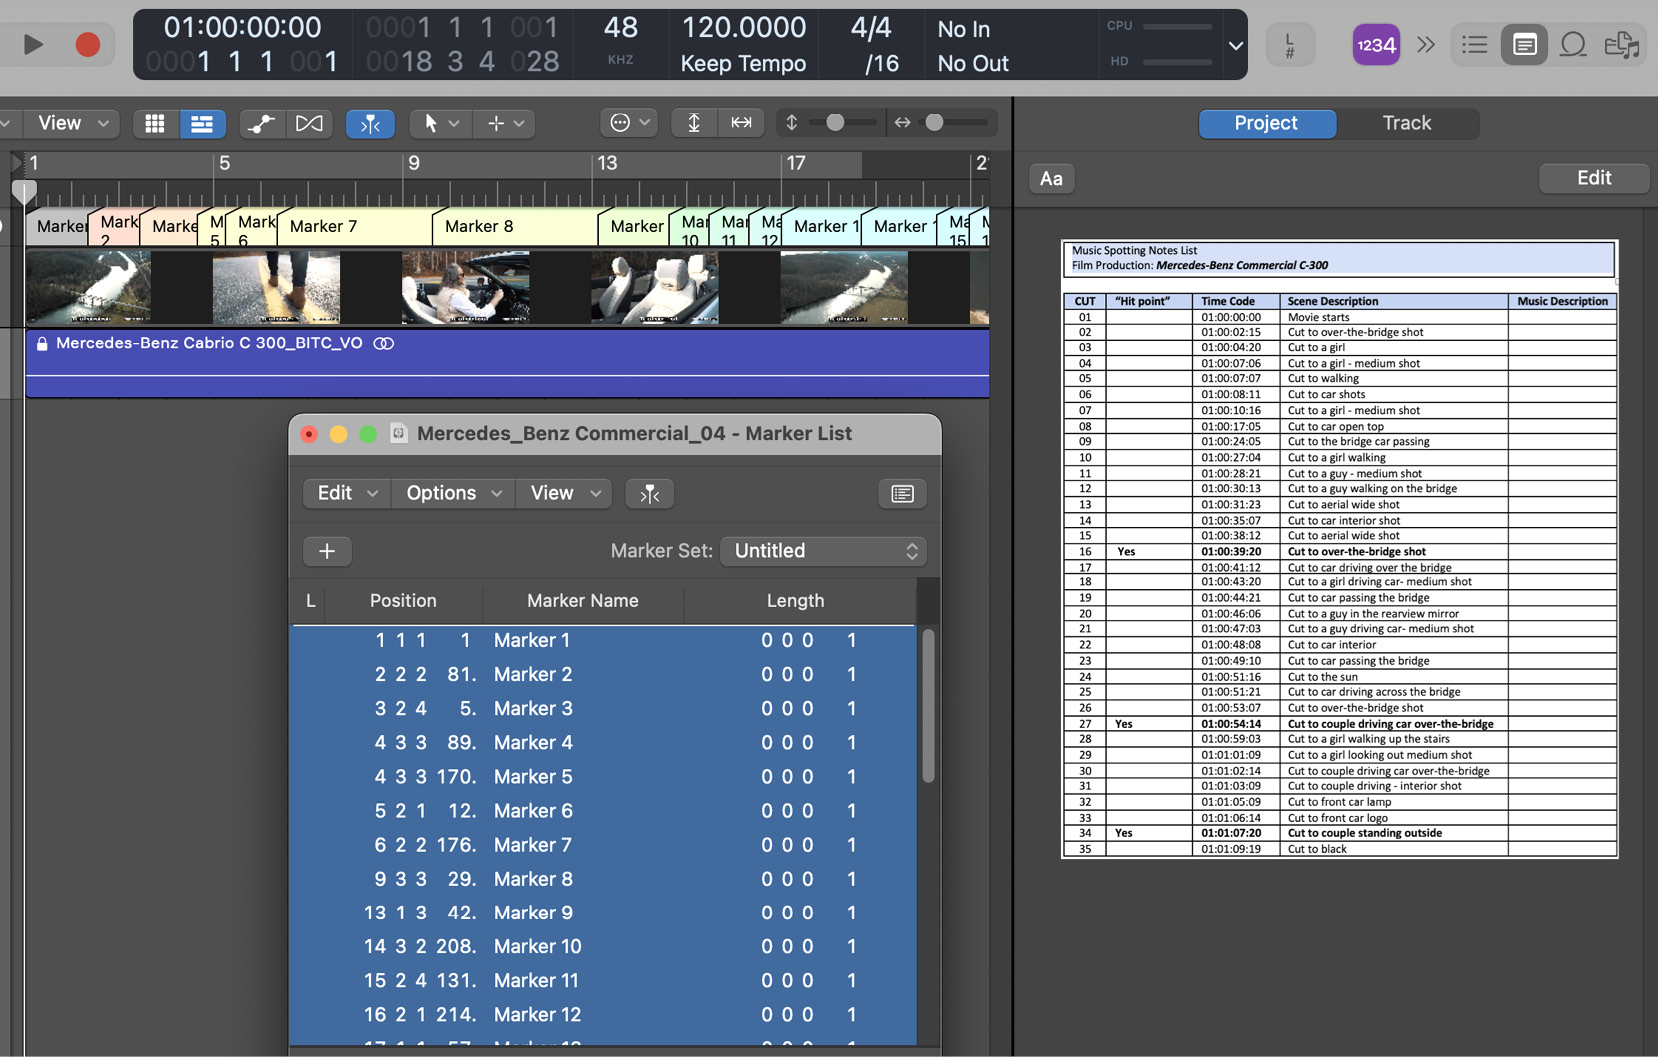
Figure 6.13: Floating Marker window with notes window open
From the spotting notes list, select and copy the marker name from the Scene Description column...