

Affine transformations are nice, but they impose certain restrictions. A projective transformation, on the other hand, gives us more freedom. In order to understand projective transformations, we need to understand how projective geometry works. We basically describe what happens to an image when the point of view is changed. For example, if you are standing right in front of a sheet of paper with a square drawn on it, it will look like a square.
Now, if you start tilting that sheet of paper, the square will start looking more and more like a trapezoid. Projective transformations allow us to capture this dynamic in a nice mathematical way. These transformations preserve neither sizes nor angles, but they do preserve incidence and cross-ratio.
Now that we know what projective transformations are, let's see if we can extract more information here. We can say that any two images on a given plane are related by a homography. As long as they are in the same plane, we can transform anything into anything else. This has many practical applications such as augmented reality, image rectification, image registration, or the computation of camera motion between two images. Once the camera rotation and translation have been extracted from an estimated homography matrix, this information may be used for navigation, or to insert models of 3D objects into an image or video. This way, they are rendered with the correct perspective, and it will look like they were part of the original scene.
Let's go ahead and see how to do this:
import cv2
import numpy as np
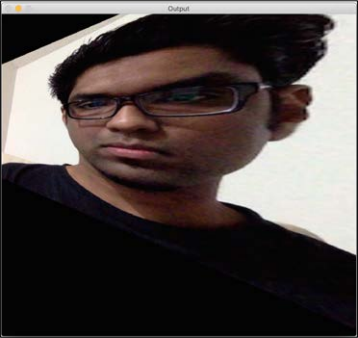
img = cv2.imread('images/input.jpg')
rows, cols = img.shape[:2]
src_points = np.float32([[0,0], [cols-1,0], [0,rows-1], [cols-1,rows-1]])
dst_points = np.float32([[0,0], [cols-1,0], [int(0.33*cols),rows-1], [int(0.66*cols),rows-1]])
projective_matrix = cv2.getPerspectiveTransform(src_points, dst_points)
img_output = cv2.warpPerspective(img, projective_matrix, (cols,rows))
cv2.imshow('Input', img)
cv2.imshow('Output', img_output)
cv2.waitKey()
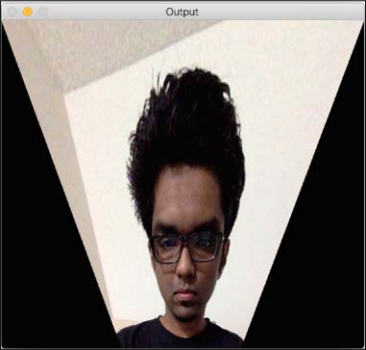
If you run the preceding code you will see the funny-looking output, such as the following screenshot: