

How to set up and run schedules
We have discussed how to create extracts from both Tableau Prep Builder and Tableau Desktop and each of their corresponding web clients. We will now look at how to schedule extract refreshes for extracts created in Tableau. We will start by creating a published data source from the web client:
- Sign in to Tableau Server or Cloud. From the home page, click on the New button and select Published Data Source, as seen in Figure 14.1:
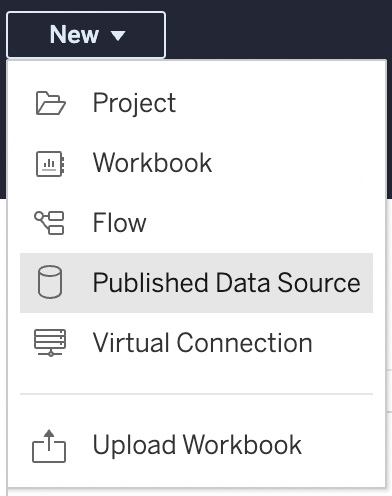
Figure 14.1 – A new published data source
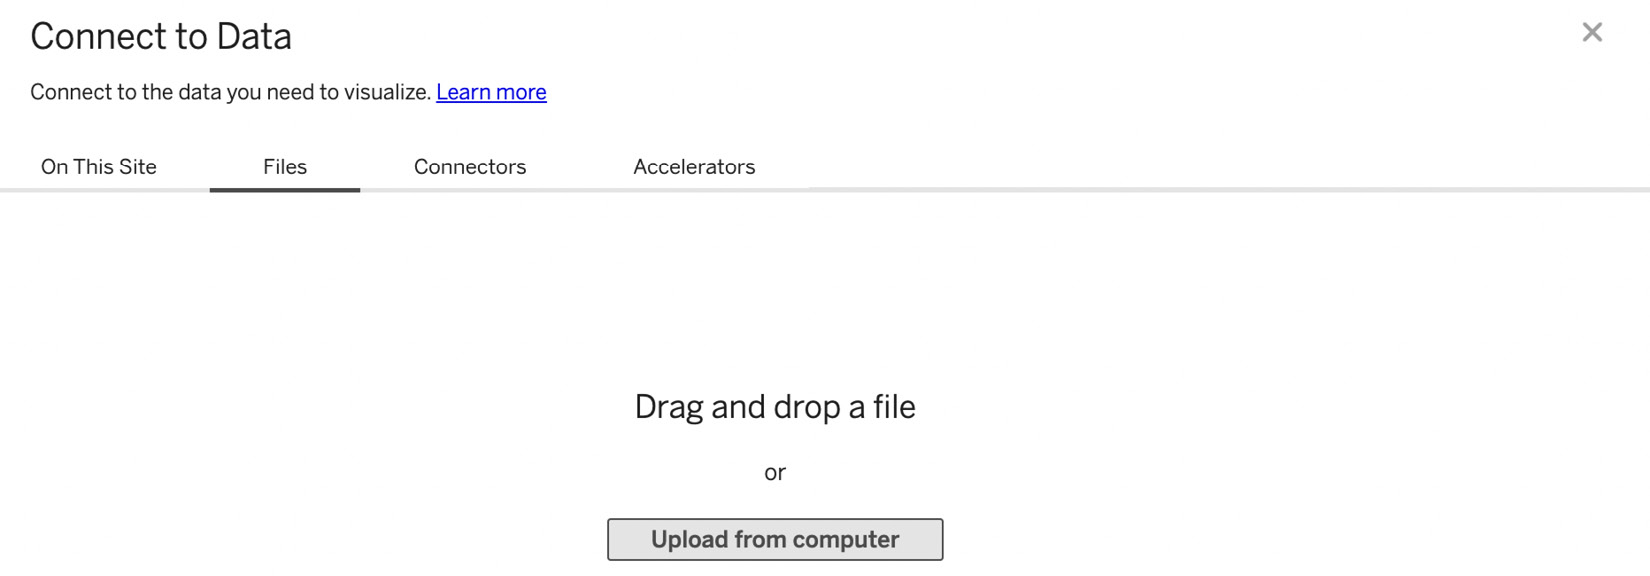
Figure 14.2 – Upload file to create a data model
- When prompted, find the
Product Sales.csvfile from your computer and click on Open. You will be taken to the New Data Source web client. Click on the Data Source tab on the bottom left-hand corner of the screen, as seen in Figure 14.3:
...