

Let's walk through a typical hello world application with Electron, package it, and see it running on all platforms. Let's get started:
- Somewhere in your projects folder, create a new directory called my-first-app and navigate to it, as shown in the following code:
      mkdir my-first-app
      cd my-first-app
- Now, we need to initialize our new project with the NPM tool by using the following command:
npm init
Next time, if you want to set up quickly with a single command and with reasonable defaults, you can use the same command with the -y switch. This switch, as shown in the following code, instructs NPM to accept all the questions and use predefined values:
npm init -y
This tool generates the following file, called package.json:
{
  "name": "my-first-app",
  "version": "1.0.0",
  "description": "",
  "main": "index.js",
  "scripts": {
    "test": "echo \"Error: no test specified\" && exit 1"
  },
  "keywords": [],
  "author": "",
  "license": "ISC"
}
Feel free to update the description, author, license, or other fields as necessary.
Please note that the value of the main field is index.js. This means that the primary entry point for NPM commands and your Electron app is going to be that file. We are going to create it shortly, but, first, let's install the Electron framework library for our project:
- Run the following command:
npm i -D electron
- If you take a look at the package.json file, you may notice a new section called devDependencies, which has an Electron library. Its version may vary, depending on Electron's release frequency:
      {
         "devDependencies": {
          "electron": "^7.0.0"
        }
      }
- Now, it's time to get back to the index.js file. Create it in the root folder of your project, next to the package.json file.
- Let's take a closer look at the minimum code you need to run an Electron window. The following snippet demonstrates the steps we have to perform in the index.js file:
 // 1. import electron objects
 const { app, BrowserWindow } = require('electron');

 // 2. reserve a reference to window object
 let window;

 // 3. wait till application started
 app.on('ready', () => {
 // 4. create a new window
 window = new BrowserWindow({
 width: 800,
 height: 600,
 webPreferences: {
 nodeIntegration: true
 }
 });

 // 5. load window content
 window.loadFile('index.html');
 });
First, you need to import the required objects and classes from the electron namespace. Then, reserve a reference to an object or the BrowserWindow type that you are going to instantiate and display to your users. After that, you need to wait for the application to become ready and create a small window that's 800 x 600 in size. Finally, load and display the content of the index.html file, which contains the main content of your Electron application.
- Now, we need to define the main application's content in the form of an HTML page. Create a new index.html file next to the package.json and index.js files. With Visual Studio Code, it is effortless to generate an initial web page. Just type an exclamation mark, !—the code editor will auto suggest a template for you to use:
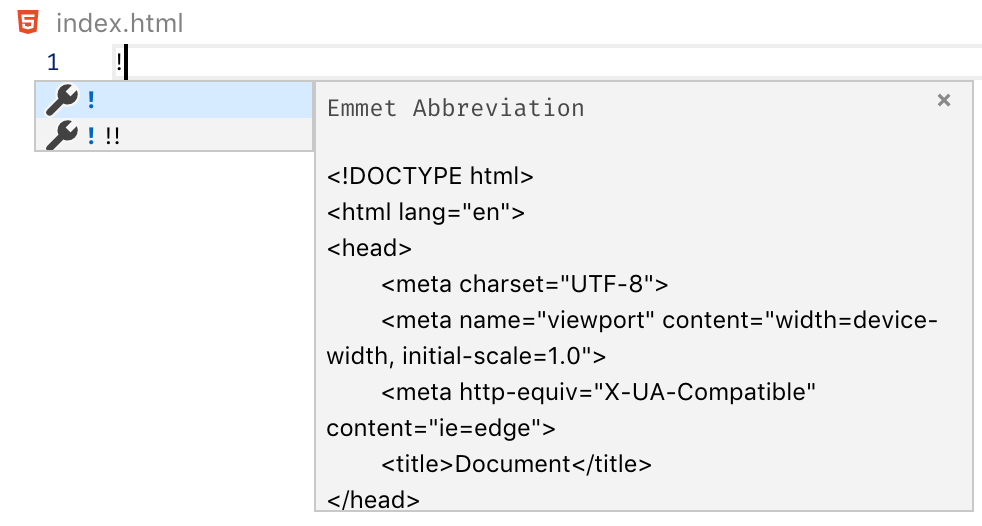
- Press the Tab or Enter key. Visual Studio Code will generate and fill in the HTML page's content in the place of your cursor. It even moves the cursor inside the body element so that you can continue working on the markup:
      <!DOCTYPE html>
      <html lang="en">
        <head>
          <meta charset="UTF-8" />
          <meta name="viewport" content="width=device-width,
                                         initial-scale=1.0" />
          <meta
            http-equiv="Content-Security-Policy"
            content="script-src 'self' 'unsafe-inline';"
          />
          <title>Document</title>
        </head>
        <body>

        </body>
      </html>
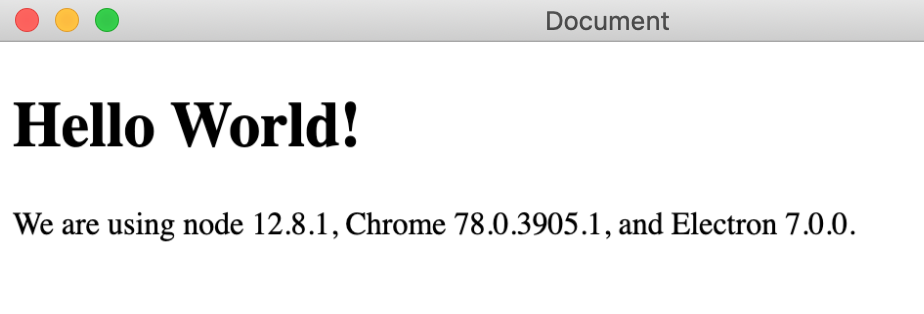
- Let's put the traditional Hello World example between the body tags so that we can inspect the Electron component's versions:
      <h1>Hello World!</h1>
      We are using node <script>document.write(process.versions.node)
      </script>,
      Chrome <script>document.write(process.versions.chrome)
      </script>,
      and Electron <script>document.write(process.versions.electron)
      </script>.
We are going to see the versions of Node.js that are powering our application, our embedded version of Chrome, and, of course, the Electron library version.
- The final step of the initial setup is to update the package scripts. Update the package.json file and add the start entry for the scripts section to invoke the Electron binary app against our project folder, as shown in the following code:
      "scripts": {
        "start": "electron ."
      }
To launch, develop, and test the application, we only need to run npm start from the command line. If you need to add more parameters, you can always update the script once again—there's no need to memorize long commands.
- The content of your package.json file should look like this:
      {
        "name": "my-first-app",
        "version": "1.0.0",
        "description": "",
        "main": "index.js",
        "scripts": {
          "start": "electron ."
        },
        "keywords": [],
        "author": "",
        "license": "ISC",
        "devDependencies": {
          "electron": "^7.0.0"
        }
      }
You are now ready to launch your first Electron application. Let's get started:
- In the application menu of Visual Studio Code, select View and then Terminal to access the embedded Terminal tool.
- Run the start command, as shown in the following code:
npm start
Congratulations! You now have your first Electron application up and running:
If you want to stop the application, press Ctrl + C in the Terminal window.
Now that we have a new application up and running, let's understand how our application will be packaged for different platforms.