

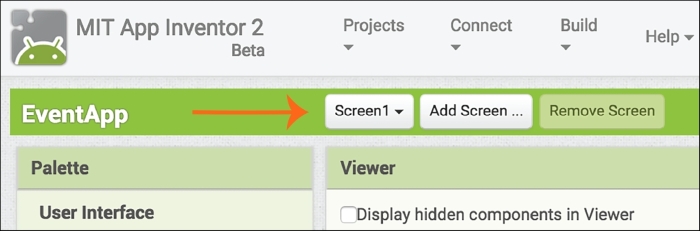
We currently have our home screen called Screen1 (because App Inventor does not allow you to rename Screen1). We will now add three more screens; each one will be associated with a button. Above the Viewer and below Projects in the top menu bar, you will see a row of three buttons: Screen1 (our current screen), Add Screen..., and Remove Screen, which is grayed out, as shown in the following screenshot:
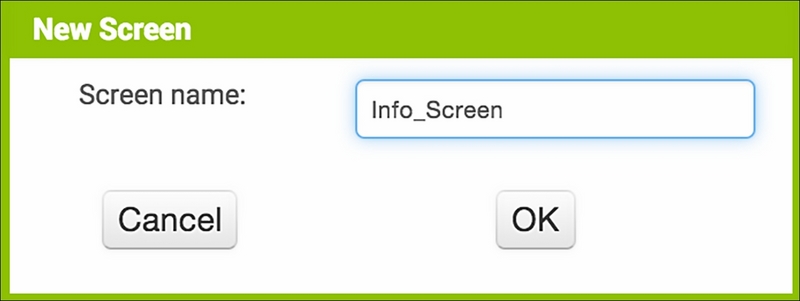
Click on the
Add Screen button and a pop-up window will ask you to input the new screen name. Type Info_Screen as shown in the following screenshot. Click on OK:
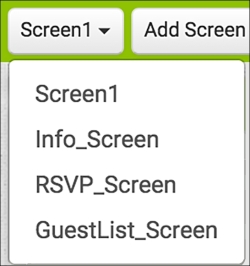
Repeat the same procedure to add two more screens and name them RSVP_Screen and GuestList_Screen. Now, all of your screens will appear in the drop-down menu under the first menu button, and you can navigate between screens by selecting a different one. The next screenshot shows the name Screen1 on the button to indicate the name of the screen that is currently open:
.
Once you have added the additional screens, you will...