

.NET Command-Line Interface (CLI)
Once you have installed .NET, the CLI can be used to create and configure projects for use with VS Code. To launch the .NET CLI, run the following at the command prompt:
dotnet
If .NET is installed correctly, you will see the following message on your screen:
Usage: dotnet [options]
Usage: dotnet [path-to-application]
Once you have the CLI installed to configure projects with VS Code, you need to know about the powerful open source object-relational database system that uses and extends the SQL language that is, PostgreSQL.
Note
You will first go through the instructions to install PostgreSQL for Windows followed by macOS, and then by Linux.
PostgreSQL Installation for Windows
PostgreSQL has been used in Chapter 6, Entity Framework with SQL Server. Before you proceed with that chapter, you must install PostgreSQL on your system using the following steps:
- Go to https://www.enterprisedb.com/downloads/postgres-postgresql-downloads and download the latest version installer for Windows:
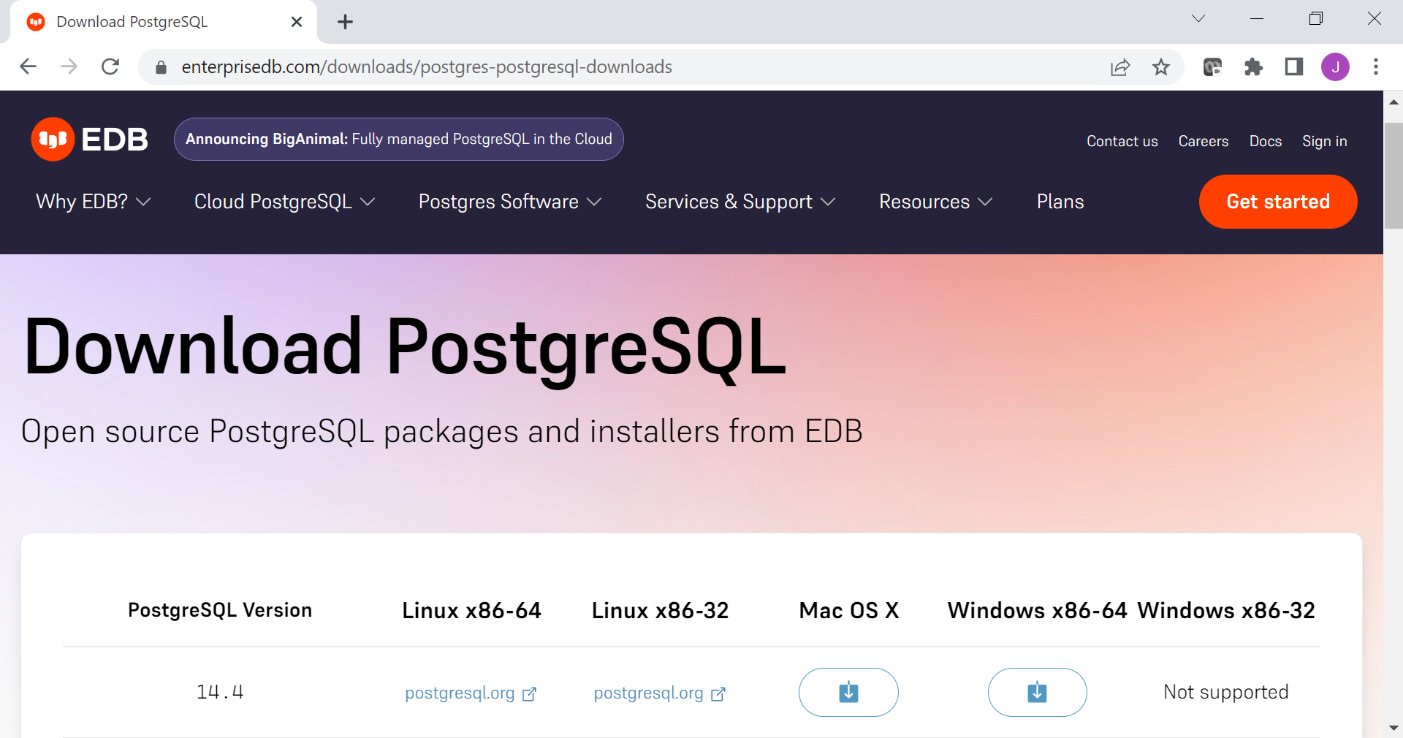
Figure 0.8: Latest PostgreSQL versions for each platform
Note
The screen shown in Figure 0.8 may change depending upon the latest release from the vendor.
- Open the downloaded interactive installer and click the
Nextbutton. TheSetup PostgreSQLscreen gets displayed:
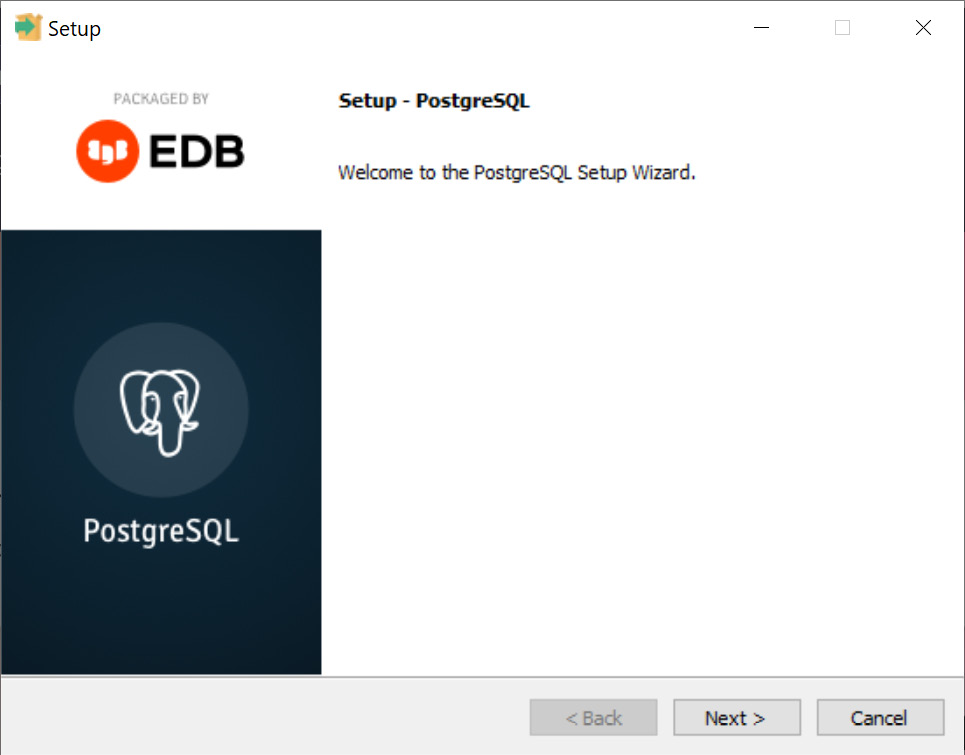
Figure 0.9: Welcome screen for PostgreSQL upload
- Click on the
Nextbutton to move to the next screen which asks for the installation directory details:
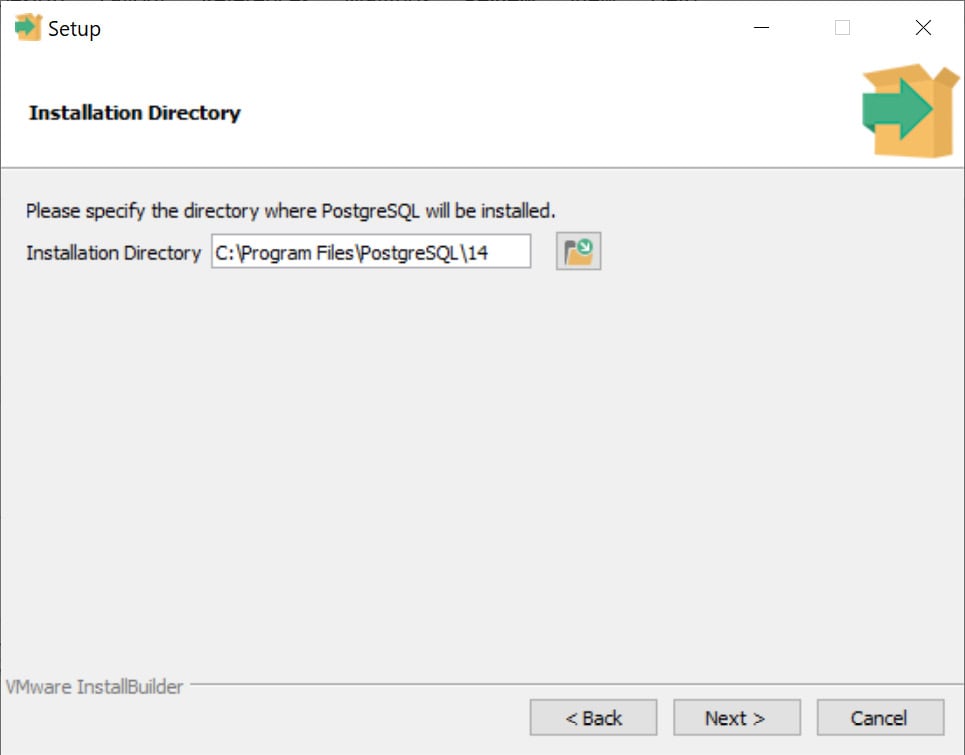
Figure 0.10: PostgreSQL default installation directory
- Leave the default
Installation Directoryunchanged and click theNextbutton. - Select the following from the list in Figure 0.11:
PostgreSQL Serverrefers to the database.pgAdmin 4is the database management tool.Stack Builderis the PostgreSQL environment builder (optional).Command Line Toolswork with the database using a command line.

Figure 0.11: The PostgreSQL components selected to proceed
- Then click the
Nextbutton. - In the next screen, the Data Directory screen asks you to enter the directory for storing your data. So, enter the data directory name:
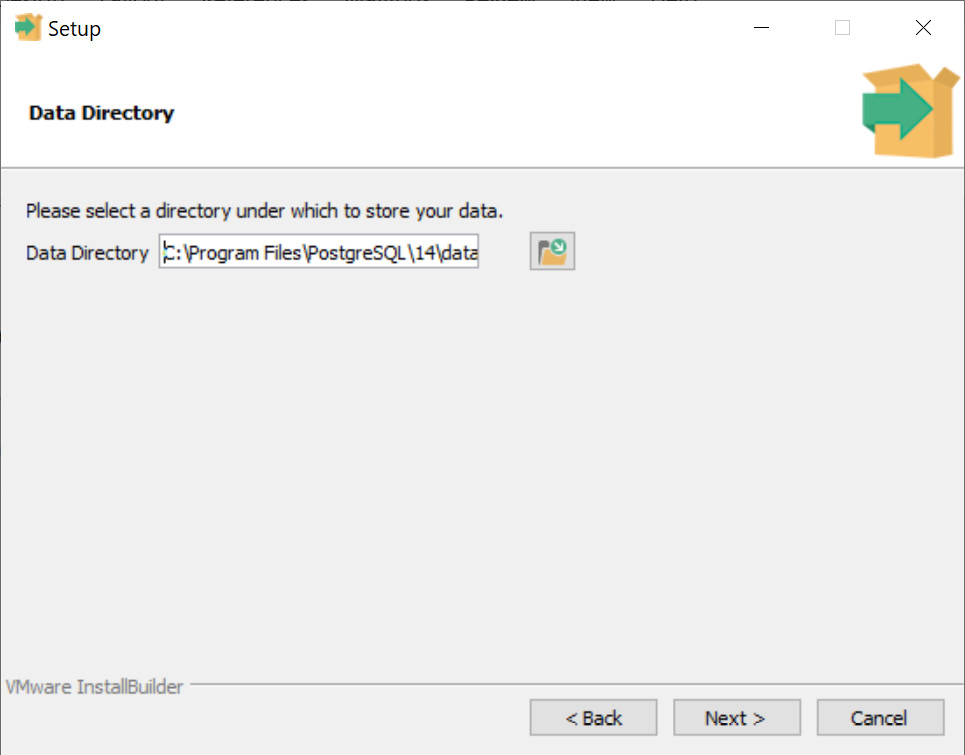
Figure 0.12: The directory for storing data
- Once you have entered the data directory, click on the
Nextbutton to continue. The next screen asks you to enter the password. - Enter the new
Password. - Retype the password beside
Retype passwordfor the database superuser:
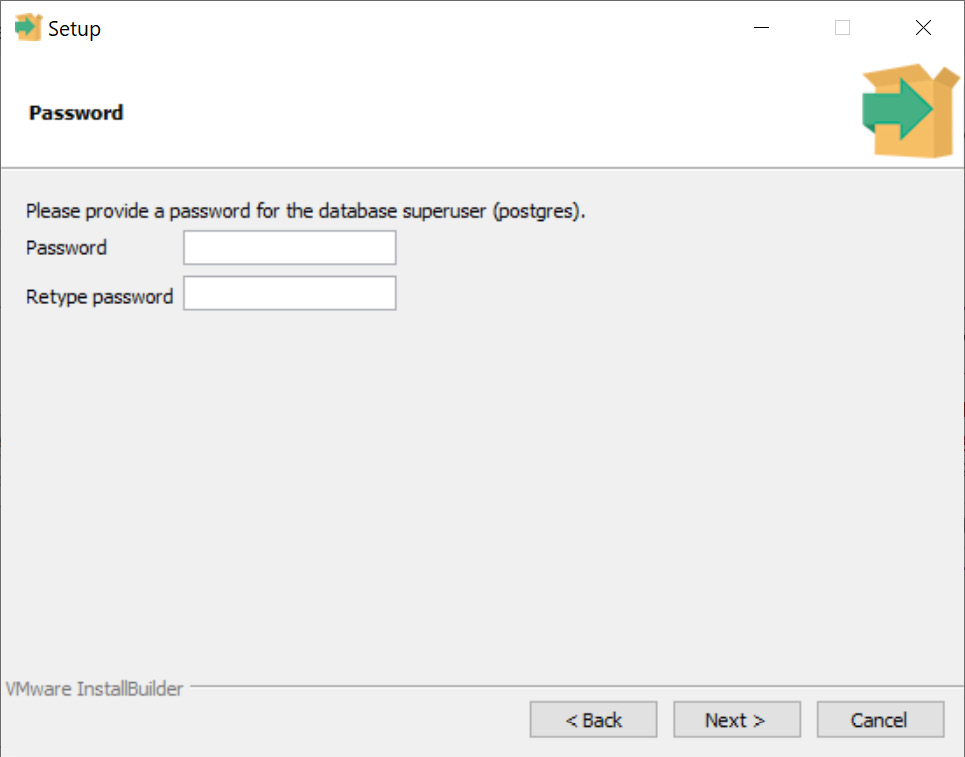
Figure 0.13: Providing password for database superuser
- Then click the
Nextbutton to continue. - The next screen displays the Port as
5432. Use the default port—that is,5432:
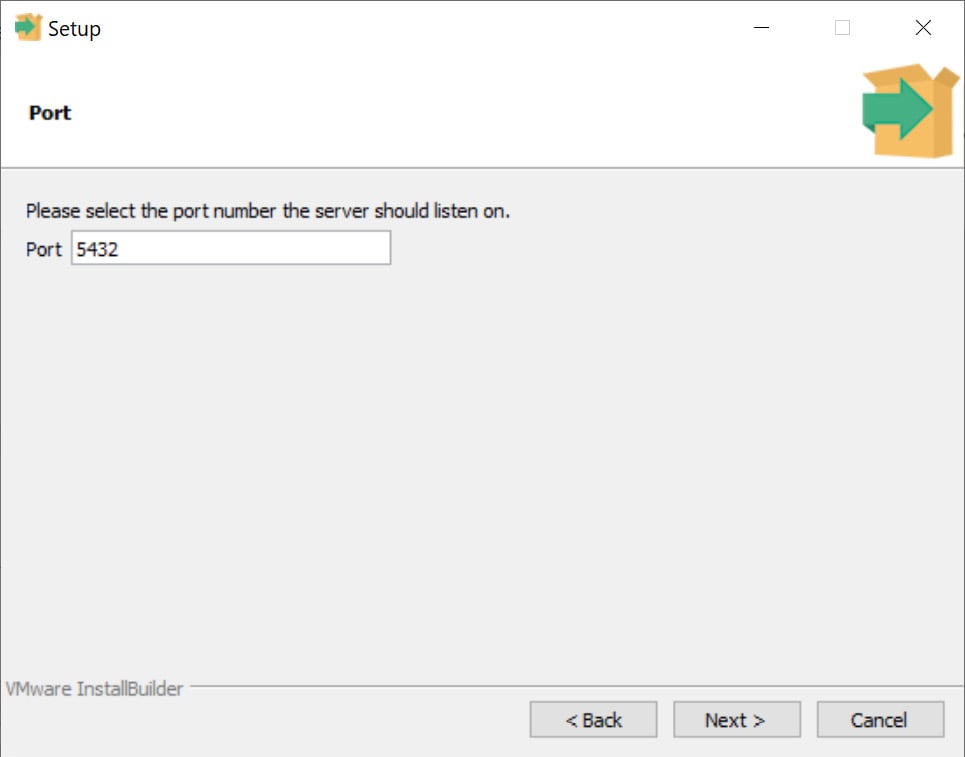
Figure 0.14: Selecting Port
- Click the
Nextbutton. - The Advanced Options screen asks you to type the locale for the Database cluster. Leave it as
[Default locale]:
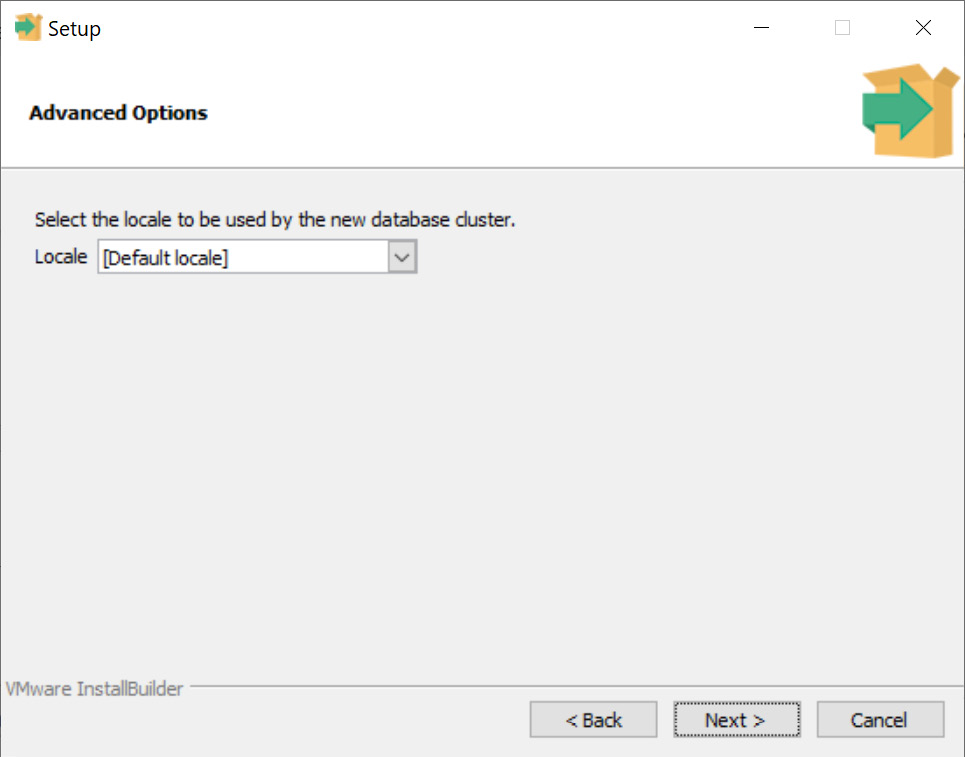
Figure 0.15: Selecting the locale for the Database cluster
- Then click the
Nextbutton. - When the Preinstallation Summary screen gets displayed, click the
Nextbutton to go ahead:
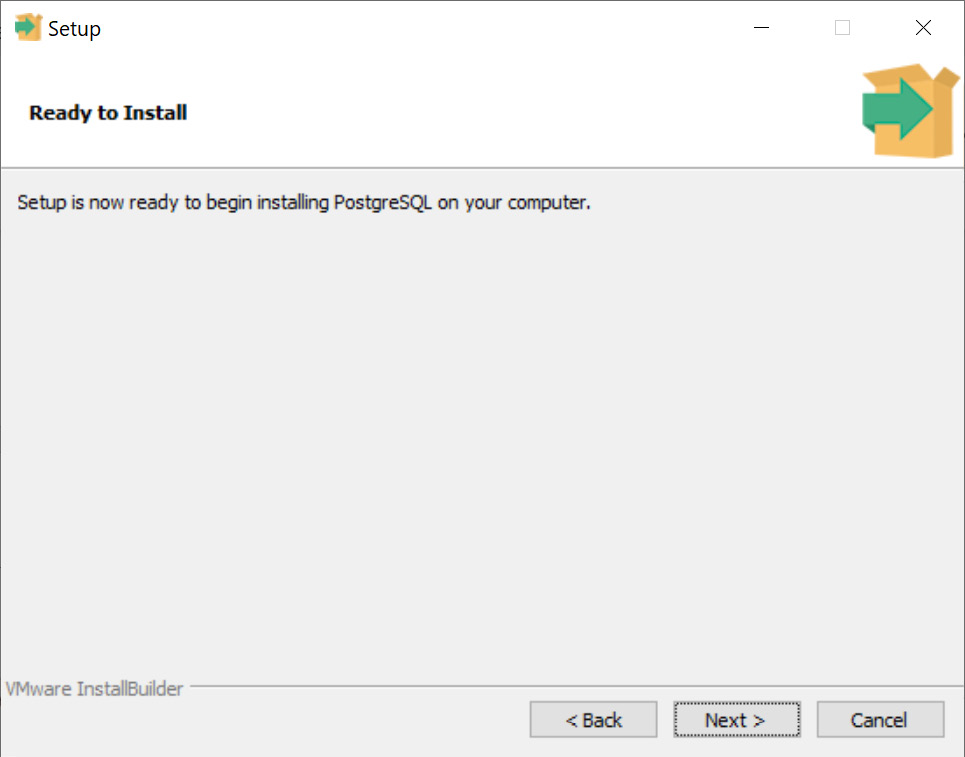
Figure 0.16: Setup window showing ready to install message
- Continue selecting the
Nextbutton (leaving the default settings unchanged) until the installation process begins. - Wait for it to complete. On completion, the Completing the PostgreSQL Setup Wizard screen gets displayed.
- Uncheck the
Launch Stack Builder at exitoption:
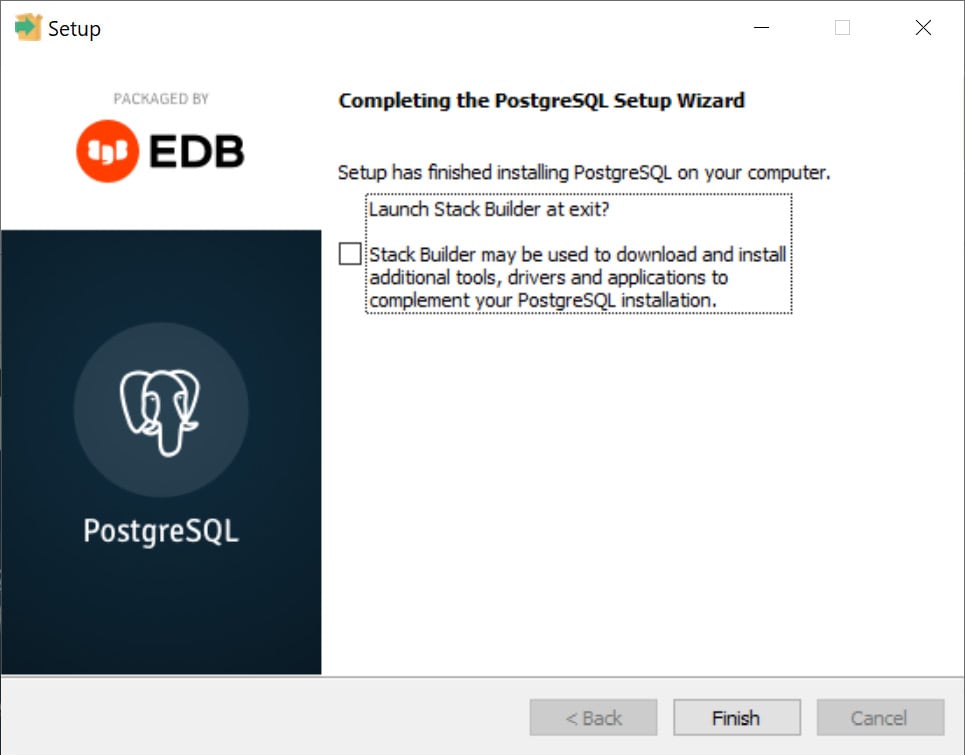
Figure 0.17: Installation complete with Stack Builder unchecked
The Stack Builder is used to download and install additional tools. The default installation contains all tools needed for the exercises and activities.
- Finally, click the
Finishbutton. - Now open
pgAdmin4from Windows. - Enter a master
Passwordfor connecting to any database inside PostgreSQL in the Set Master Password window:
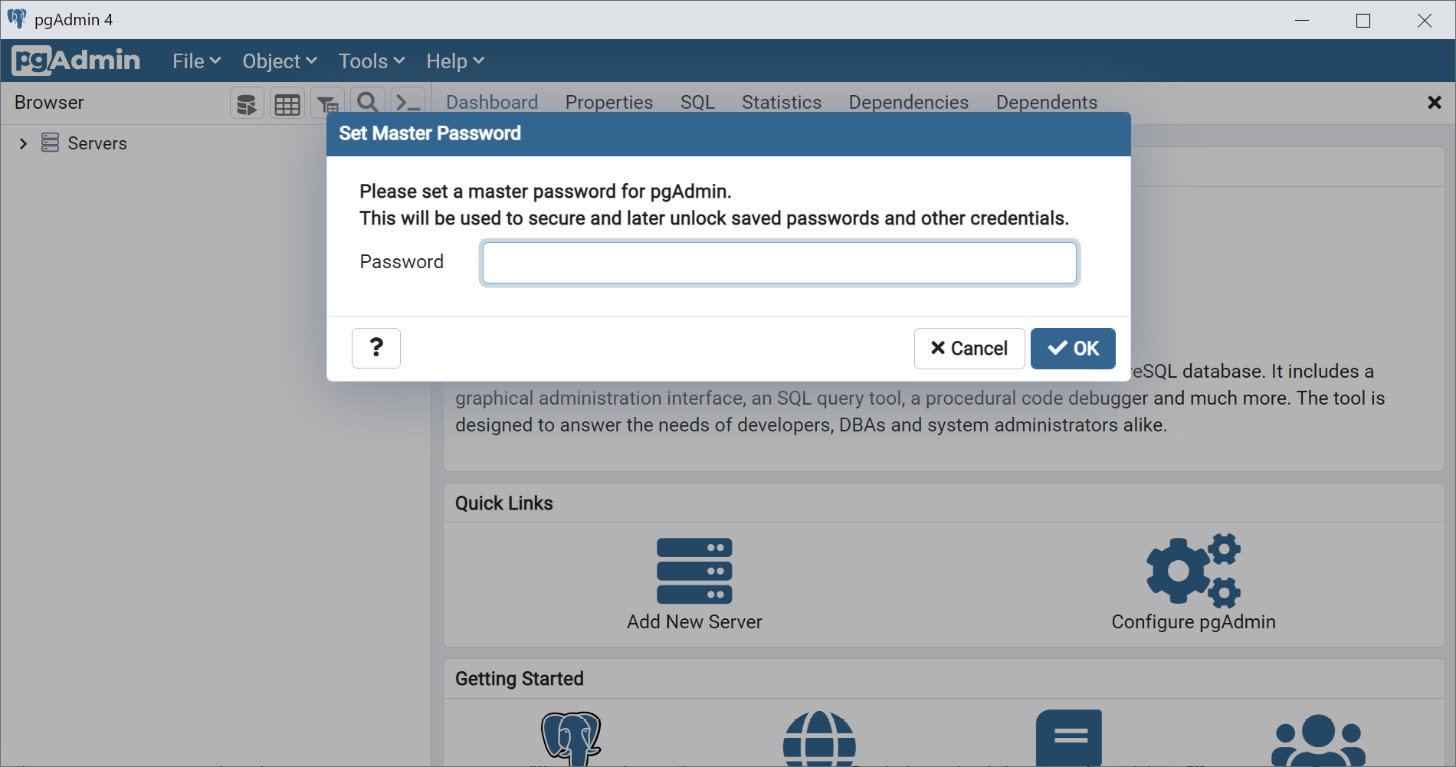
Figure 0.18: Setting Master Password for connecting to a PostgreSQL server
Note
It is better to type a password that you can easily memorize as it will be used to manage all your other credentials.
- Next click the
OKbutton. - On the left side of the pgadmin window, expand the
Serverby clicking the arrow beside it. - You will be asked to enter your PostgreSQL server password. Type the same password that you entered in Step 22.
- Do not click
Save passwordfor security reasons:
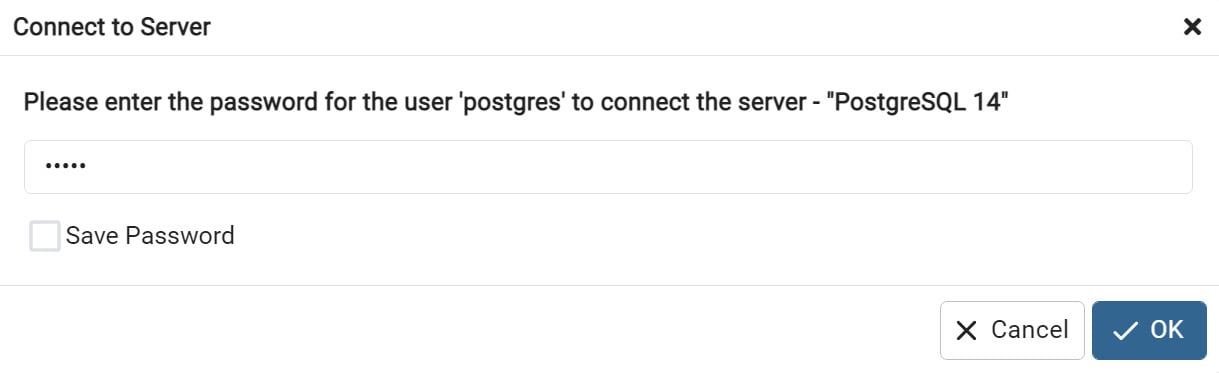
Figure 0.19: Setting the postgres user password for the PostgreSQL server
PostgreSQL server password is the password you will use when connecting to the PostgreSQL server and using the postgres user.
- Finally click the
OKbutton. You will see the pgAdmin dashboard:
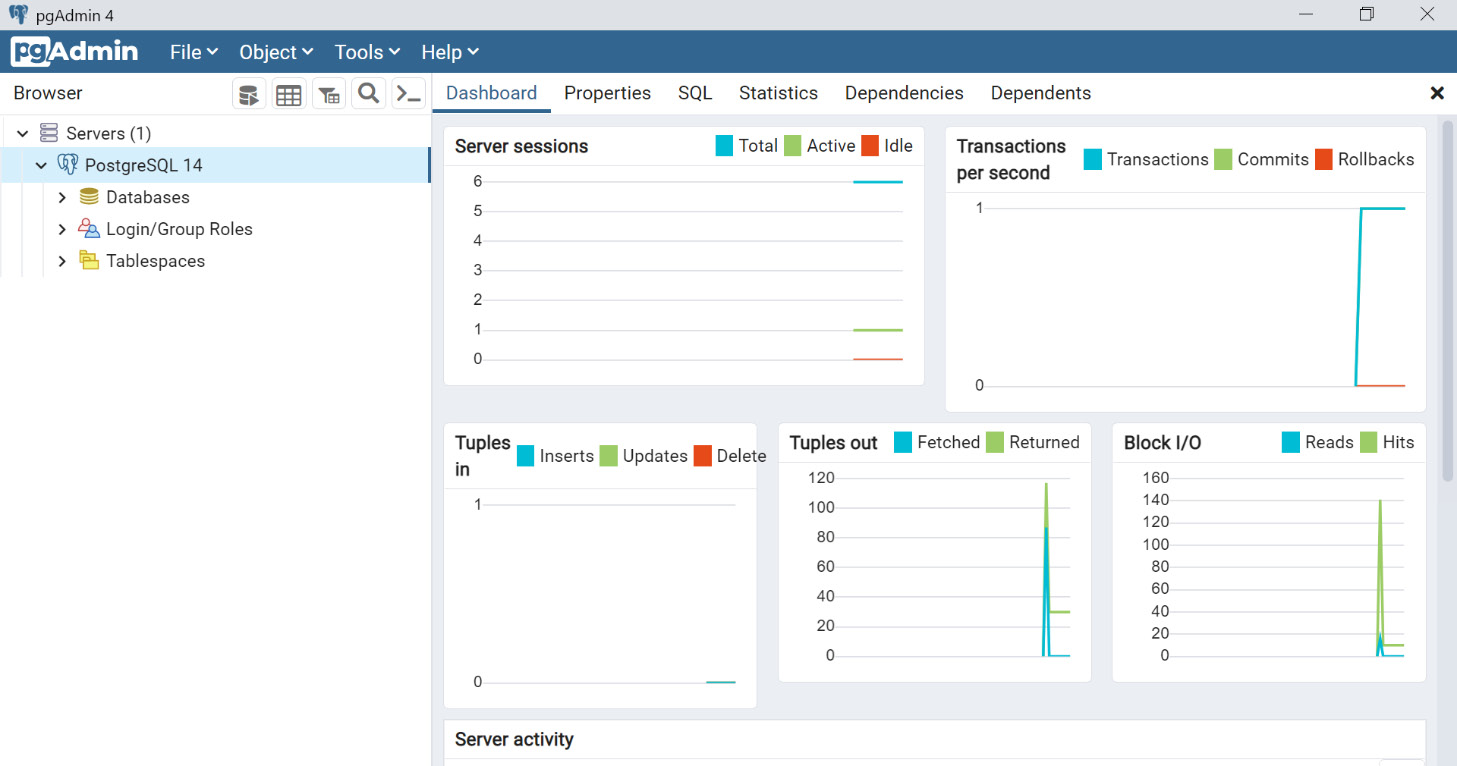
Figure 0.20: pgAdmin 4 dashboard window
In order to explore the pgAdmin dashboard, move to the Exploring pgAdmin Dashboard section.
PostgreSQL Installation for macOS
Install PostgreSQL on your macOS using the following steps:
- Visit the official site of the Postgres app to download and install PostgreSQL on your mac platform: https://www.enterprisedb.com/downloads/postgres-postgresql-downloads.
- Download the latest PostgreSQL for macOS:
Note
The following screenshots were taken for version 14.4 on macOS Monterey (version 12.2).
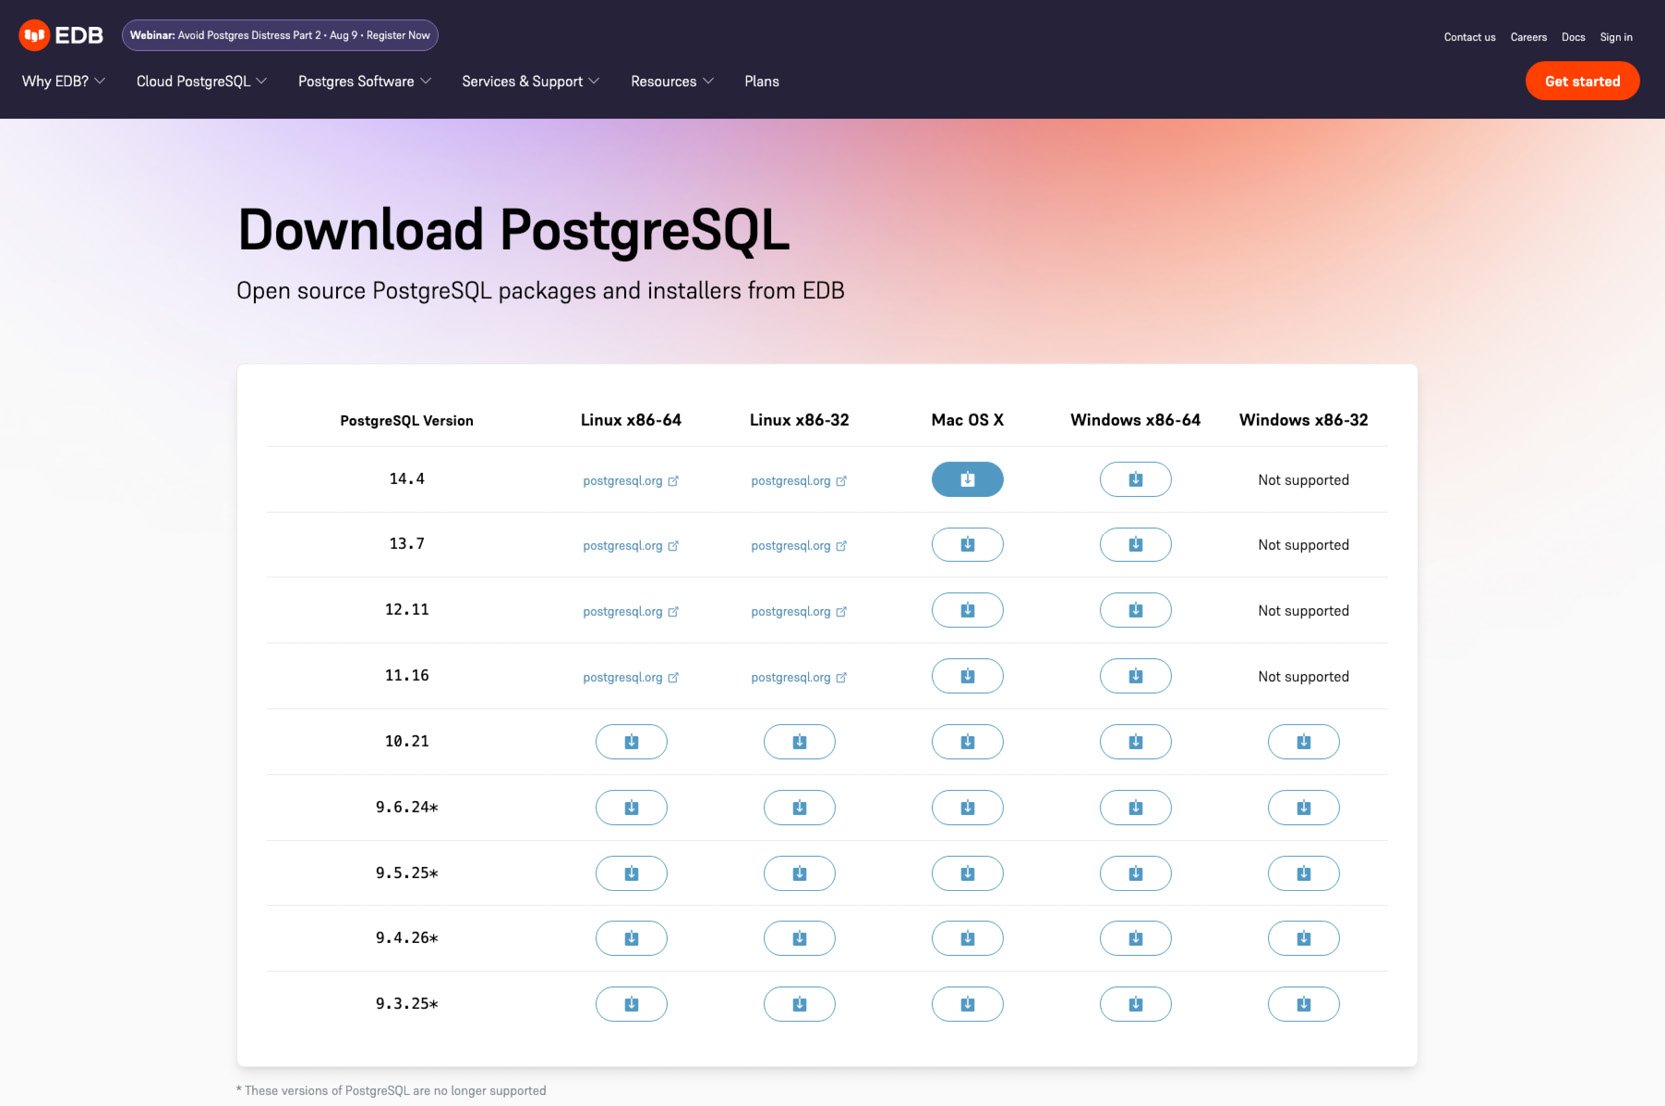
Figure 0.21: Installation page for PostgreSQL
- Once you have downloaded the installer file for macOS, double-click the
installer fileto launch the PostgreSQL Setup Wizard:
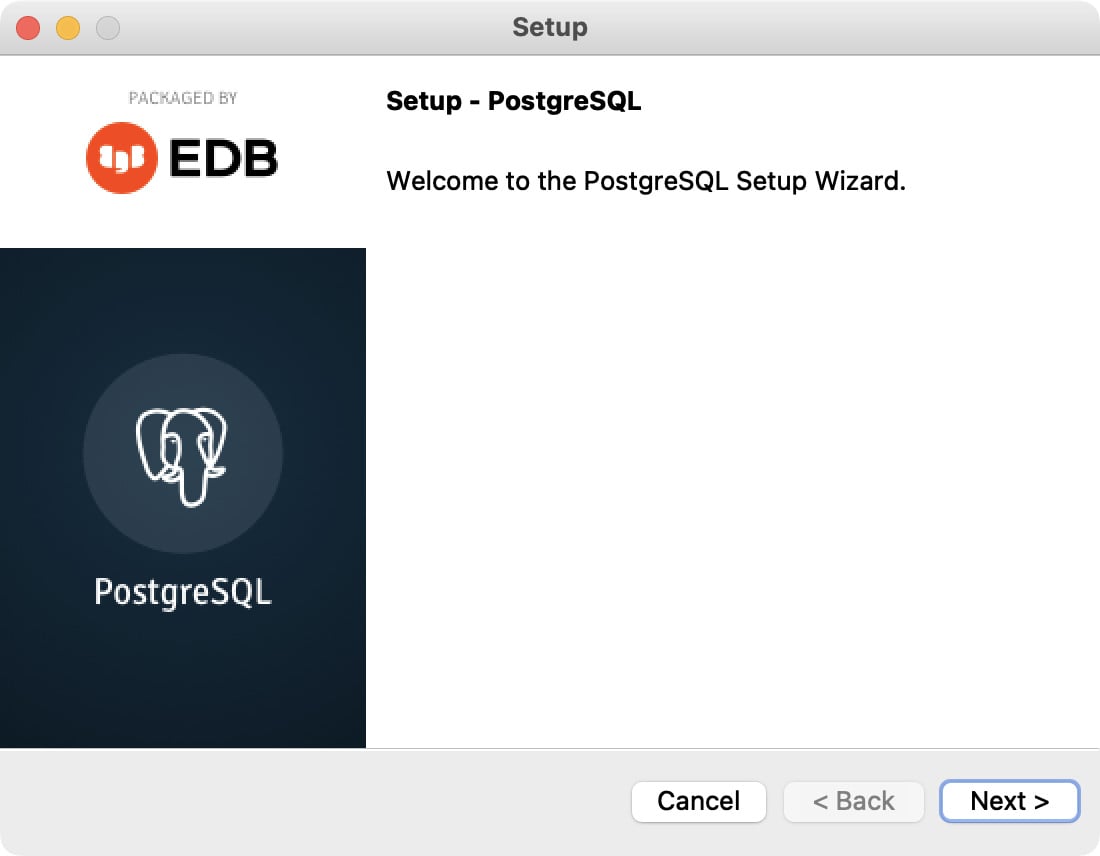
Figure 0.22: Launching the PostgreSQL setup wizard
- Select the location where you want PostgreSQL installed:
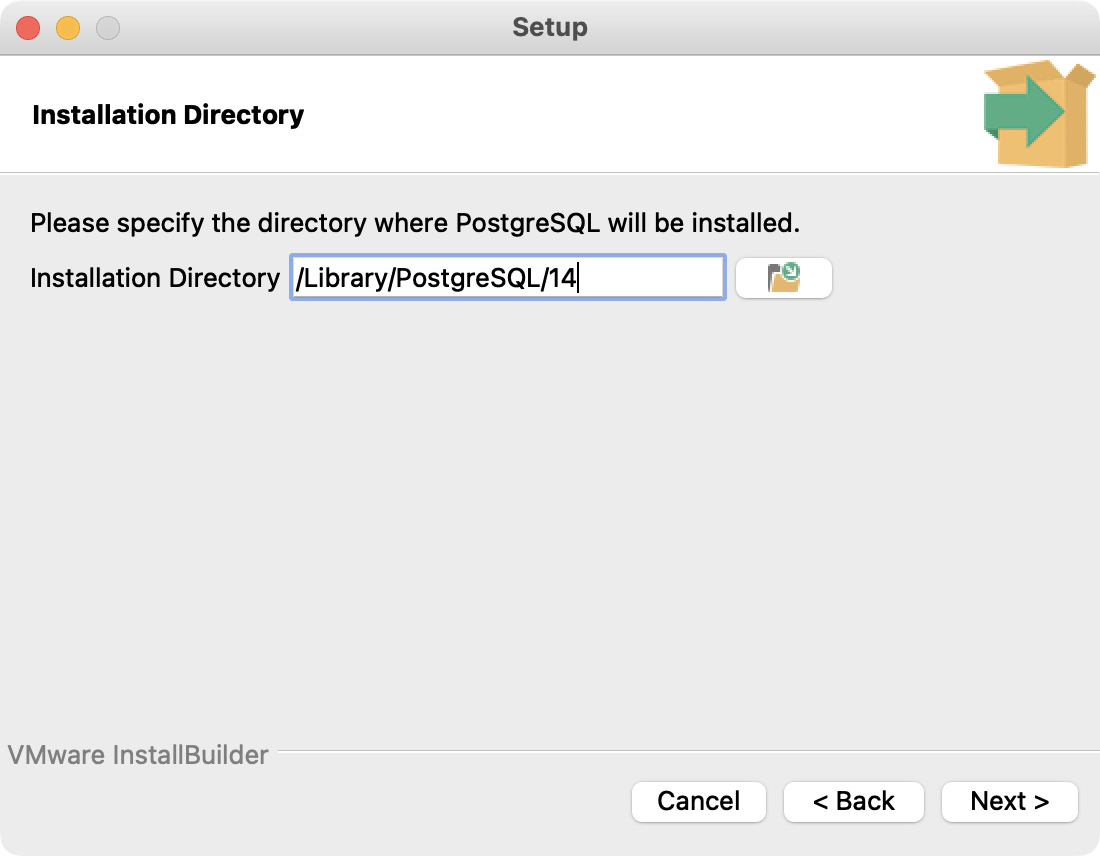
Figure 0.23: Selecting the installation directory
- Click on the
Nextbutton. - In the next screen, select the following components for installation:
- PostgreSQL Server
pgAdmin 4- Command Line Tools
- Uncheck the
Stack Buildercomponent:
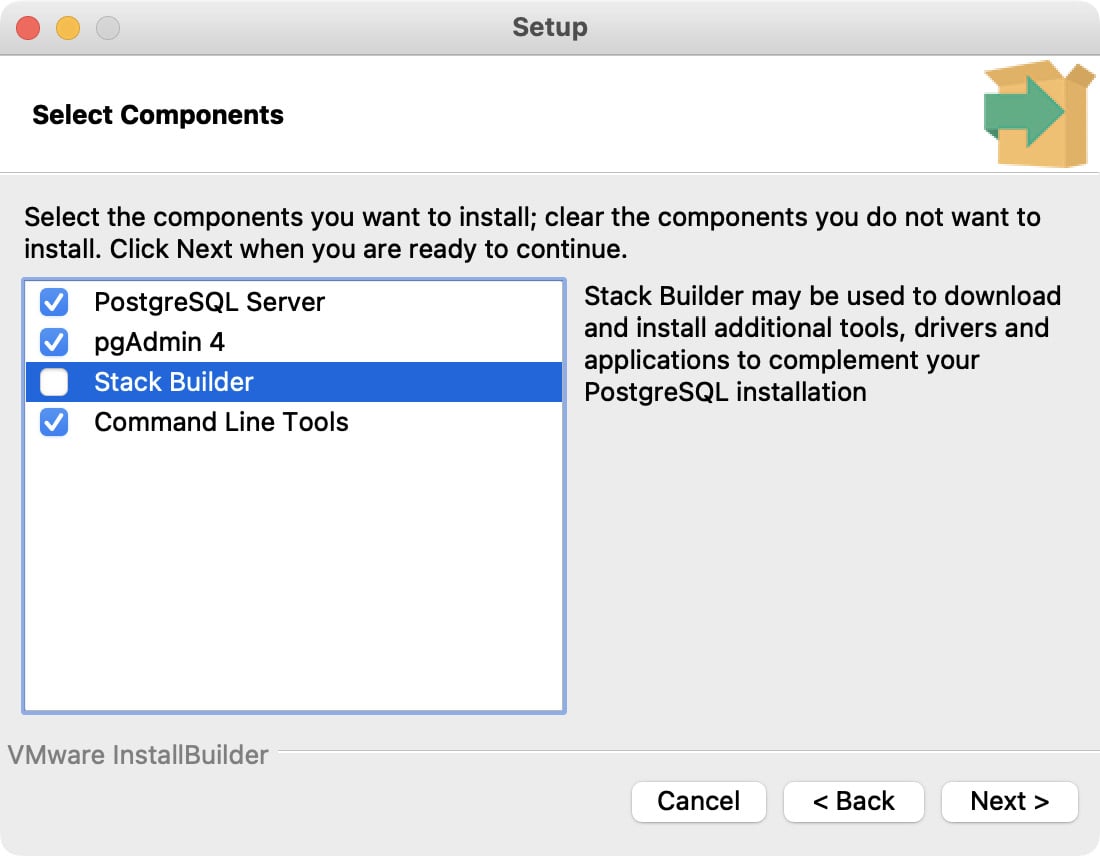
Figure 0.24: Selecting the components for installation
- Once you have selected the options, click on the
Nextbutton. - Specify the data directory in which PostgreSQL will store the data:
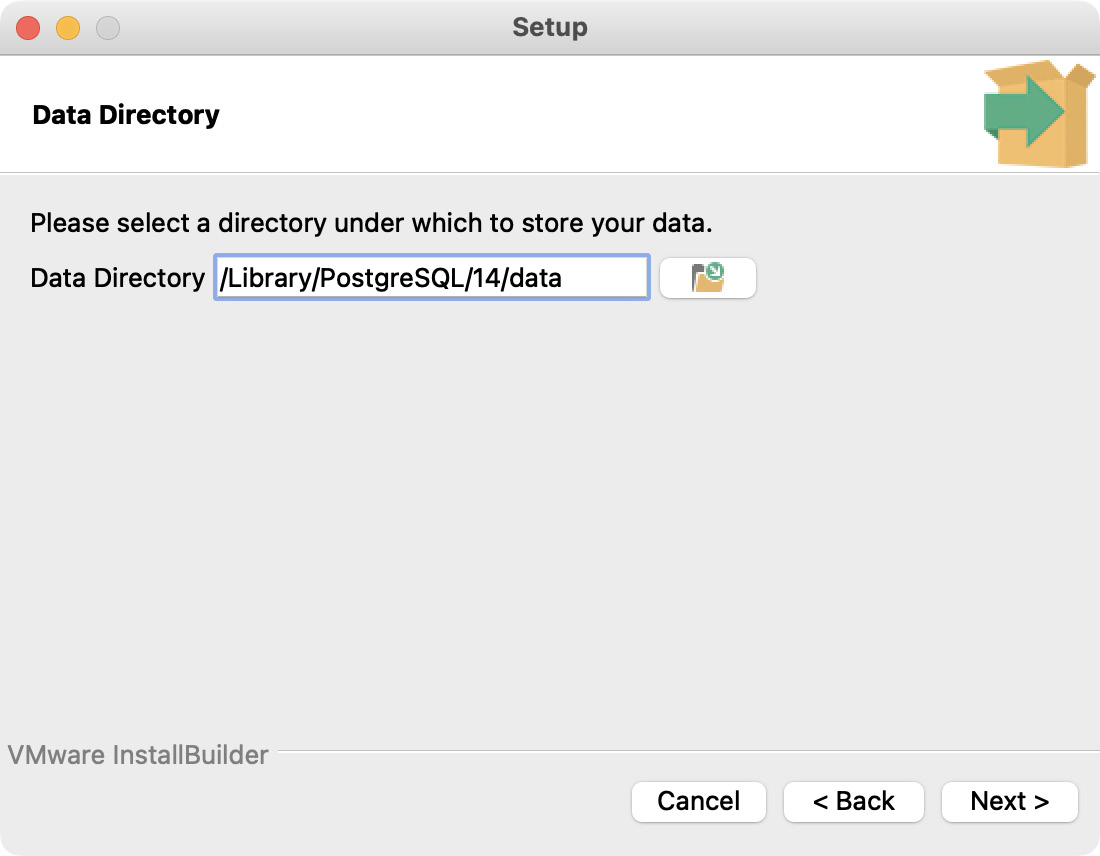
Figure 0.25: Specifying the data directory
- Click on the
Nextbutton. - Now set a
Passwordfor the Postgres database superuser:
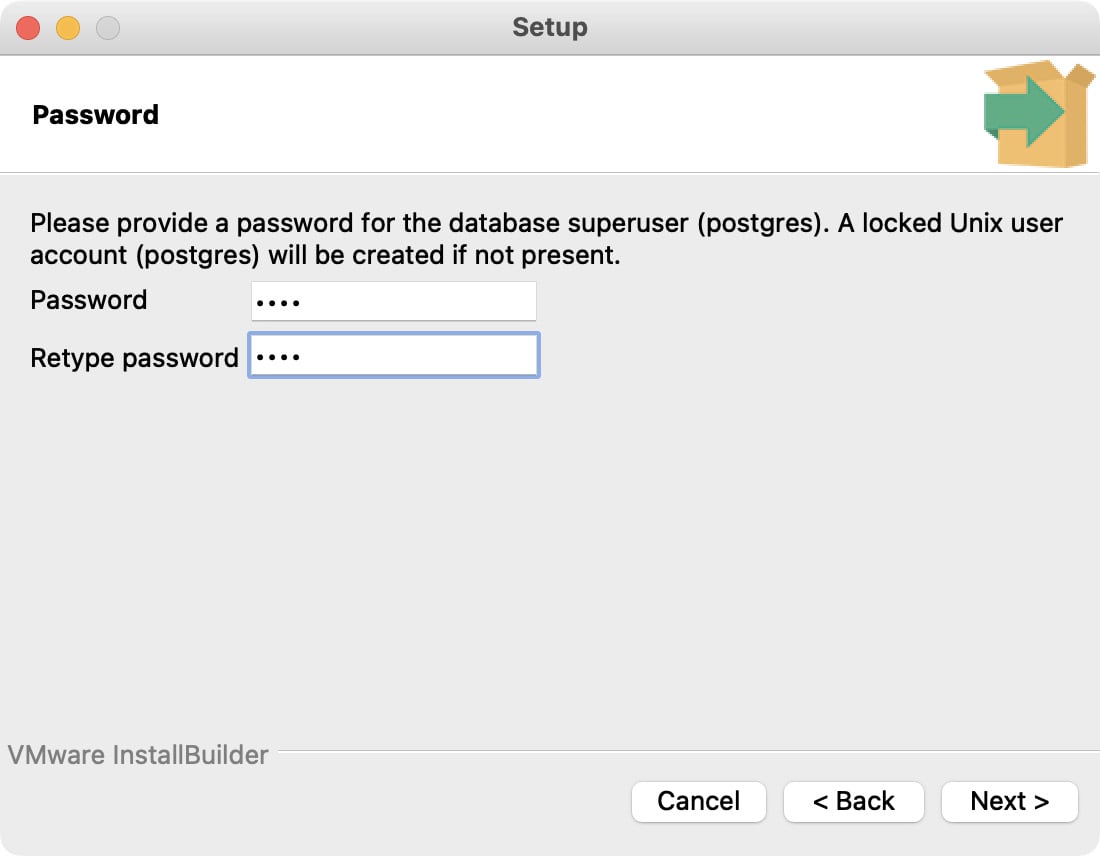
Figure 0.26: Setting the password
Make sure to note down the password safely for logging in to the PostgreSQL database.
- Click on the
Nextbutton.
Set the port number where you want to run the PostgreSQL server. Here the default Port number is set as 5432:
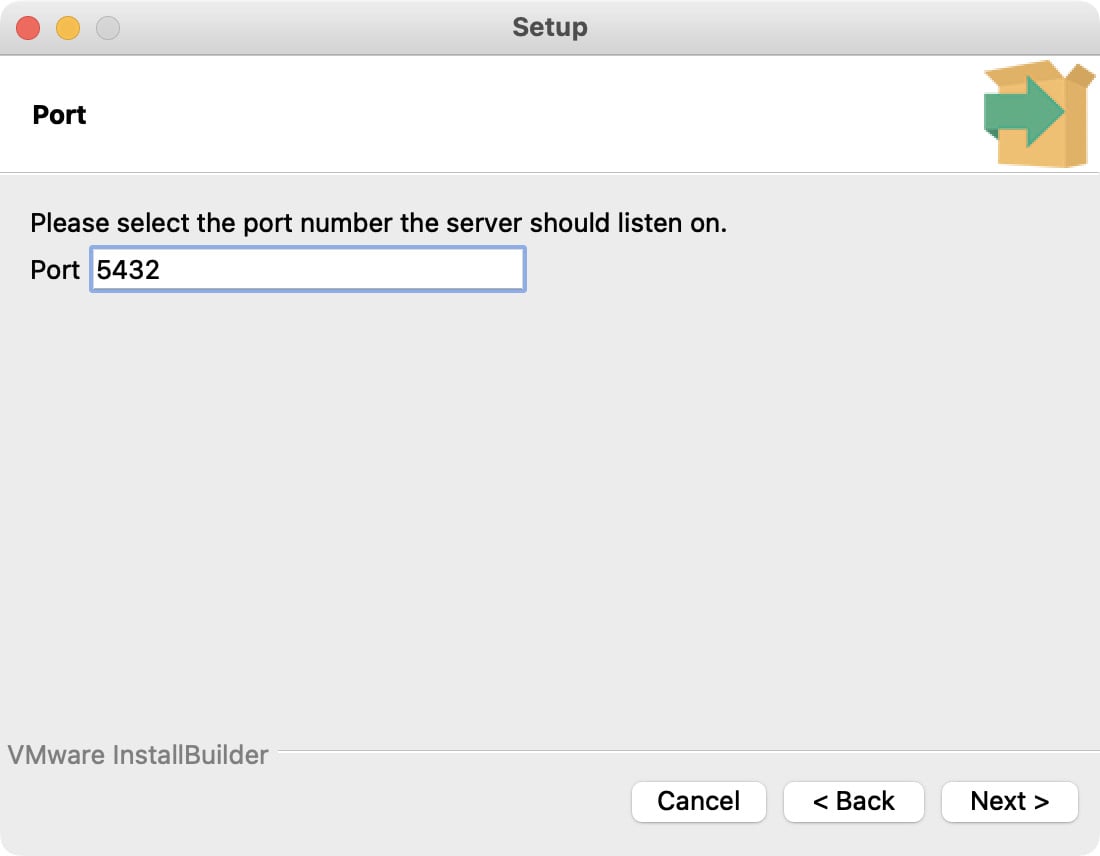
Figure 0.27: Specifying the port number
- Click on the
Nextbutton. - Select the locale to be used by PostgreSQL. Here,
[Default locale]is the locale selected for macOS:
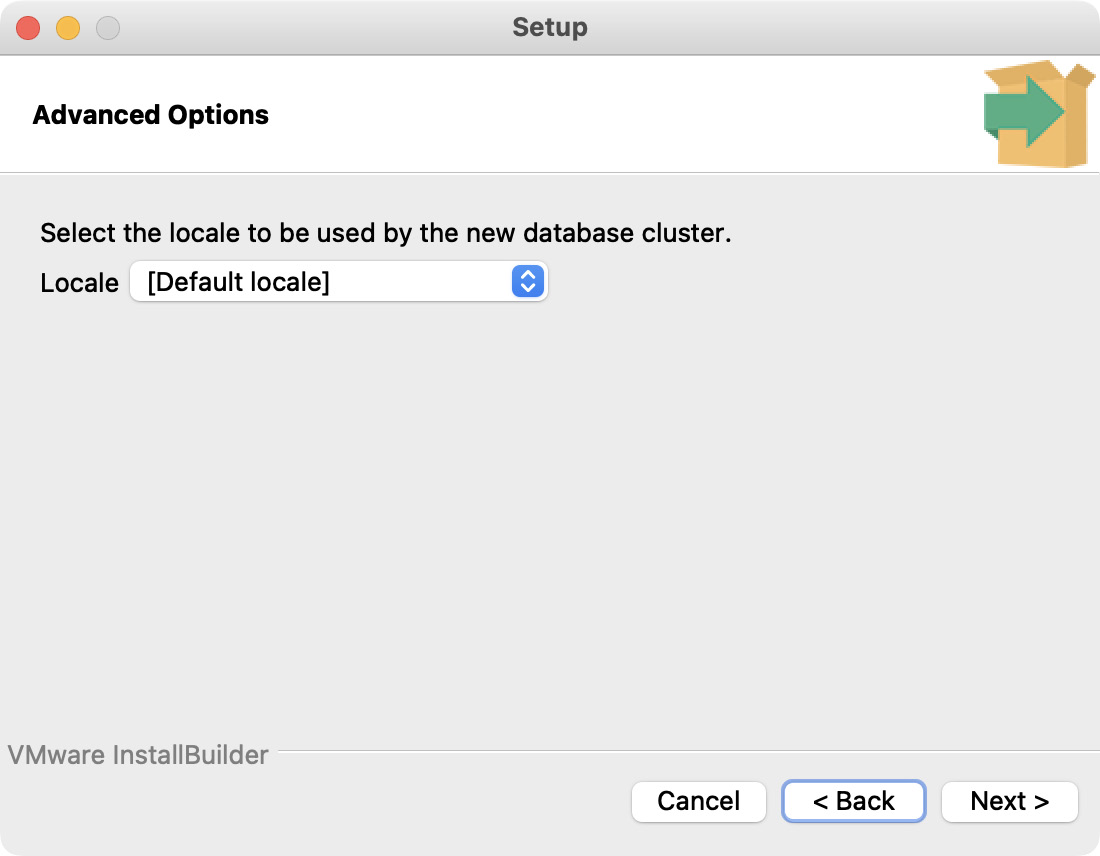
Figure 0.28: Selecting the locale specification
- Click on the
Nextbutton. - In the next screen, check the installation details:
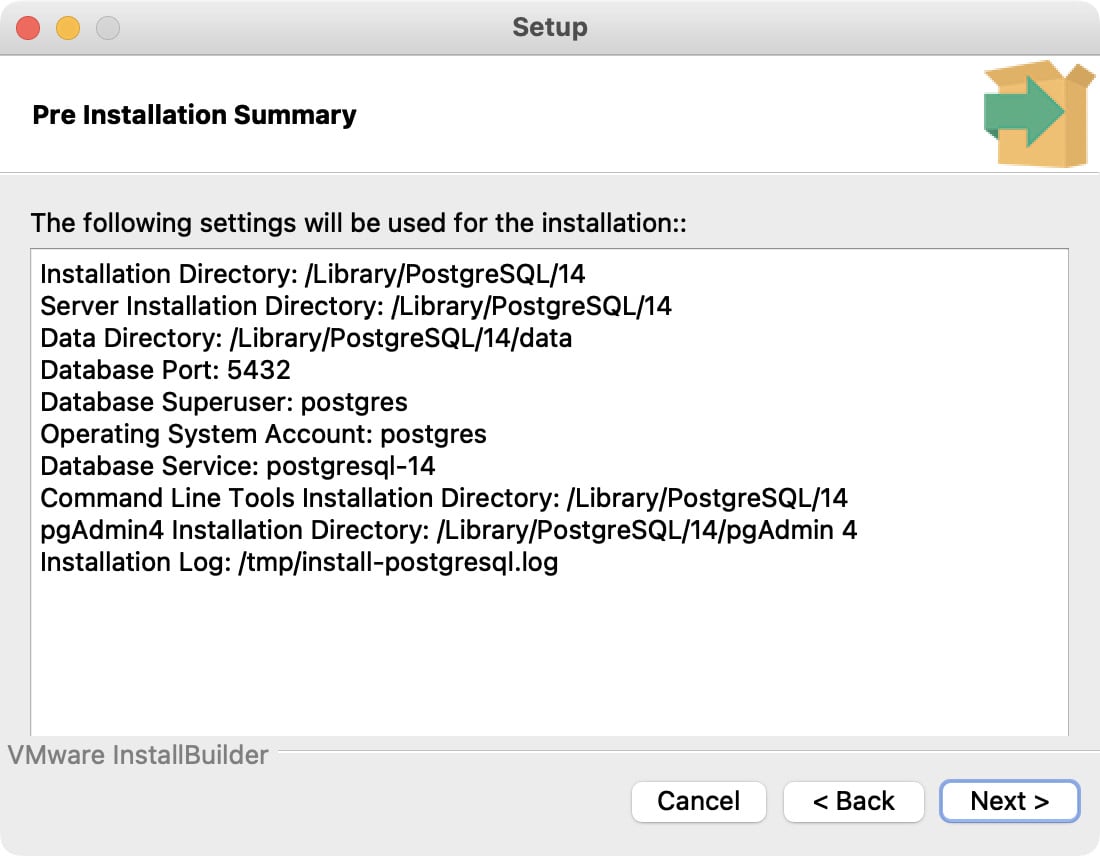
Figure 0.29: Pre Installation summary page
Finally, click on the Next button to start the installation process of the PostgreSQL database server on your system:
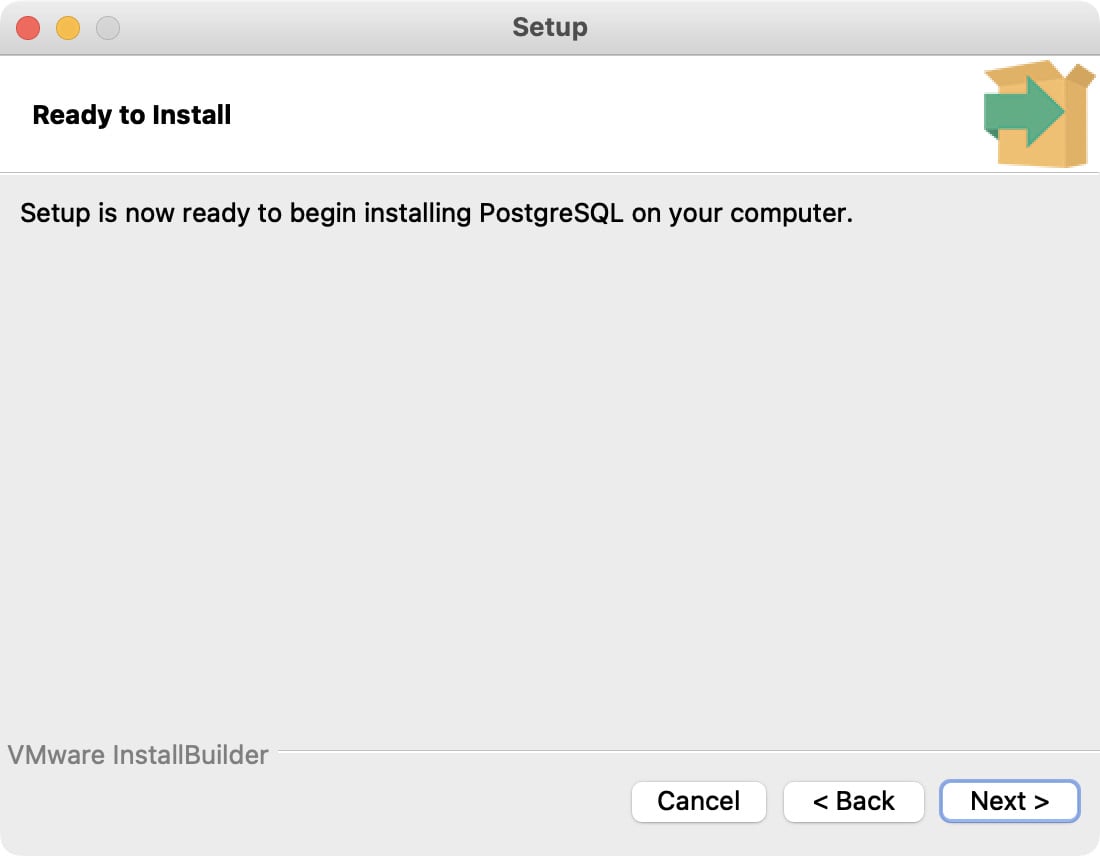
Figure 0.30: Ready to Install page before starting the installation process
- Wait for a few moments for the installation process to complete:
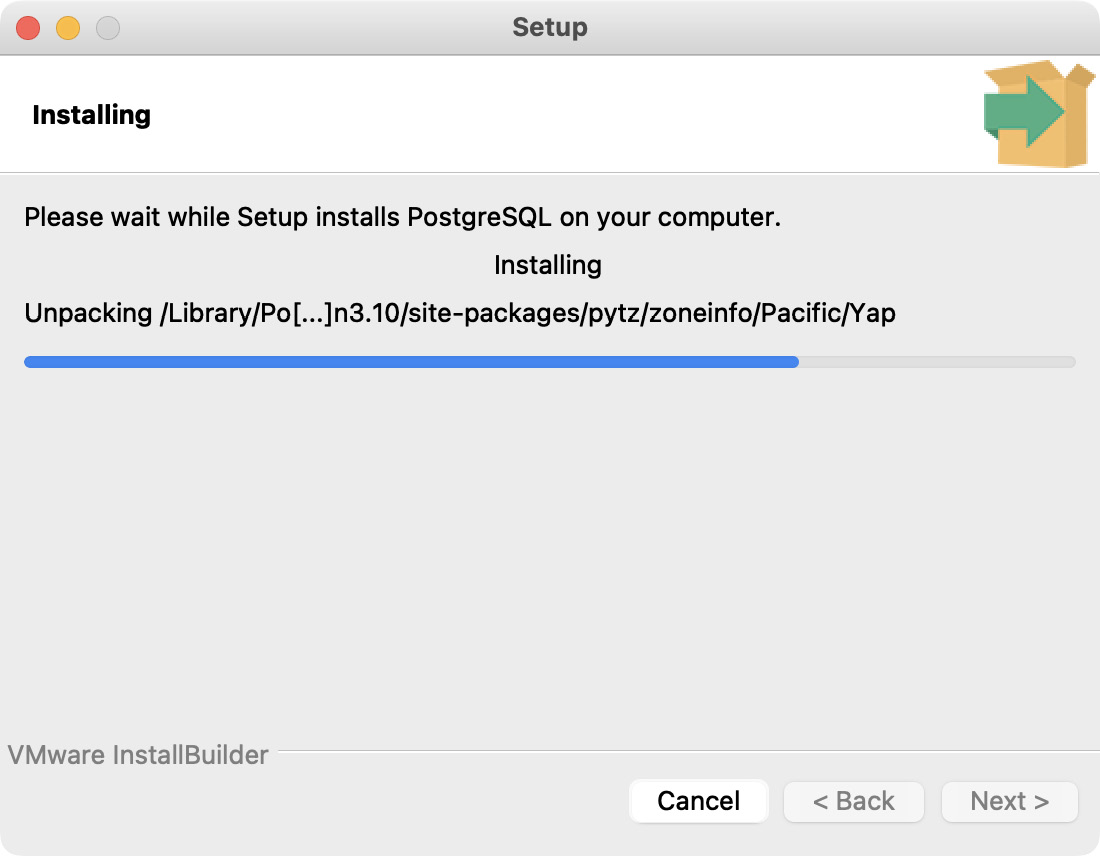
Figure 0.31: Setup Installation in progress
- When prompted, click the
Nextbutton. The next screen displays the message that the PostgreSQL installation is complete on your system:
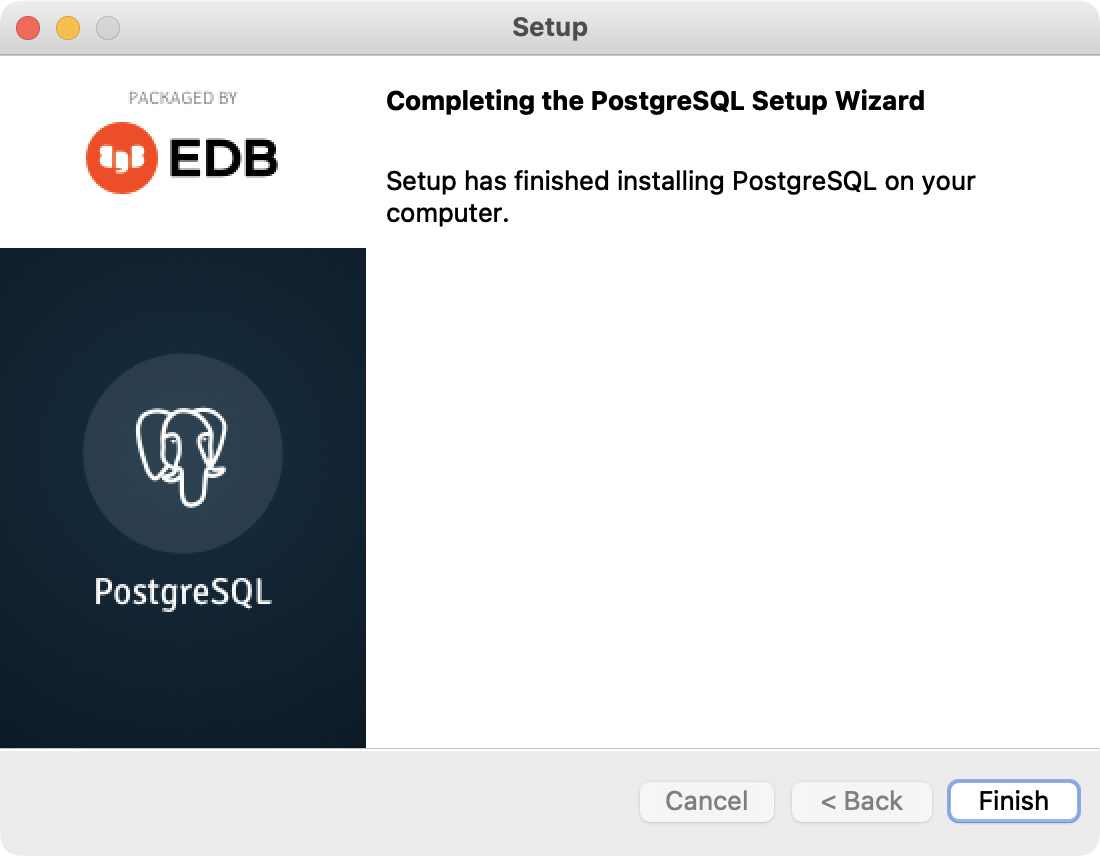
Figure 0.32: Success message showing the setup as complete
- Click the
Finishbutton once the installation gets complete. - Now load the database in the PostgreSQL server.
- Double-click on the
pgAdmin 4icon to launch it from your Launchpad. - Enter the password for the PostgreSQL user that you had set during the installation process.
- Then click the
OKbutton. You will now see the pgAdmin dashboard.
This completes the installation of PostgreSQL for the macOS. The next section will familiarize you with the PostgreSQL interface.
Exploring pgAdmin Dashboard
Once you have installed PostgreSQL in Windows and macOS, follow these steps to grasp the interface better:
- Open
pgAdmin4from Windows/ macOS (in case pgAdmin is not open on your system). - Click on the
Serversoption on the left:
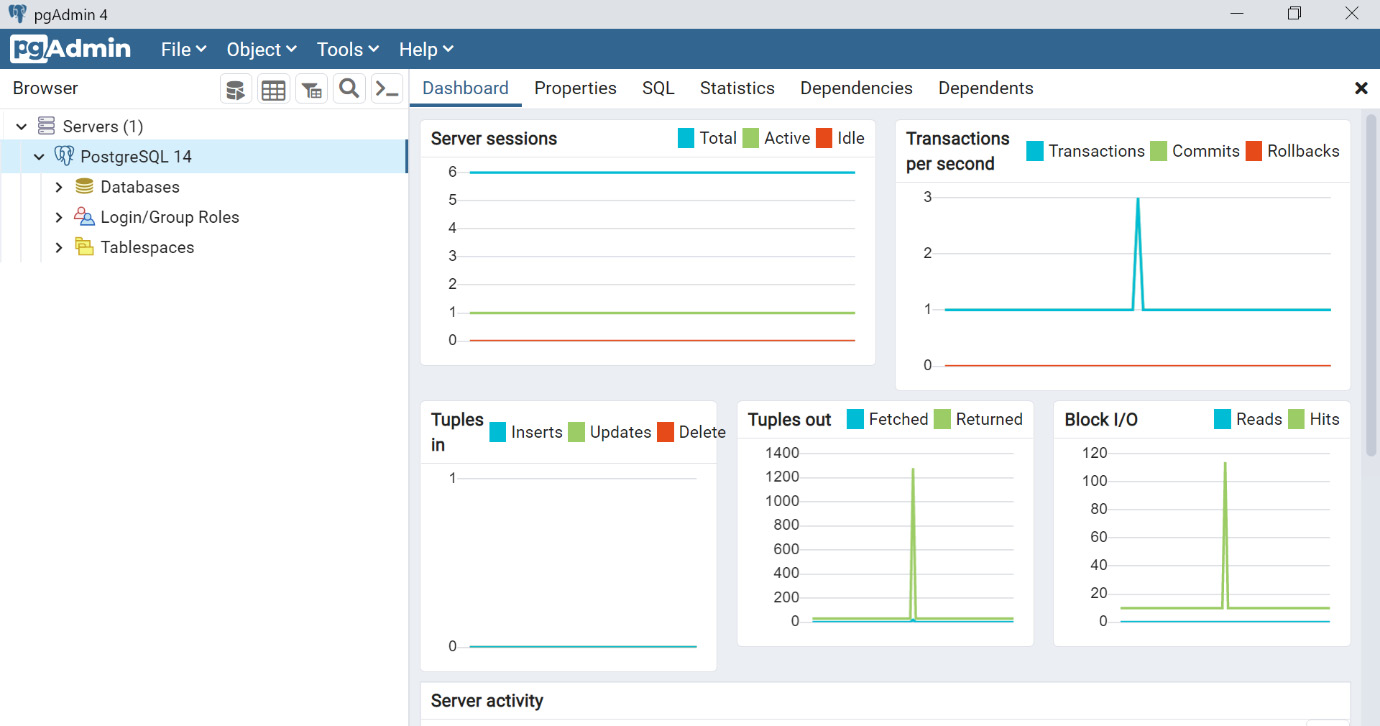
Figure 0.33: Clicking on Servers to create a database
- Right-click on
PostgreSQL 14. - Then click on the
Createoption. - Choose the
Database…option to create a new database:
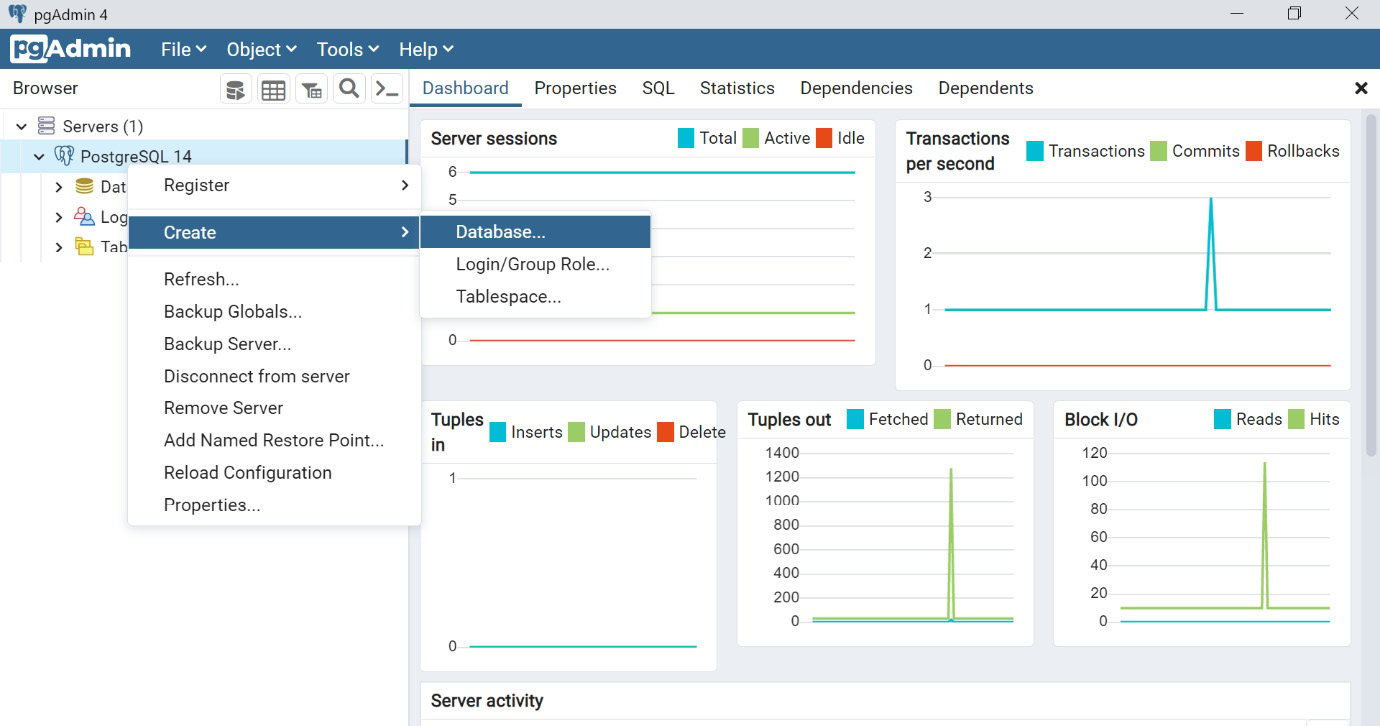
Figure 0.34: Creating a new database
This will open a Create – Database window.
- Enter the database name, as
TestDatabase. - Select the Owner of the database or leave it as default. For now, just use the
Owneraspostgres:
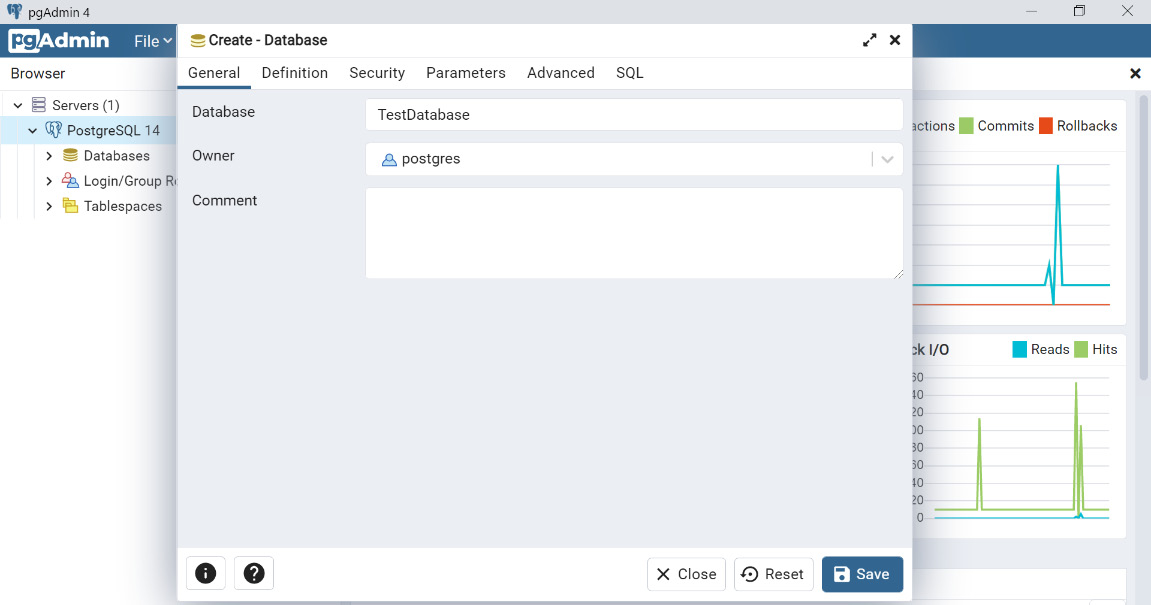
Figure 0.35: Selecting the owner of the database
- Then click on the
Savebutton. This will create a database. - Right-click on
Databasesand choose theRefreshbutton:
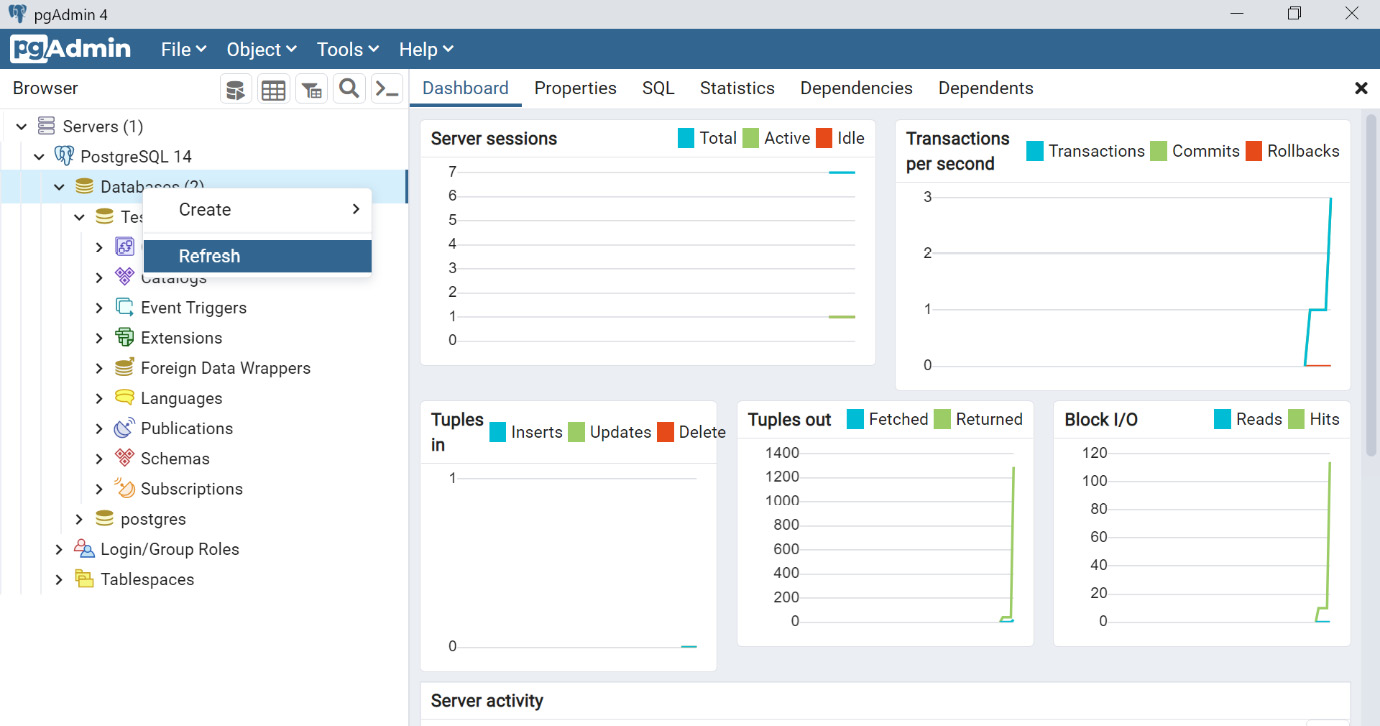
Figure 0.36: Clicking the Refresh… button after right-clicking Databases
A database with the name TestDatabase is now displayed within the dashboard:
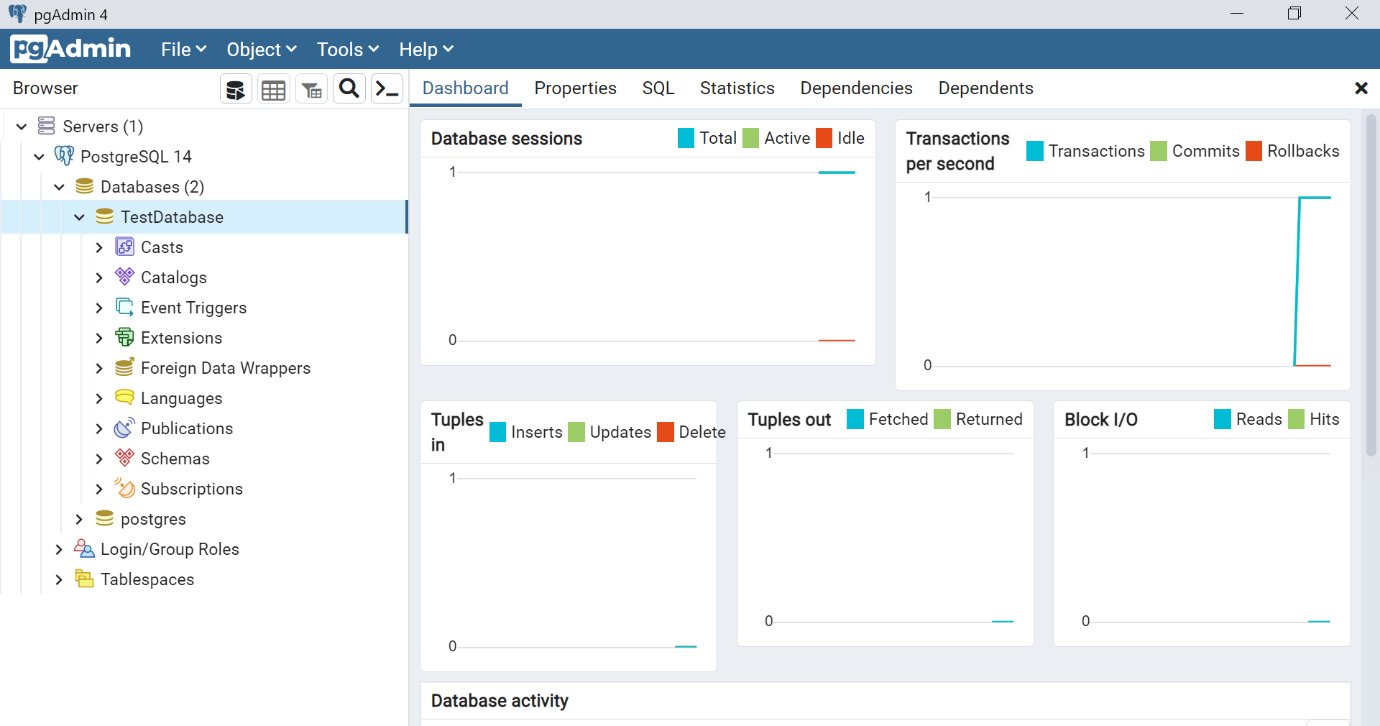
Figure 0.37: TestDatabase ready for use
Now your database is ready to be used for Windows and Mac environments.
PostgreSQL Installation on Ubuntu
In this example, you are using Ubuntu 20.04 for installation. Perform the following steps to do so:
- In order to install PostgreSQL, open your Ubuntu terminal first.
- Make sure to update your repository using the following command:
$ sudo apt update
- Install the PostgreSQL software along with additional packages using the following command (recommended):
$ sudo apt install postgresql postgresql-contrib
Note
To install only PostgreSQL (not recommended without additional packages), use the command
$ sudo apt install postgresqland then pressEnter.
This installation process creates a user account called postgres that has the default Postgres role.
Accessing the postgres User Account with the postgres Role
There are two ways to start the PostgreSQL CLI using the postgres user account:
Option 1 is as follows:
- To log in as a postgres user, use the following command:
$ sudo -i -u postgres
- Access the CLI by using the following command:
$ psql
Note
Sometimes, while executing the preceding command, a
psqlerror may be displayed ascould not connect to server: No such file or directory. This is because of a port issue on your system. Due to this port blockage, the PostgreSQL application may not work. You can try the command again after some time. - To quit the CLI, use the following command:
$ \q
Option 2 is as follows:
- To log in as a postgres user, use the following command:
$ sudo -u postgres psql
- To quit the CLI, use the following command:
$ \q
Verifying the postgres User Account as a postgres User Role
- To verify the user account, log in and use the
conninfocommand:$ sudo -u postgres psql $ \conninfo $ \q
Using this command, you can ensure that you are connected to the postgres database as the postgres user via port 5432. If you don't want to use the default user, postgres, you can create a new user for you.
Accessing a New User and Database
- Create a new user by using the following command and pressing
Enter:$ sudo -u postgres createuser –interactive
The preceding command will ask the user to add the name of the role and its type.
- Enter the name of the role, for example,
testUser. - Next, enter
ywhen prompted to set a new role to be a superuser:Prompt: Enter the name of the role to add: testUser Shall the new role be a superuser? (y/n) y
This will create a new user with the name testUser.
- Create a new database with the name
testdbusing the following command:$ sudo -u postgres createdb testdb
- Log in to the newly created user account using the following command:
$ sudo -u testUser psql -d testdb
- Use the following command to check the connection details:
$ \conninfo
- To quit the CLI, use the following command:
$ \q
Using this command, you can ensure that you are connected to the testdb database as the testUser user via port 5432.
With these steps, you have completed the PostgreSQL installation for Ubuntu.