Book Image

Azure Machine Learning Engineering

By : Sina Fakhraee, Balamurugan Balakreshnan, Megan Masanz
Book Image

Azure Machine Learning Engineering

By: Sina Fakhraee, Balamurugan Balakreshnan, Megan Masanz

Overview of this book

Data scientists working on productionizing machine learning (ML) workloads face a breadth of challenges at every step owing to the countless factors involved in getting ML models deployed and running. This book offers solutions to common issues, detailed explanations of essential concepts, and step-by-step instructions to productionize ML workloads using the Azure Machine Learning service. You’ll see how data scientists and ML engineers working with Microsoft Azure can train and deploy ML models at scale by putting their knowledge to work with this practical guide. Throughout the book, you’ll learn how to train, register, and productionize ML models by making use of the power of the Azure Machine Learning service. You’ll get to grips with scoring models in real time and batch, explaining models to earn business trust, mitigating model bias, and developing solutions using an MLOps framework. By the end of this Azure Machine Learning book, you’ll be ready to build and deploy end-to-end ML solutions into a production system using the Azure Machine Learning service for real-time scenarios.
Table of Contents (17 chapters)
1
Part 1: Training and Tuning Models with the Azure Machine Learning Service
7
Part 2: Deploying and Explaining Models in AMLS
12
Part 3: Productionizing Your Workload with MLOps

Connecting AMLS to VS Code

VS Code is an IDE designed to work with Windows, macOS, or Linux. Its Git integration and debugging features make it a natural selection for a code editor. VS Code has an extension for working directly with your AMLS environment to build, train, and deploy ML models. In order to leverage this powerful tool, install and configure VS Code by following these steps:

  1. Download and install VS Code at https://code.visualstudio.com/download.
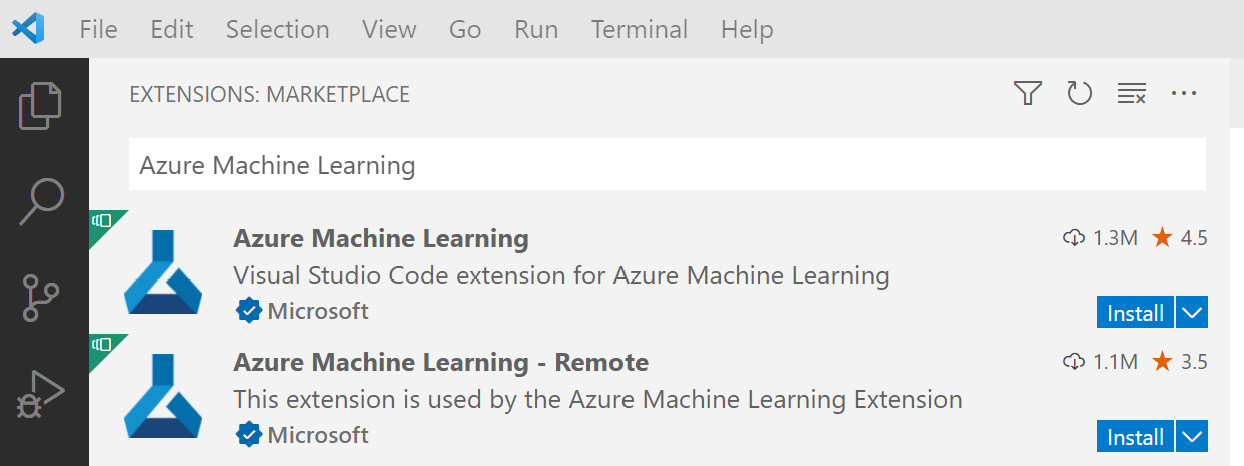
  2. From within VS Code, click on the EXTENSIONS icon (Ctrl + Shift + x), search for Azure Machine Learning as shown in Figure 1.34, and select Install:
Figure 1.34 – Selecting the VS Code extension

Figure 1.34 – Selecting the VS Code extension

  1. Sign into your Azure account (Ctrl + Shift + p), and type the following:
    >Azure: Sign In

A new browser window will open for you to supply your credentials to enable sign-in.

  1. Set your default workspace, leveraging the command palette. In order to set your default AMLS workspace, you will need to have a folder open in which VS Code can store metadata. This can be done by selecting File from the menu and selecting Open Folder.
  2. Choose your default workspace by leveraging the command palette (Ctrl + Shift + p) and type Azure ML: Set Default Workspace. This command will walk you through selecting your subscription and your workspace:
     >Azure ML: Set Default Workspace
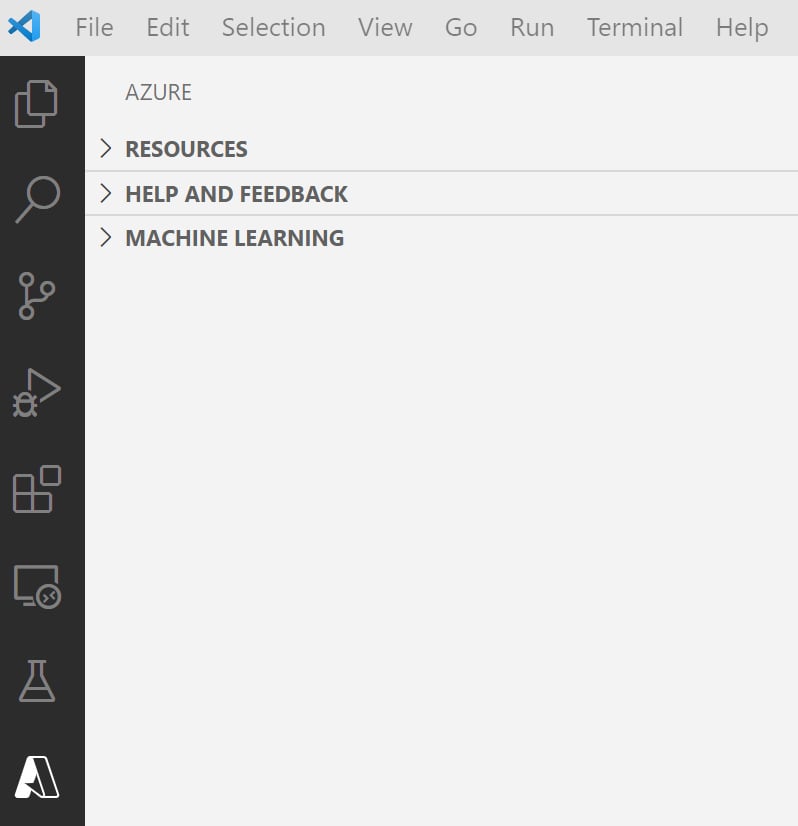
  3. Go to the Azure icon (Shift + Alt + A), and go to MACHINE LEARNING as shown in Figure 1.35:

Figure 1.35 – Azure icon

Figure 1.35 – Azure icon

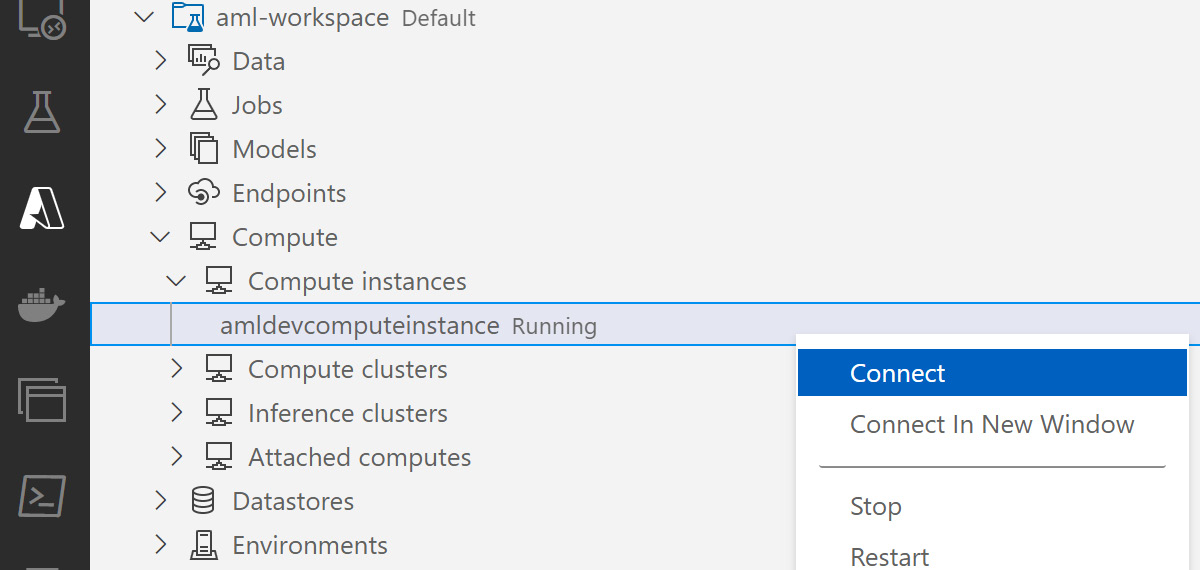
  1. Inside the Machine Learning section of the Azure icon, right-click as shown in Figure 1.36 and select Connect for our compute instance:

Figure 1.36 – Connect to compute instance

Figure 1.36 – Connect to compute instance

  1. The VS Code extension will be installed on the compute instance you are connecting to and you will be asked whether you trust the authors of all files in the parent folder. Select Yes, I trust the authors.
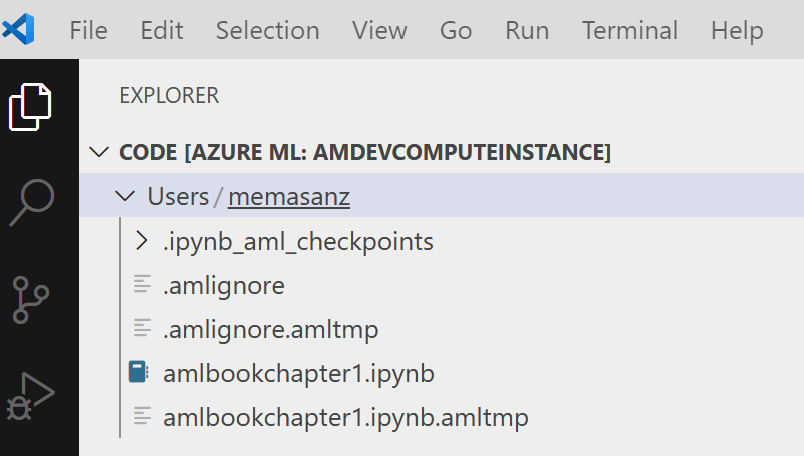
  2. This will open a new instance of VS Code on your local machine. In this new instance of VS Code, you will see the user directory and notebook previously created in the Developing using an AML notebook section as shown in Figure 1.37:

Figure 1.37 – Opening the notebook in VS Code

Figure 1.37 – Opening the notebook in VS Code

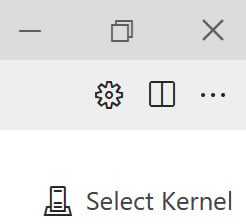
  1. Select your Python interpreter from the top-right corner by clicking on Select Kernel. Please select the azureml_py310_sdkv2 kernel:
Figure 1.38 – Select Kernel

Figure 1.38 – Select Kernel

  1. After the interpreter has been selected, you can create a print statement as shown in Figure 1.39:
Figure 1.39 – Writing code

Figure 1.39 – Writing code

  1. To execute this code, press the play button to the left of the cell (Ctrl + Enter). Note that the Python code supplied will print out the current working directory. Your code executes on the compute instance as shown by the directory path printed out.

Saving the notebook within VS Code will save the notebook to your AMLS workspace.

In this section, you have installed VS Code, the AML VS Code extension, and connected to your compute instance in your AMLS workspace to run your code. VS Code provides IntelliSense, the ability to run and debug your code, along with built-in Git integration. Combining these features with integration into your AMLS workspace makes this the ideal choice for development.