

Unwrapping basic shapes
We will now learn how to cut and UV-unwrap 3D shapes to create UV maps. In the following few steps, we will create and unwrap a basic cube. Although Blender typically automatically unwraps a default cube, it is important that we know how to do this manually since lots of 3D objects will need to be manually unwrapped like a cube, and Blender will not be able to do it automatically:
- Open the UV Editing workspace from the top of the screen.
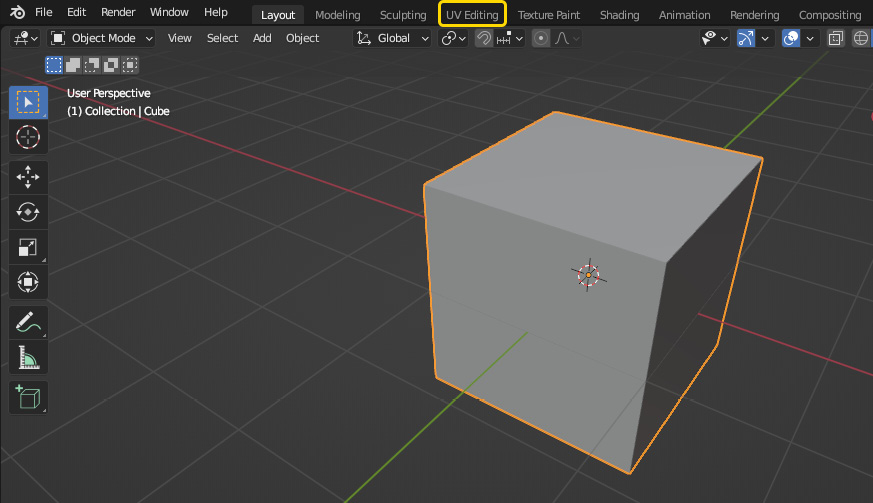
Figure 7.5 – Opening the UV Editing workspace
The screen is now split into two areas: the UV Editor on the left and the 3D View on the right, as shown in Figure 7.6. This allows us to see the 3D model and the UV map at the same time, as we are working. In Figure 7.6, we can see that the default cube, like all other shapes that can be added from the Add menu, is already unwrapped.
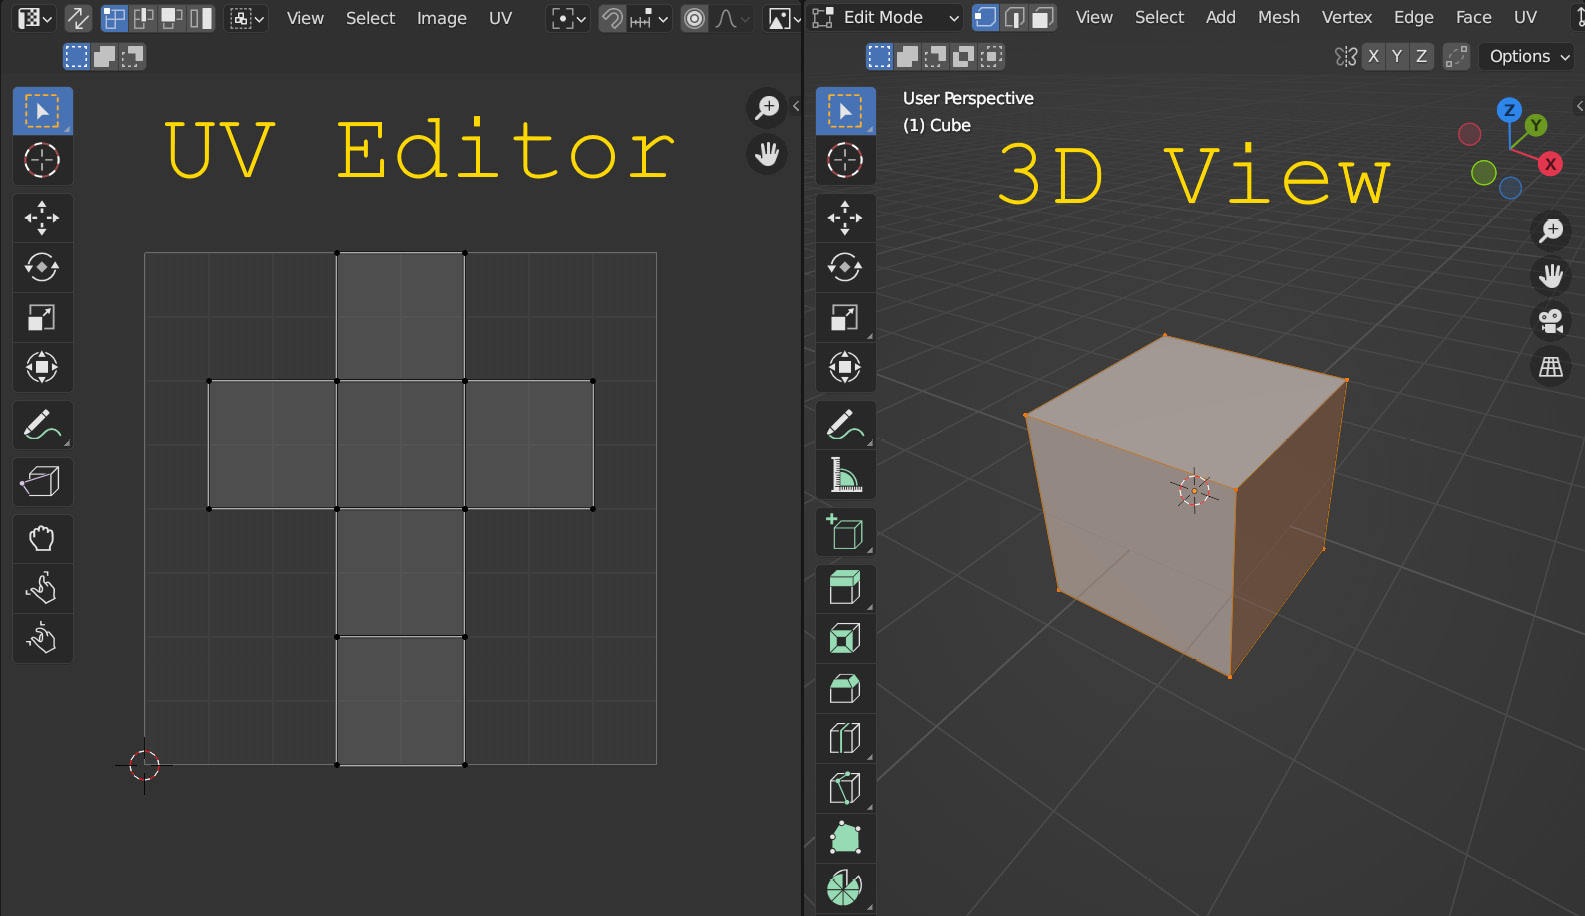
Figure 7.6 – A UV-unwrapped cube in the UV Editing workspace
...