
Applying the Ambient Occlusion map with nodes
We will now learn how to apply an AO map to a material and use it to improve our textures.
First, let’s plug the Image Texture node with the AO map into the Base Color input of the Principled BSDF node, as shown in Figure 8.10.
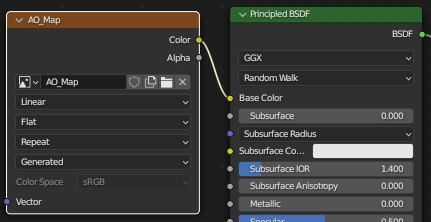
Figure 8.10 – Plugging the AO map into the Principled BSDF node
This will add some shading to the 3D model, as shown in Figure 8.11.
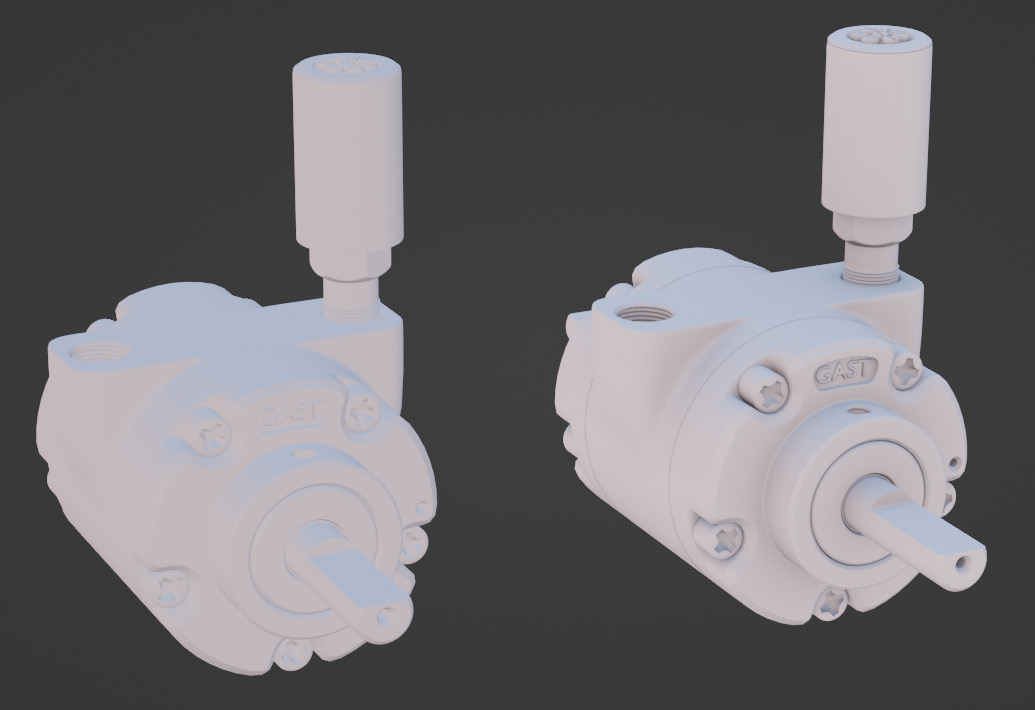
Figure 8.11 – The effect of an AO map as visible in the viewport
Currently, the shading is not very noticeable and makes a minimal difference. In the next few steps, we will add some nodes so that we can tweak the result:
- Add a Bright/Contrast node and tweak the values to change the darkness and width of the shadows to your preference. This is demonstrated in Figure 8.12.
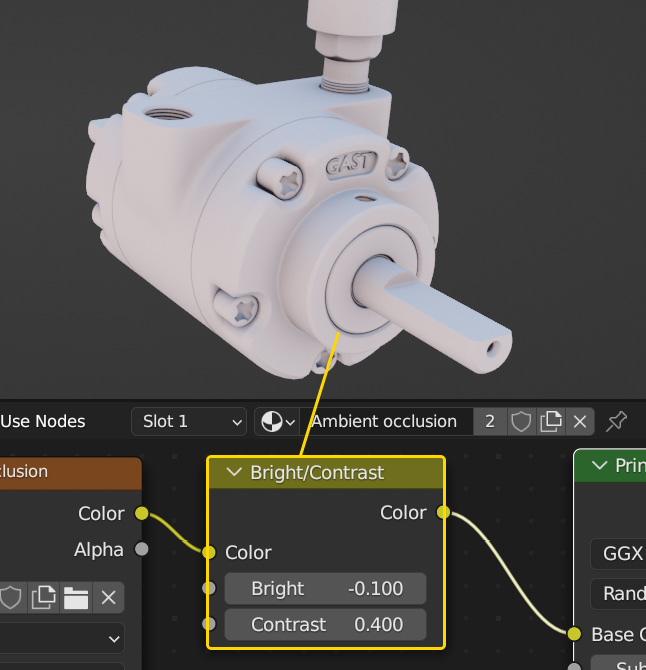
Figure 8.12 – Controlling the AO map with a Bright/Contrast node
- Add a ColorRamp...