Book Image

KeyShot 3D Rendering

By : Jei Lee Jo
Book Image

KeyShot 3D Rendering

By: Jei Lee Jo

Overview of this book

Creating realistic images has been always a meticulous process where setting up the stage is a long and complicated task. KeyShot has simplified this process by allowing us to have a greater amount of control and flexibility in all aspects of the rendering procedure."KeyShot 3D Rendering" provides a series of exercises with a detailed explanation of each part of the pipeline, from importing our model, to texturing, lighting, and rendering. In addition, the book covers in detail how to use all the necessary parameters inside KeyShot and also explains alternative methods to showcase your work."KeyShot 3D Rendering" starts with covering all the basic principles and fundamentals of how to work and navigate in KeyShot. Throughout the book, there will be exercises that will guide and help you to complete the chapter's assignment. Also there will be an explanation of all the terms and parameters used in the exercises.You will learn how to use HDRIs (High Dynamic Range Images) as the primary source for lighting and also how to incorporate backplate images into a scene. You will learn how to create your own materials, textures, and labels. Lastly this book covers camera functions, real-time settings to improve the workflow of your assignments, and also rendering properties.The exercises in the book will provide you with all the tools necessary to bring your models to life and set up your own environment. You will learn how to adjust overall properties accordingly to maximize rendering output.
Table of Contents (13 chapters)

Placing and editing materials


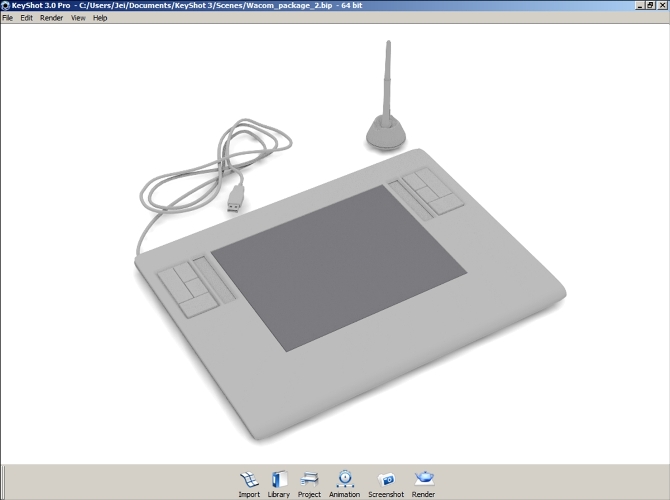
Continuing with our example from the previous chapter, after naming all the parts of the model, our Wacom tablet model is now ready to have materials assigned to it.

Pad

Start by adding a material to our writing pad. Perform the following steps:

  1. Let's start by clicking on the Library icon in our viewport.

  2. Select the material Hard rough plastic – slate grey from the plastics material folder Plastic | Hard | Rough | Classic.

  3. Drag the material from our project window and drop it onto the pad's writing area of our Wacom tablet.

  4. Double-click on the pad to open the project editor.

  5. On the Roughness parameter let's make the value 0.120.

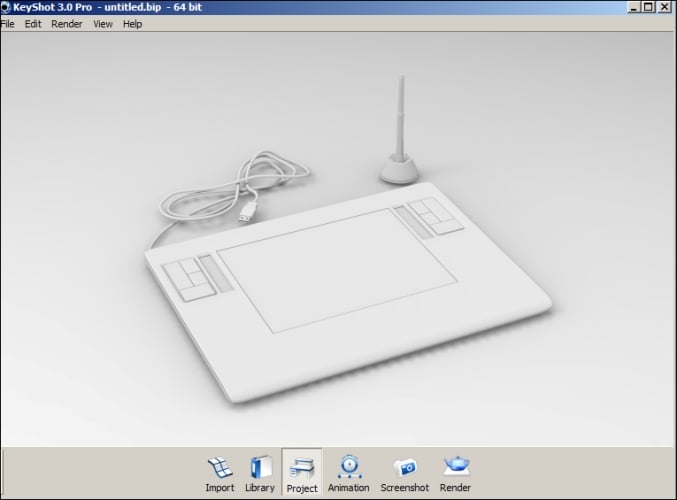
  6. Click on the color swatch from the diffuse channel and change the values for the following parameters:

    • Hue: 240

    • Saturation: 19

    • Value: 52

    • Red: 48

    • Green: 48

    • Blue: 52

This results in the following screenshot:

Tablet case

Under the transparent protective cover and the writing pad of the tablet, we have the case. It houses all the electronic...