

Open your block's controller (located at /packages/cookbook_gallery/blocks/cookbook_gallery/controller.php) in your code editor. We need to add some functions to this class to make it work. First, let's bring the block's add and edit forms to life. Add the following functions to the controller class.
public function add() {
  $this->addEdit();
}

public function edit() {
  $this->addEdit();
}

public function addEdit() {
  $fsList = new FileSetList();
  $sets = $fsList->get();

  $options = array();

  foreach ($sets as $fs) {
    $options[$fs->fsID] = $fs->fsName;
  }

  $this->set('sets', $options);
}
Whoa, what are we doing here? You may recall from earlier chapters that concrete5 controllers employ the use of callbacks, which are functions in the class that get automatically executed when certain things happen. Whenever a block is added to a page for the first time, concrete5 will call the add function when the add.php view is displayed. The same goes for the
edit function and the edit.php view.
Since we want the same code to run when both add and edit forms are used, why not create a function that they each can use? The
addEdit function contains the real code for our backend work.
First, we load a list of all of the file sets in the concrete5 database. Next, we transform this list of file sets into a simple key/value array that we can feed into a select box in the HTML form. Lastly, we send the array of <select> options to the view as the variable $sets.
Awesome. Now, what about when the gallery block is actually viewed on the website? There's a callback for that, too.
public function view() {
  if ($this->file_set) {
    $list = new FileList();
    $set = FileSet::getByID($this->file_set);

    $list->filterBySet($set);
    $list->filterByType(FileType::T_IMAGE);

    $count = ($this->count) ? $this->count : $this->defaultCount;

    $this->set('images', $list->get($count));
  }
  else {
    $this->set('images', false);
  }
}
The view function will be automatically run by concrete5 whenever the block is displayed on the website. It is here that we load the images from the chosen file set and send them to the view.
First, we need to create a new instance of the
FileList class. This class allows us to filter the files in the file manager, to only show the ones that belong in our image gallery.
Next, we load the file set object, based on the file set ID that we will set in the add/edit form. Using the file set object, we are able to filter the set to only show us files that are in that set. We don't want all types of files appearing though (imagine a PDF in the image gallery—that's no fun!), so we add another filter to only show us images.
Next, we write a ternary expression to fall back on the default gallery limit, if one was not chosen when the block was added to the page.
Finally, let's send the images array to the view, so we can show our gallery!
Alright, so we have some great code in our controller, but there's still no HTML in our views. Let's fix that right now.
Open form.php in your code editor. We are going to create the HTML form that site editors will see when the block is added or edited on a page.
Enter the following HTML and PHP code in form.php:
<?php
defined('C5_EXECUTE') or die(_("Access Denied."));
$form = Loader::helper('form');
?>

<div class="ccm-ui">
  <table class="table table-striped table-bordered">
    <tr>
      <td>
        <?php echo t('File set to show photos from') ?>
      </td>
      <td>
        <?php echo $form->select('file_set', $sets, $file_set) ?>
      </td>
    </tr>
    <tr>
      <td>
        <?php echo t('How many images to show?') ?>
      </td>
      <td>
        <?php echo $form->text('count', $count) ?>
      </td>
    </tr>
  </table>
</div>
Hey, that wasn't so bad! This form will contain two fields—a select box containing a list of the file sets in concrete5, and a text input to limit the image gallery. Don't worry about wrapping it in a form element or adding save controls, concrete5 will take care of all of that.
Now, let's include this form in add.php and edit.php. Add the following code to both files:
<?php
defined('C5_EXECUTE') or die(_("Access Denied."));
 $this->inc('form.php');
That's it! Now when our block gets added to the website, editors will see our nice new form.
Of course, our gallery is still missing the most important component, the gallery itself. Let's add some HTML and PHP to view.php to show the various images in the chosen file set as follows:
<?php
  defined('C5_EXECUTE') or die(_("Access Denied."));
  $ih = Loader::helper('image');
?>

<h1><?php echo t('Image Gallery') ?></h1>

<?php if ($images !== false): ?>
  <div class="gallery-wrapper">
    <?php foreach ($images as $image): ?>
      <?php $thumbnail = $ih->getThumbnail($image, 100, 100, true); ?>
      <a class="gallery-image" href="<?php echo $image->getRelativePath() ?>">
        <img src="<?php echo $thumbnail->src ?>" />
      </a>
    <?php endforeach; ?>
  </div>
<?php else: ?>
  <p><?php echo t('There are no images!') ?></p>
<?php endif; ?>
Great. Now let's see what we did. At the very top of the file, of course, we included the defined or die statement that is required on all the PHP files. Following that, we load up the Image helper, which we will be using later to generate thumbnails.
Next, we output a title for the gallery, using the t() wrapper to remain translation friendly, of course.
Shortly after that, we begin looping through the array of images. These are File objects, so we have access to all of the related properties. Let's use the Image helper to generate a 100 x 100 pixel crop of the image (passing true as the second parameter tells the Image helper to crop the image, not just resize it). That will give our gallery a clean and consistent look.
Next, let's wrap the image in an <a> tag, so we can link to the full size image. Output the image tag, using the thumbnail's source.
Don't forget to wrap the whole thing in an if statement to handle file sets with no images.
Lastly, let's add some basic styles to view.css so our gallery looks pretty as follows:
.gallery-wrapper {
  margin: 50px 0;
}

.gallery-image {
  opacity: .85;
}

.gallery-image:hover {
  opacity: 1;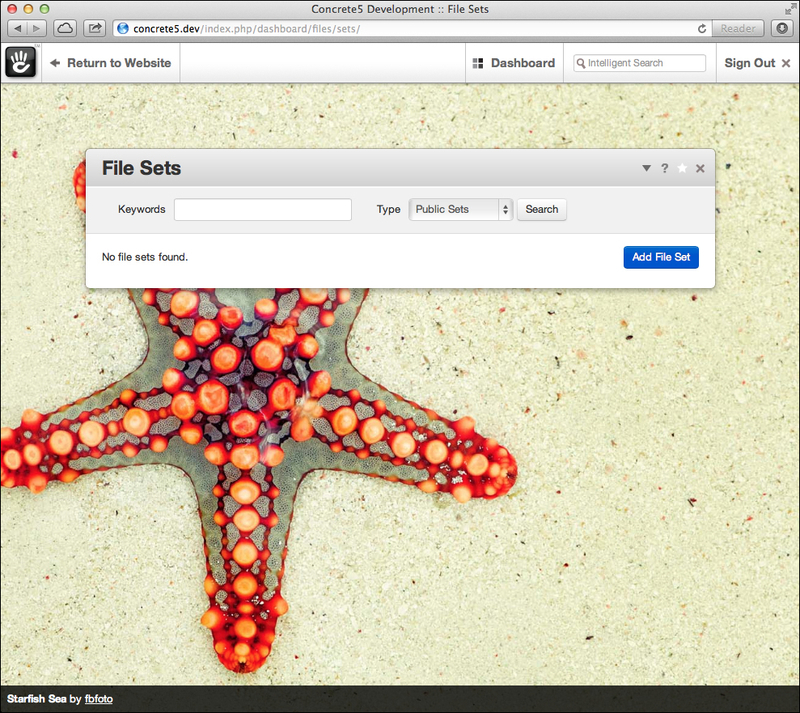
}Alright, let's see how we did! Before we can use the block, let's add a file set to concrete5. Visit /dashboard/files/sets/ in your browser and click on the big blue button to add a file set. We need to add at least one file set before we can use the gallery.
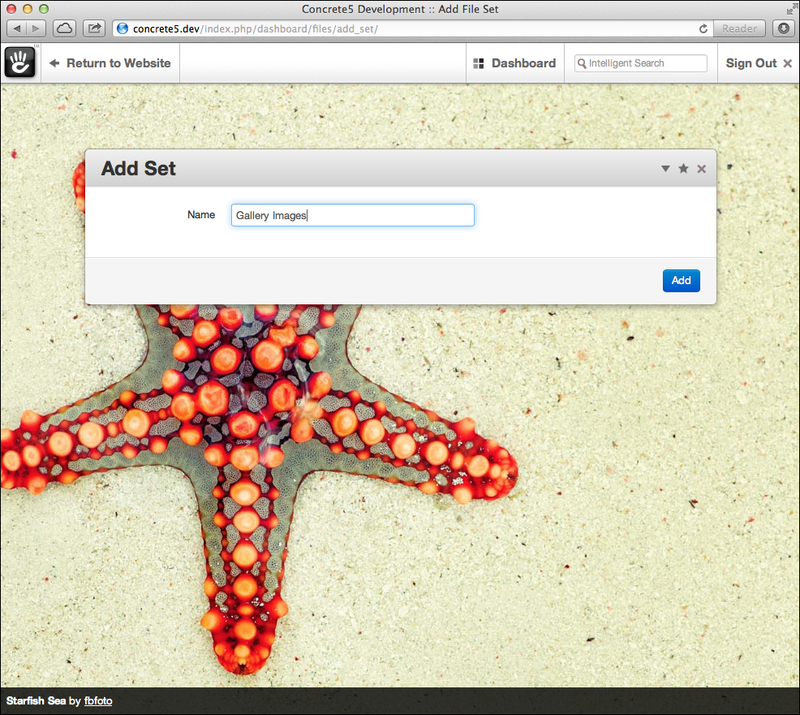
Create a new file set called Gallery Images.
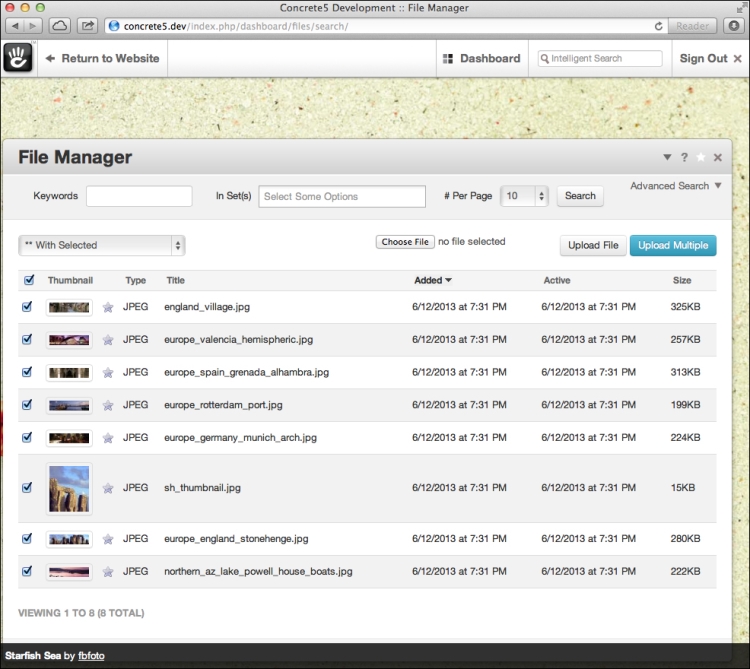
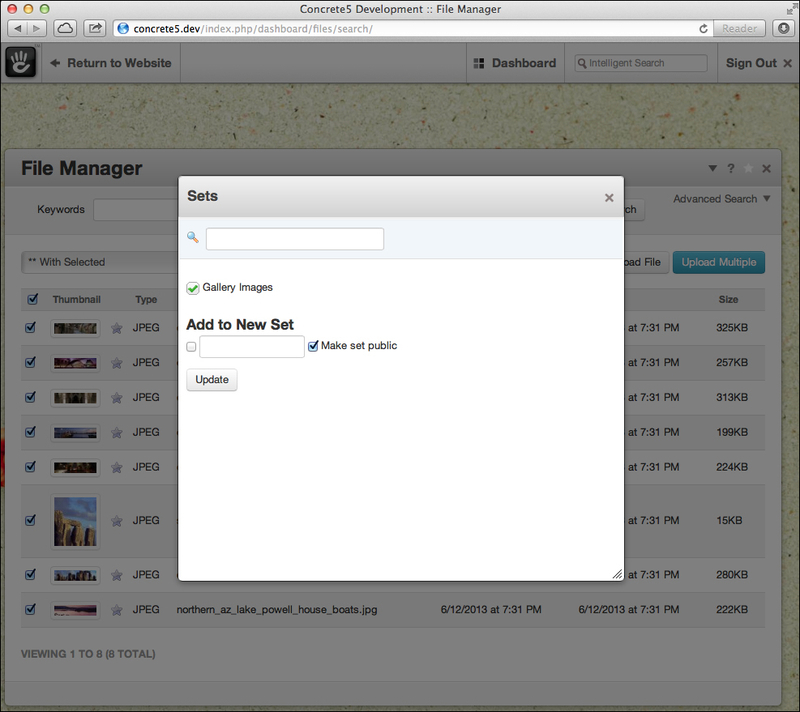
Now we have a file set, but still it is empty. Let's add some images to this file set by visiting the file manager at /dashboard/files/search/.
Select a few images to add to the set.
Click on the dropdown menu in the upper-left hand corner. Select Sets, as in the following screenshot:
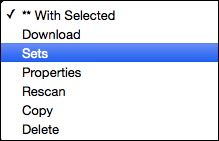
Select the file set that we just created to assign these images to that set.
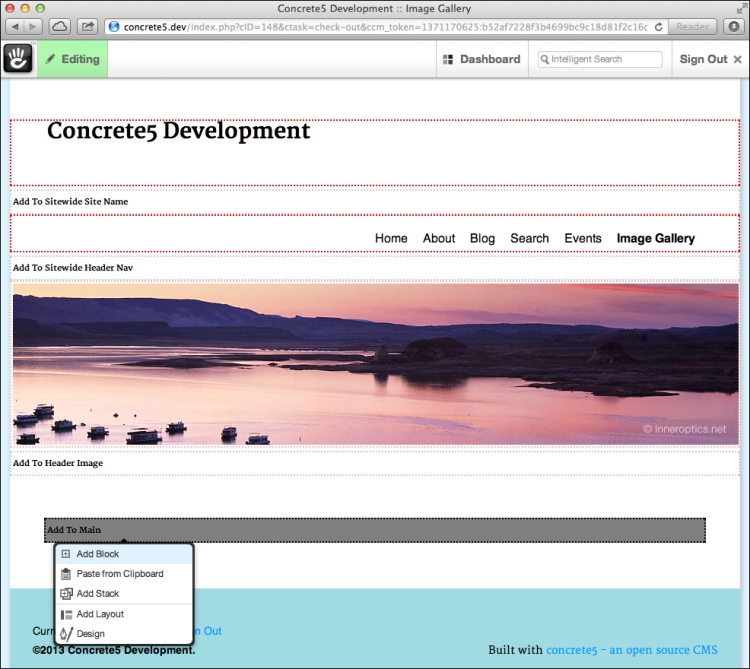
Fantastic! Now we are ready to try out our block. Visit the image gallery page that we created earlier and enter edit mode. Click on the main content area to add a new block.
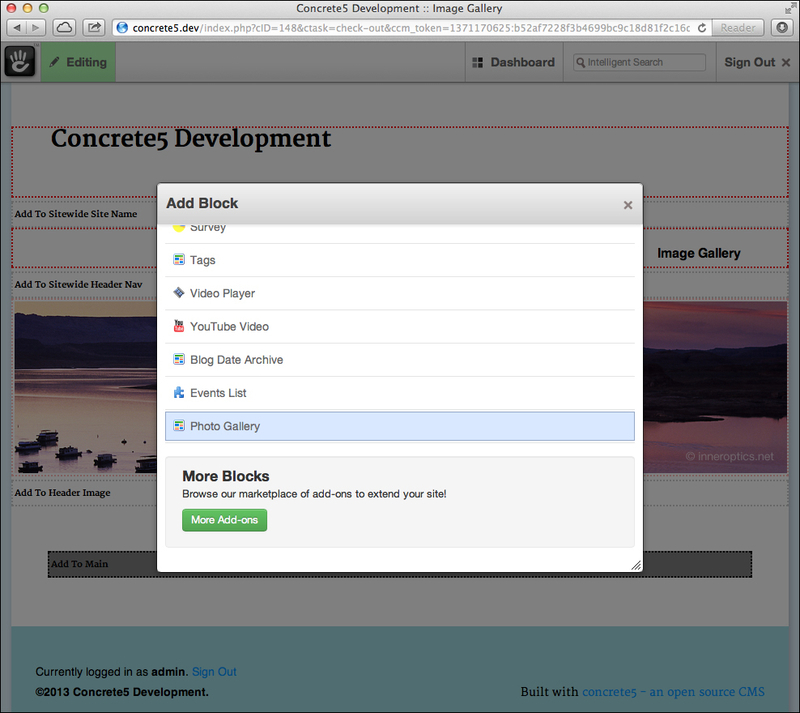
Scroll to the bottom of the block list to find the photo gallery block that we created.
Now, fill out the form to add the block. Select the file set and set a limit to how many images can appear (or leave it blank to use the default of 20).
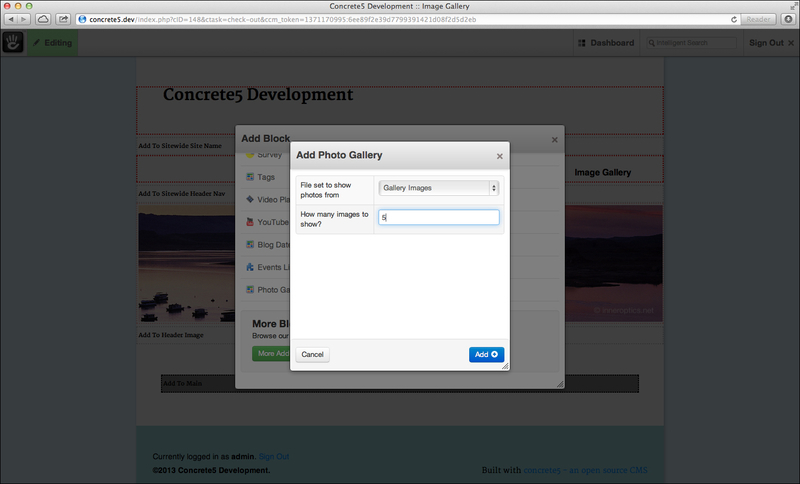
Add the block to the page and publish the changes. You will see a great-looking image gallery!
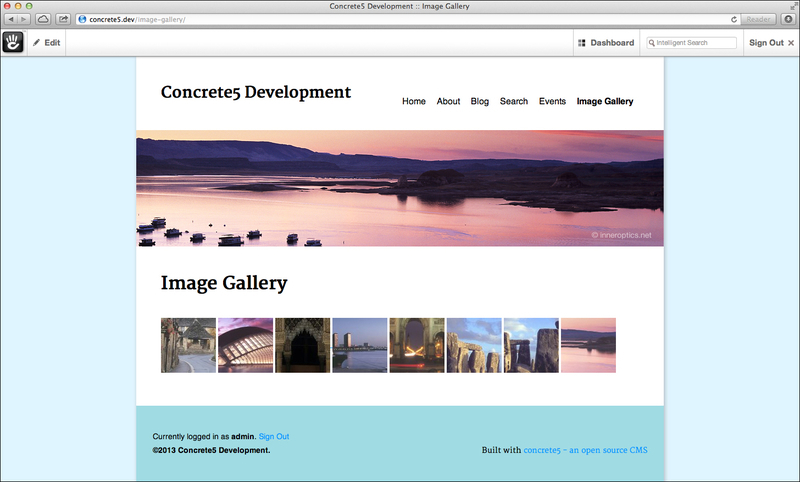
Click on one of the images to see it in its original size.
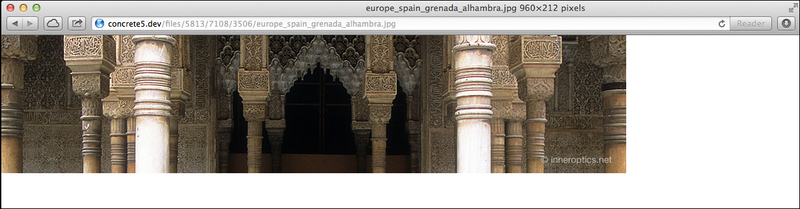
Well, that looks like our code worked! Congratulations, you have created an add-on that can be installed on any concrete5 website and work automatically.