

In this appendix, you'll learn what you, as the site administrator, can do to keep your site safe. However, there are also some basic but critical security measures that your web hosting company should take. You'll probably have a shared hosting account, where multiple sites are hosted on one server computer and each site has access to their part of the available disk space and resources. Although this is much cheaper than hiring a dedicated server to host your site, it does involve some security risks. Good web hosting companies take precautions to minimize these risks. When selecting your web host, it's worth checking if they have a good reputation of keeping their security up to standards. The official Joomla resources site (http://resources.joomla.org/directory/support-services/hosting.html) features hosting companies that fully meet the security requirements of a typical Joomla-powered site.
To avoid installing corrupted versions, it's a good idea to download the Joomla software itself only from the official website (www.joomla.org) or from reliable local Joomla community sites. This is also true when downloading third-party extensions. Use only extensions that have a good reputation; you can check the reviews at www.extensions.joomla.org. Preferably, download extensions only from the original developer's website or from Joomla community websites that have a good reputation.
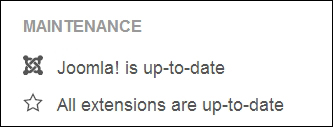
The Joomla development team regularly releases updates to fix bugs and security issues. Fortunately, Joomla makes keeping your site up to date effortless. In the backend control panel, you'll find a MAINTENANCE section in the quick icons column displaying the current status of both the Joomla software itself and of installed extensions. This is shown in the following screenshot:
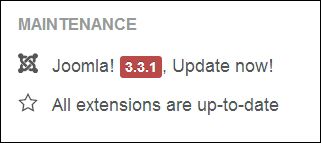
If updates are found, the quick icon text will prompt you to update by adding an Update now! link, as shown in the following screenshot:
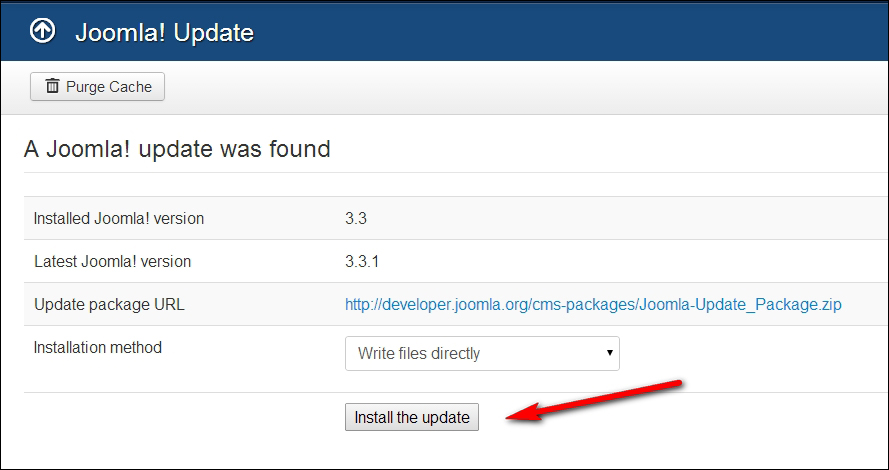
Clicking on this link takes you to the Joomla! Update component (which can also be found by navigating to Components | Joomla! Update). In this window, you'll see the details of the update. Just click on Install the update; the process is fully automated.
Tip
Before you upgrade Joomla to an updated version, it's a good idea to create a backup of your current site. If anything goes wrong, you can quickly have it up and running again. See the Tip 6 – Protect files and directories section in this appendix for more information on creating backups.
If updates for installed extensions are available, you'll also see a notice stating this in the MAINTENANCE section of the control panel. However, you can also check for updates manually; in the backend, navigate to Extensions | Extension Manager and click on Update in the menu on the left-hand side. Click on Find Updates to search for updates.
After you've clicked on the Find Updates button, you'll see a notice informing you whether updates are available or not. Select the update you want to install and click on the Update button. Be patient; you may not see much happening for a while. After completion, a message is displayed that the available updates have been installed successfully.
The update functionality only works for extensions that support it. It's to be expected that this feature will be widely supported by extension developers; but for other extensions, you'll still have to manually check for updates by visiting the extension developer's website.
When you install Joomla, you also choose and enter a username for your login account (the critical account of the almighty Super User). Although you can enter any administrator username when installing Joomla, many people enter a generic administrator username, for example, admin. However, this username is far too common, and therefore poses a security risk; hackers only have to guess your password to gain access to your site.
If you haven't come up with something different during the installation process, you can change the administrator username later on. You can do this using the following steps:
In the backend of the site, navigate to Users | User Manager.
Select the Super User user record.
In the Edit Profile screen, enter a new Login Name. Be creative!
Click on Save & Close to apply changes.
Log out and log in to the backend with the new username.
Pick an administrator password that isn't easy to guess. It's best to have a password that's not too short; 8 or more characters is fine. Use a combination of uppercase letters, lowercase letters, numbers, and special characters. This should guarantee a strong password.
Don't use the same username and password you use for other online accounts, and regularly change your password. You can create a new password anytime in the backend User Manager section in the same way as you enter or change a username (see Tip 2 – Update regularly).
By default, logging in to the administrative interface of your site just requires the correct combination of username and password. A much more secure way to log in is using the Two-Factor authentication system, a recent addition to Joomla. It requires you to log in with not just your username and password, but also with a six-digit security code. To get this code, you need to use the Google Authenticator app, which is available for most Android, iOS, Blackberry, Windows 8, and Windows Mobile devices. The app doesn't store the six-digit code; it changes the code every 30 seconds.
Two-Factor authentication is a great solution, but it does require a little extra effort every time you log in to your site. You need to have the app ready every time you log in to generate a new access code. However, you can selectively choose which users will require this system. You can decide, for example, that only the site administrator has to log in using Two-Factor authentication.
To enable Joomla's Two-Factor authentication, where a user has to enter an additional secret key when logging in to the site, follow these steps:
To use this system on your site, first enable the Two-Factor authentication plugin that comes with Joomla. In the Joomla backend, navigate to Extensions | Plugin Manager, select Two Factor Authentication – Google Authenticator, and enable it.
Next, download and install the Google Authenticator app for your device.
Once this is set up, you can set the authentication procedure for any user in the Joomla backend. In the user manager section, click on the account name. Then, click on the Two Factor Authentication tab and select Google Authenticator from the Authentication method dropdown. This is shown in the following screenshot:

Joomla will display the account name and the key for this account. Enter these account details in the Google Authenticator app on your device.
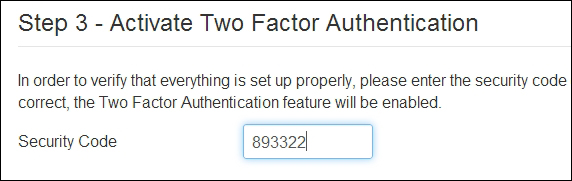
The app will generate a security code. In the Joomla backend, enter this in the Security Code field, as shown in the following screenshot:
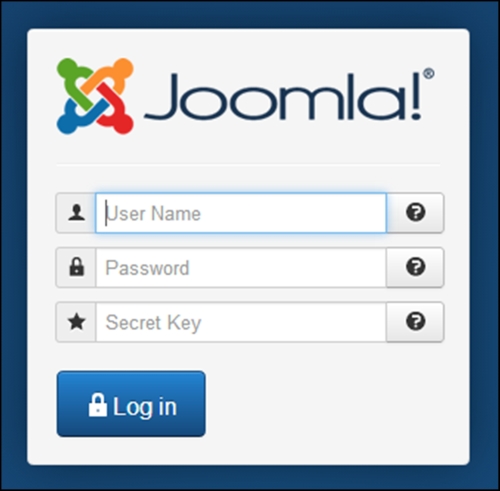
Save your changes. From now on, the Joomla login screen will ask you for your username, password, and a secret key. This is shown in the following screenshot:
Note
There are other secure login systems available besides the Google Authenticator app. Joomla also supports Yubico's YubiKey, a USB stick that generates an additional password every time it is used. After entering their usual password, the user inserts the YubiKey into the USB port of the computer and presses the YubiKey button. Automatically, the extra one-time password will be entered in Joomla's Secret Key field. For more information on YubiKey, visit http://www.yubico.com.
Obviously, you don't want everybody to be able to access the Joomla files and folders on the web server. You can protect files and folders by setting access permissions using the Change Mode (CHMOD) commands. Basically, the CHMOD settings tell the web server who has access to a file or folder and who is allowed to read it, write to it, or to execute a file (run it as a program).
Once your Joomla site is set up and everything works OK, you can use CHMOD to change permissions. You don't use Joomla to change the CHMOD settings; these are set with FTP software (for more information on FTP programs, see Chapter 2, Getting Joomla! Up and Running). You can make this work using the following steps:
In your FTP program, right-click on the name of the file or directory you want to protect. In this example, we'll use the open source FTP program FileZilla.
In the right-click menu, select File Permissions.
You'll be presented with a pop-up screen. Here, you can check permissions and change them by selecting the appropriate options, as shown in the following screenshot:

As you can see, it's possible to set permissions for the file owner (that's you), for group members (that's likely to be only you too), and for the public (everyone else). The public permissions are the tricky part; you should restrict public permissions as much as possible.
When changing the permission settings, the file permissions number (the value in the Numeric value: field in the previous screenshot) will change accordingly. Every combination of settings has its particular number. In the previous example, this number is 644.
Click on OK to execute the CHMOD command and set file permissions.
What files should you protect and what CHMOD settings should you choose? Here are a few pointers:
By default, permissions for files are set to 644. Don't change this; it's a safe value.
For directories, a safe setting is 750 (which doesn't allow any public access). However, some extensions may need access to certain directories. In such cases, the 750 setting may result in error messages. In this case, set permissions to 755.
Never leave permissions for a file or directory set to 777. This allows everybody to write data to it.
Tip
You can also block direct access to critical directories using a .htaccess file. This is a special file containing instructions for the Apache web server. Among other things, it tells the web server who's allowed access to the directory contents. You can add a .htaccess file to any folder on the server by using specific instructions. This is another way to instruct the web server to restrict access. Check the Joomla security documentation at www.joomla.org for instructions.
There are many things you yourself can do to keep your site safe, but there are also dedicated security software available. Just like you've probably installed a firewall and antivirus software on your computer, you can install security extensions to add a layer of protection to your site and prevent intrusions and hacker attacks.
The Joomla extensions site has a special security category at http://extensions.joomla.org/extensions/access-a-security. Following are just a few examples to give you an idea of what's available:
A relatively simple plugin is AdminExile, which prevents hackers from gaining access to the backend of your site by blocking the possibility of using the
www.mysite.com/administratorlogin page. Users can only get to the login page using a secret key.A much more elaborate system (a combination of a component and plugin) is Securitycheck. It functions as a web firewall, performs security vulnerabilities checks for components, and much more.
It's a good idea to browse the Access & Security section of the website now and then to see what's available and read user reviews.
Tip
Don't install too many extensions
Joomla makes it very easy to install new extensions and try them out on your site. However, it's best to limit the number of extensions you add to your site. Potentially, every piece of code added to your site creates an extra security risk. If you've tried an extension and decided not to use it, uninstall it by navigating to Extensions | Extension Manager | Manage | Uninstall.
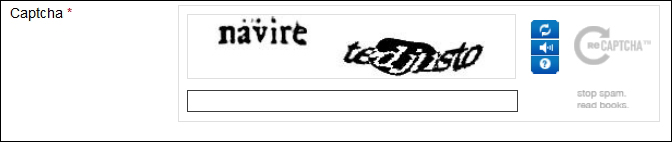
To prevent spam bots from using site forms (such as the contact, login, and registration forms), consider using the new ReCaptcha extension that comes with Joomla. This plugin requires anyone filling out a form to copy a few words which are displayed in an image of distorted text before they are allowed to actually send the form data.
To enable ReCaptcha spam control in Joomla, you need a Google account. Perform the following steps:
Go to www.google.com/recaptcha to sign up and get two unique codes, which are the ReCaptcha keys. These keys are restricted to the domain name you specify.
Copy these codes to Joomla. In the backend, navigate to Extensions | Plug-in Manager | Captcha - ReCaptcha and enter both codes.
Finally, activate the captcha system by navigating to System | Global Configuration | Captcha Settings and select Captcha - ReCaptcha. From now on, Joomla will display a ReCaptcha field on every form that you add through the Contacts component. This is shown in the following screenshot:
Although this is one of the last tips mentioned, it may be the most important one. Whatever precautions you take, be prepared for catastrophes. Always have a backup ready to restore your site to its most current healthy state.
There are a few great Joomla extensions that automate the backup process. A very popular and user-friendly one is Akeeba Backup. It will back up all necessary files (all Joomla files and the database contents) to recover your site. Akeeba will allow you to restore the backup file to any location (not just to its original location).
Tip
Akeeba makes it easy to create working backups of your online site(s) on your own computer. In Chapter 2, Getting Joomla! Up and Running, you can read how to install Joomla on a local web server (see the section Installing Joomla! on your own computer). Just as you can put a backup back online on its original location, you can restore it on your own computer. This way, you can back up your website and regularly restore a copy on your own computer to test it and make sure the backup is okay.
To install Akeeba Backup and create a backup, perform the following steps:
Go to http://www.akeebabackup.com to download the Akeeba Backup core extension file. Navigate to Extensions | Extension Manager to install the extension. Alternatively, you can use the one-click installer in Joomla. In the Extension Manager screen, on the Install from Web tab, search for Akeeba and click on Install.
After the installation, navigate to Components | Akeeba Backup. In the post-installation configuration screen, click on Apply these preferences to confirm the default settings. The Akeeba configuration wizard will now run a series of tests to optimize the server configuration. This may take several minutes, but it's something that needs to be done only once. Finally, the Finished Benchmarking screen is displayed.
Click on Backup Now to make a backup using the default settings. In the next screen, start a new backup by again clicking on the Backup Now button. The backup starts immediately and the Backup Progress screen is displayed, as shown in the following screenshot:
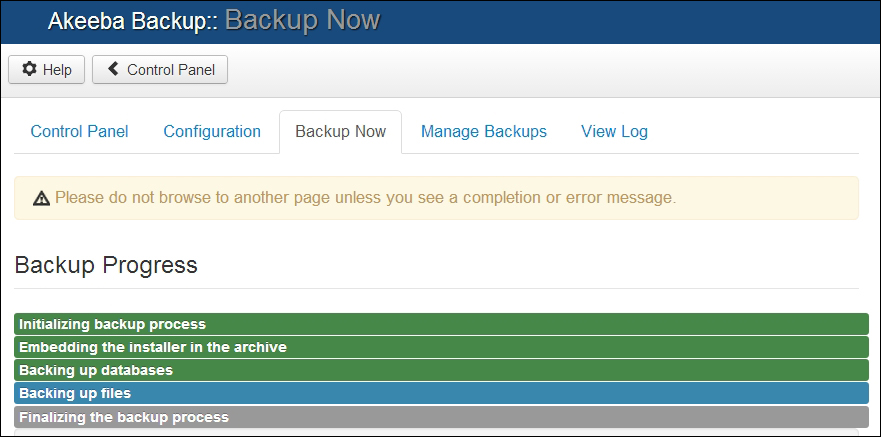
Backing up your site may take a while, depending on the size of the website and the speed of the web server. Although a progress bar is displayed, you may not see anything happen on the screen for several seconds. Don't close the browser screen before you see a completion message.
When the backup is complete, you'll see the message Backup Completed Successfully.
To save the backup file on your computer, click on Manage Backups. Select the backup file and then click on the Part 00 button in the Manage & Download column, as shown in the following screenshot. A file with a JPA extension will be downloaded to your computer. A JoomlaPack Archive (JPA) file is a compressed file in the special archive format used by Akeeba Backup.

If you have any problems downloading the backup file in your browser, you can also use your FTP program. This is a more reliable method to transfer large files to your computer. Navigate using your FTP program to the root folder of the website. You'll find the backup file in the administrator/components/com_akeeba/backup folder.
To restore a backup file, perform the following steps:
To decompress the backup file on the web server, you need a special Akeeba utility called Akeeba Kickstart. Download it from www.akeebabackup.com. Extract the ZIP file containing the
kickstart.phpfile and several other files in a folder on your computer.Using an FTP program, upload the following files to their original location:
The JPA file (the backup file created by Akeeba)
The decompressed files of Akeeba Kickstart
Upload these files to the web server directory where you want to restore Joomla. If you want to restore the site to another location, upload the files there.
When all files have finished uploading, point your browser to the URL of the original site (or the new location) after adding
kickstart.phpat the end of the URL. For example,www.yoursitename.com/kickstart.php.Akeeba Kickstart will start with a warning screen. Close this pop-up screen.
Click on Start to run Kickstart using its default settings and begin decompressing the backup file. This may take some time. The decompression progress is shown in the following screenshot:

As soon as this is done, click on Run the installer. The Akeeba Backup installer screen will appear, as shown in the following screenshot:
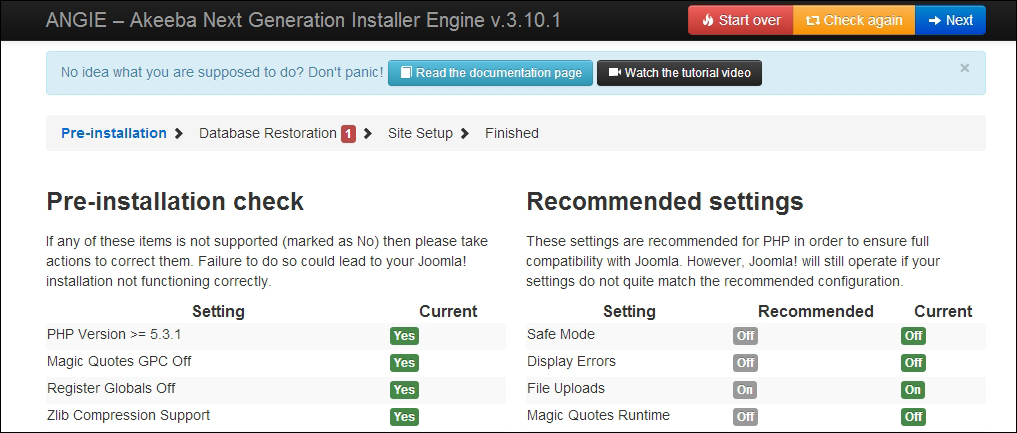
When you're installing to a location other than the one you backed up from, Akeeba will display a warning and allow you to enter the new database details. When this is done, click on the Next button to see the database restoration progress. This is shown in the following screenshot:

Click on OK to proceed to the next step. In the Site Setup screen, check if the site details (such as the site name) are okay. Then, click on Next. In the Finish screen, click on the Remove the installation directory link. You'll see a notice confirming the deletion. Click on OK. This will take you to the restored site.
You're done! To enter the administrative interface, as usual, add /administrator to the site URL.
Tip
There are other ways to restore websites using Akeeba Backup; whether these are useful in your situation depends on the web server configuration. Not all web servers support Akeeba's more advanced features. To find out more, have a look at the step-by-step tutorial and extensive documentation on Akeeba Backup at https://www.akeebabackup.com/documentation.html.
Obviously, there's much more to learn about keeping your site secure. For more tips, have a look at the following links:
Joomla's administrator security checklist at http://docs.joomla.org/Category:Security_Checklist.
The official Joomla security forum at http://forum.joomla.org/viewforum.php?f=714.
To be up to date with the latest news on Joomla security issues, visit http://developer.joomla.org/security. If you use a news reader software, you can subscribe to Joomla security announcements there.