

Rendering and viewing a 3D object
In this section, you’ll create your first scene, which is a simple 3D scene that looks like this:
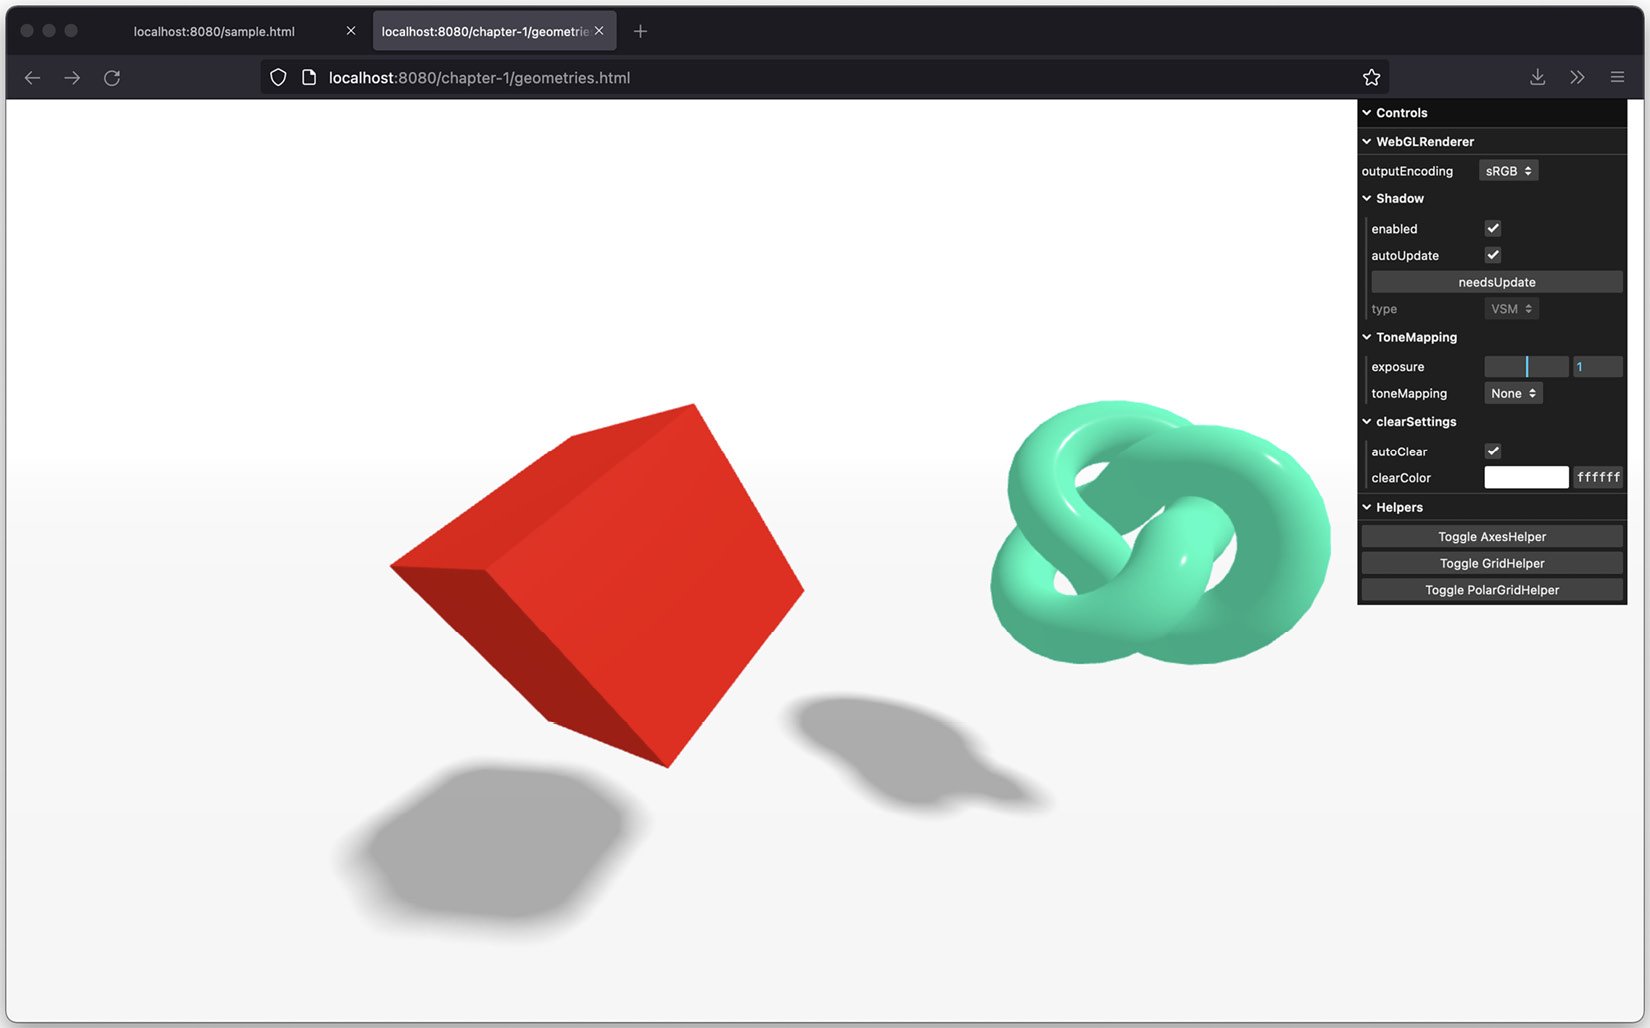
Figure 1.7 – First scene with two standard geometries
In the preceding screenshot, you can see two objects that rotate. These objects are called meshes. A mesh describes the geometry of an object – that is, its shape – and contains information about the material of the object. A mesh determines how the shape gets shown on screen through traits such as color, or whether the object is shiny or transparent.
In the previous screenshot, we can identify three of these meshes:
|
Object |
Description |
|
Plane |
This is a two-dimensional rectangle that serves as the ground area. In Figure 1.7, you can see this since it shows the shadows cast by the two meshes. We will create this as a very large rectangle so that you don’t see any edges. |
|
Cube |
This is a three-dimensional cube and is shown on the left of Figure 1.7. It is rendered in red. |
|
Torus knot |
This is the TorusKnot you can see to the right of Figure 1.7. This one is rendered in green. |
Figure 1.8 – Overview of the objects in the scene
To get all this on screen, we need to perform a couple of steps, which we’ll explain in the upcoming sections.
Setting up the scene
Each Three.js application at least needs a camera, a scene, and a renderer. The scene is the container that holds all the objects (meshes, cameras, and lights), the camera determines what part of the scene is shown when it is rendered, and the renderer takes care of creating the output on the screen, taking into account all the information from the meshes, cameras, and lights in the scene.
All the code we’ll be discussing can be found in the chapter-1/getting-started.js file. The basic structure of this file is as follows:
import * as THREE from "three";
import Stats from 'three/examples/jsm/libs/stats.module'
import { OrbitControls } from 'three/examples/jsm/controls/OrbitControls'
// create a scene
...
// setup camera
...
// setup the renderer and attach to canvas
...
// add lights
...
// create a cube and torus knot and add them to the scene
...
// create a very large ground plane
...
// add orbitcontrols to pan around the scene using the
   mouse
...
// add statistics to monitor the framerate
...
// render the scene
If you look through the preceding steps, you might have noticed that a lot of these steps are the same for each scene you create. Since we’ve got a lot of examples in this book that show different features of Three.js, we’ll extract this code into a couple of helper files. We’ll show how we did this at the end of this chapter. For now, we will walk through the different steps and introduce you to the basic components of a Three.js scene.
First, we must create a THREE.Scene. This is a basic container that will hold all of the meshes, lights, and cameras and has a couple of simple properties, which we’ll explore in more depth in the next chapter:
// basic scene setup
const scene = new THREE.Scene();
scene.backgroundColor = 0xffffff;
scene.fog = new THREE.Fog(0xffffff, 0.0025, 50);
Here, we will create the container object that will hold all our objects, set the background color of this scene to white (0xffffff), and enable the fog effect in this scene. With fog enabled, objects further away from the camera will slowly get hidden by fog.
The next step is creating the camera and the renderer:
// setup camera and basic renderer
const camera = new THREE.PerspectiveCamera(
  75,
  window.innerWidth / window.innerHeight,
  0.1,
  1000
);
camera.position.x = -3;
camera.position.z = 8;
camera.position.y = 2;
// setup the renderer and attach to canvas
const renderer = new THREE.WebGLRenderer({ antialias: true
  });
renderer.outputEncoding = THREE.sRGBEncoding;
renderer.shadowMap.enabled = true;
renderer.shadowMap.type = THREE.VSMShadowMap;
renderer.setSize(window.innerWidth, window.innerHeight);
renderer.setClearColor(0xffffff);
document.body.appendChild(renderer.domElement);
In the preceding code, we created a PerspectiveCamera, which determines what part of the scene is rendered. Don’t worry too much about the parameters at this point, since we’ll discuss those in detail in Chapter 3, Working with Light Sources in Three.js. We also positioned the camera at the specified x-, y-, and z-oordinates. The camera will, by default, look at the center of the scene (which is 0, 0, 0), so we don’t need to change anything for that.
In this code fragment, we also created a WebGLRenderer, which we will use to render the view from the camera on the scene. Ignore the other properties for now; we’ll explain these in the next few chapters when we dive into the details of WebGLRenderer and how you can fine-tune the colors and work with shadows. One interesting part to notice is document.body.appendChild(renderer.domElement). This step adds an HTML canvas element to the page, which shows the output of the renderer. You can see this when you inspect the page in your browser:
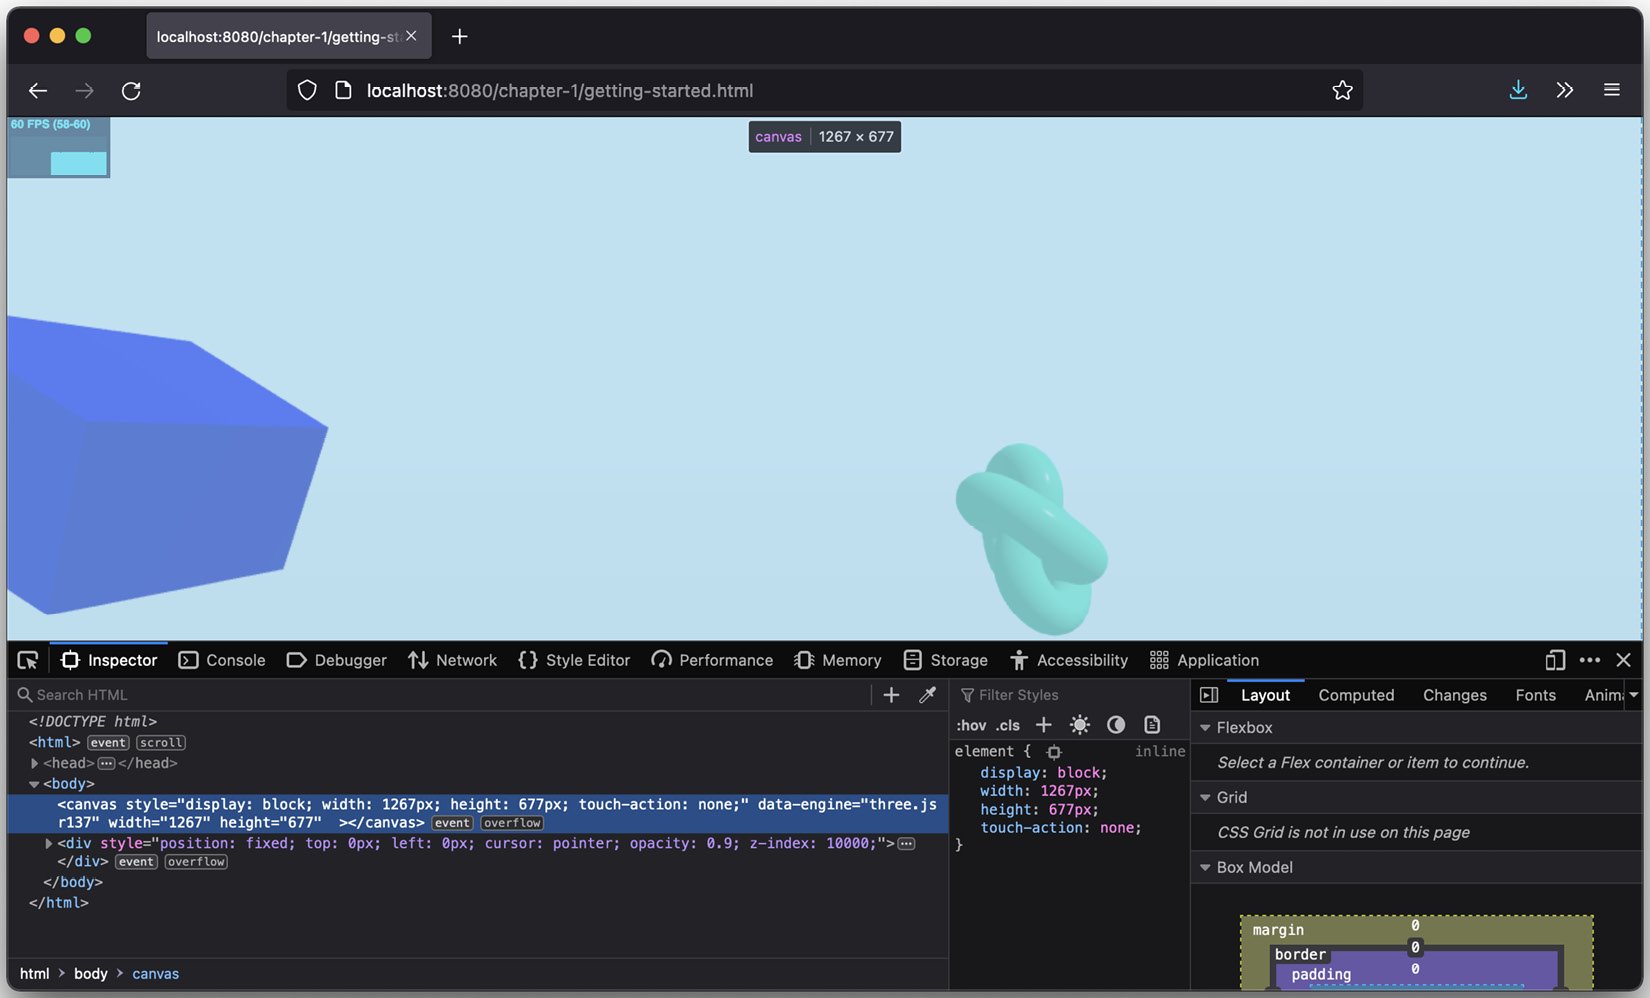
Figure 1.9 – Canvas added by Three.js
At this point, we’ve got an empty THREE.Scene, a THREE.PerspectiveCamera, and a THREE.WebGLRenderer. If we add some objects to the scene, we can already show some output on the screen. Before we do this, though, we’ll add a couple of additional components:
- OrbitControls: This will allow you to use the mouse to rotate and pan around the scene
- Lights: This allows us to use some more advanced materials, cast shadows, and generally make our scene look better
In the next section, we’ll first add the lights.
Adding lights
If we don’t have lights in the scene, most materials will be rendered in black. So, to see our meshes (and get shadows), we’re going to add some lights to the scene. In this case, we’re going to add two lights:
THREE.AmbientLight: This is just a simple light that affects everything with the same intensity and color.THREE.DirectionalLight: This is a light source whose rays are cast in parallel to one another. This is pretty much how we experience the light of the Sun.
The following code fragment shows how to do this:
// add lights
scene.add(new THREE.AmbientLight(0x666666))
const dirLight = new THREE.DirectionalLight(0xaaaaaa)
dirLight.position.set(5, 12, 8)
dirLight.castShadow = true
// and some more shadow related properties
And once again, these lights can be configured in various ways, the details of which we’ll explain in Chapter 3. At this point, we’ve got all the components ready to render a scene, so let’s add the meshes.
Adding the meshes
In the following code fragment, we create the three meshes in our scene:
// create a cube and torus knot and add them to the scene
const cubeGeometry = new THREE.BoxGeometry();
const cubeMaterial = new THREE.MeshPhongMaterial({ color:
  0x0000FF });
const cube = new THREE.Mesh(cubeGeometry, cubeMaterial);
cube.position.x = -1;
cube.castShadow = true;
scene.add(cube);
const torusKnotGeometry = new THREE.TorusKnotBufferGeometry(0.5, 0.2, 100, 100);
const torusKnotMat = new THREE.MeshStandardMaterial({
  color: 0x00ff88,
  roughness: 0.1,
});
const torusKnotMesh = new THREE.Mesh(torusKnotGeometry, torusKnotMat);
torusKnotMesh.castShadow = true;
torusKnotMesh.position.x = 2;
scene.add(torusKnotMesh);
// create a very large ground plane
const groundGeometry = new THREE.PlaneBufferGeometry(10000,
  10000)
const groundMaterial = new THREE.MeshLambertMaterial({
  color: 0xffffff
})
const groundMesh = new THREE.Mesh(groundGeometry, groundMaterial)
groundMesh.position.set(0, -2, 0)
groundMesh.rotation.set(Math.PI / -2, 0, 0)
groundMesh.receiveShadow = true
scene.add(groundMesh)
);
Here, we have created a cube, a torus knot, and the ground. All these meshes follow the same idea:
- We create the shape – that is, the geometry of the objects: a
THREE.BoxGeometry, aTHREE.TorusKnotBufferGeometry, and aTHREE.PlaneBufferGeometry. - We create the material. In this case, we use a
THREE.MeshPhongMaterialfor the cube, aTHREE.MeshStandardMaterialfor the torus knot, and aTHREE.MeshLambertMaterialfor the ground. The color of the cube is blue, the color of the torus knot is greenish, and the color of the ground is white. In Chapter 4, Working with Three.js Materials, we’re going to explore all these materials, where they can best be used, and how to configure them. - We tell Three.js that the cube and the torus knot cast shadows and that the ground will receive shadows.
- Finally, from the shape and the material, we create a
THREE.Mesh, position the mesh, and add it to the scene.
At this point, we just have to call renderer.render(scene, camera). You will see the result on your screen:
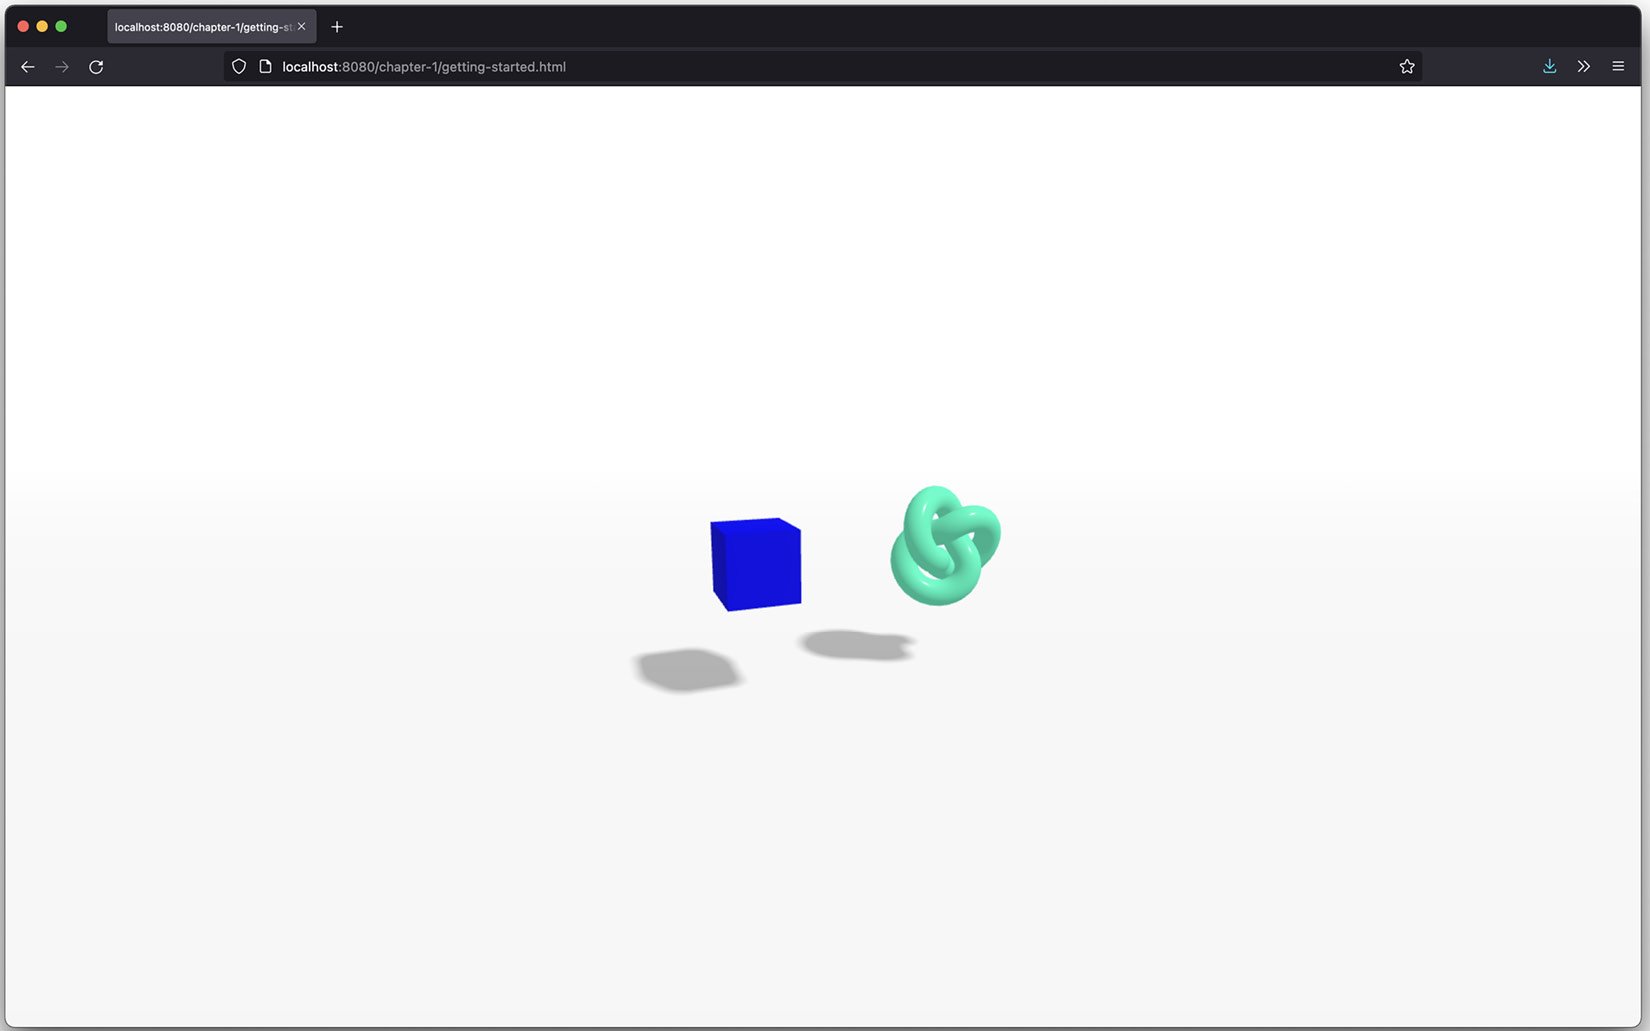
Figure 1.10 – Geometries renderer – static
If you’ve got the source file (chapter-01/getting-started.js), open it in your editor; now is also a good time to experiment a bit with the settings. By changing the torusKnot.postion.x, torusKnot.position.y, and torusKnot.position.z settings, you can move the torus knot around the scene (changes are applied after you save the file in the editor). You can also easily change the color of the meshes by changing the color property of the materials.
Adding an animation loop
At this point, the scene is very static. You can’t move the camera around, and nothing is moving. If we want to animate the scene, the first thing that we need to do is find some way to re-render the scene at a specific interval. Before HTML5 and the related JavaScript APIs came along, the way to do this was by using the setInterval(function,interval) function. With setInterval, we could specify a function that, for instance, would be called every 100 milliseconds. The problem with this function is that it doesn’t take into account what is happening in the browser. If you were browsing another tab, this function would still be fired every couple of milliseconds. Besides that, setInterval isn’t synchronized when the the screen is redrawn. This can lead to higher CPU usage, flickering, and generally poor performance.
Luckily, modern browsers have a solution for that with the requestAnimationFrame function.
Introducing requestAnimationFrame
With requestAnimationFrame, you can specify a function that is called at an interval. However, you don’t define this interval. This interval is defined by the browser. You do any drawing you need to do in the supplied function, and the browser will make sure it is painted as smoothly and efficiently as possible. Using this is simple. We just add the following code:
function animate() {
  requestAnimationFrame(animate);
  renderer.render(scene, camera);
}
animate();
In the preceding animate function, we called requestAnimationFrame again, to keep the animation going. The only thing we need to change in the code is that instead of calling renderer.render after we’ve created the complete scene, we call the animate() function once to initiate the animation. If you run this, you won’t see any changes yet compared to the previous example because we haven’t changed anything in this animate() function. Before we add additional functionality to this function though, we will introduce a small helper library called stats.js, which gives us information about the frame rate the animation is running at. This library, from the same author as Three.js, renders a small graph that shows us information about the rate at which the scene is rendered.
To add these statistics, all we need to do is import the correct module and add it to our page:
import Stats from 'three/examples/jsm/libs/stats.module'
const stats = Stats()
document.body.appendChild(stats.dom)
If you leave it at this, you’ll see a nice stats counter in the top left of your screen, but nothing will happen. The reason is that we need to tell this element when we’re in the requestAnimationFrame loop. For this, we just need to add the following to our animate function:
function animate() {
  requestAnimationFrame(animate);
  stats.update();
  renderer.render(scene, camera);
}
animate();
If you open the chapter-1/getting-started.html example, you’ll see that it shows a frames per second (FPS) counter in the top left of your screen:
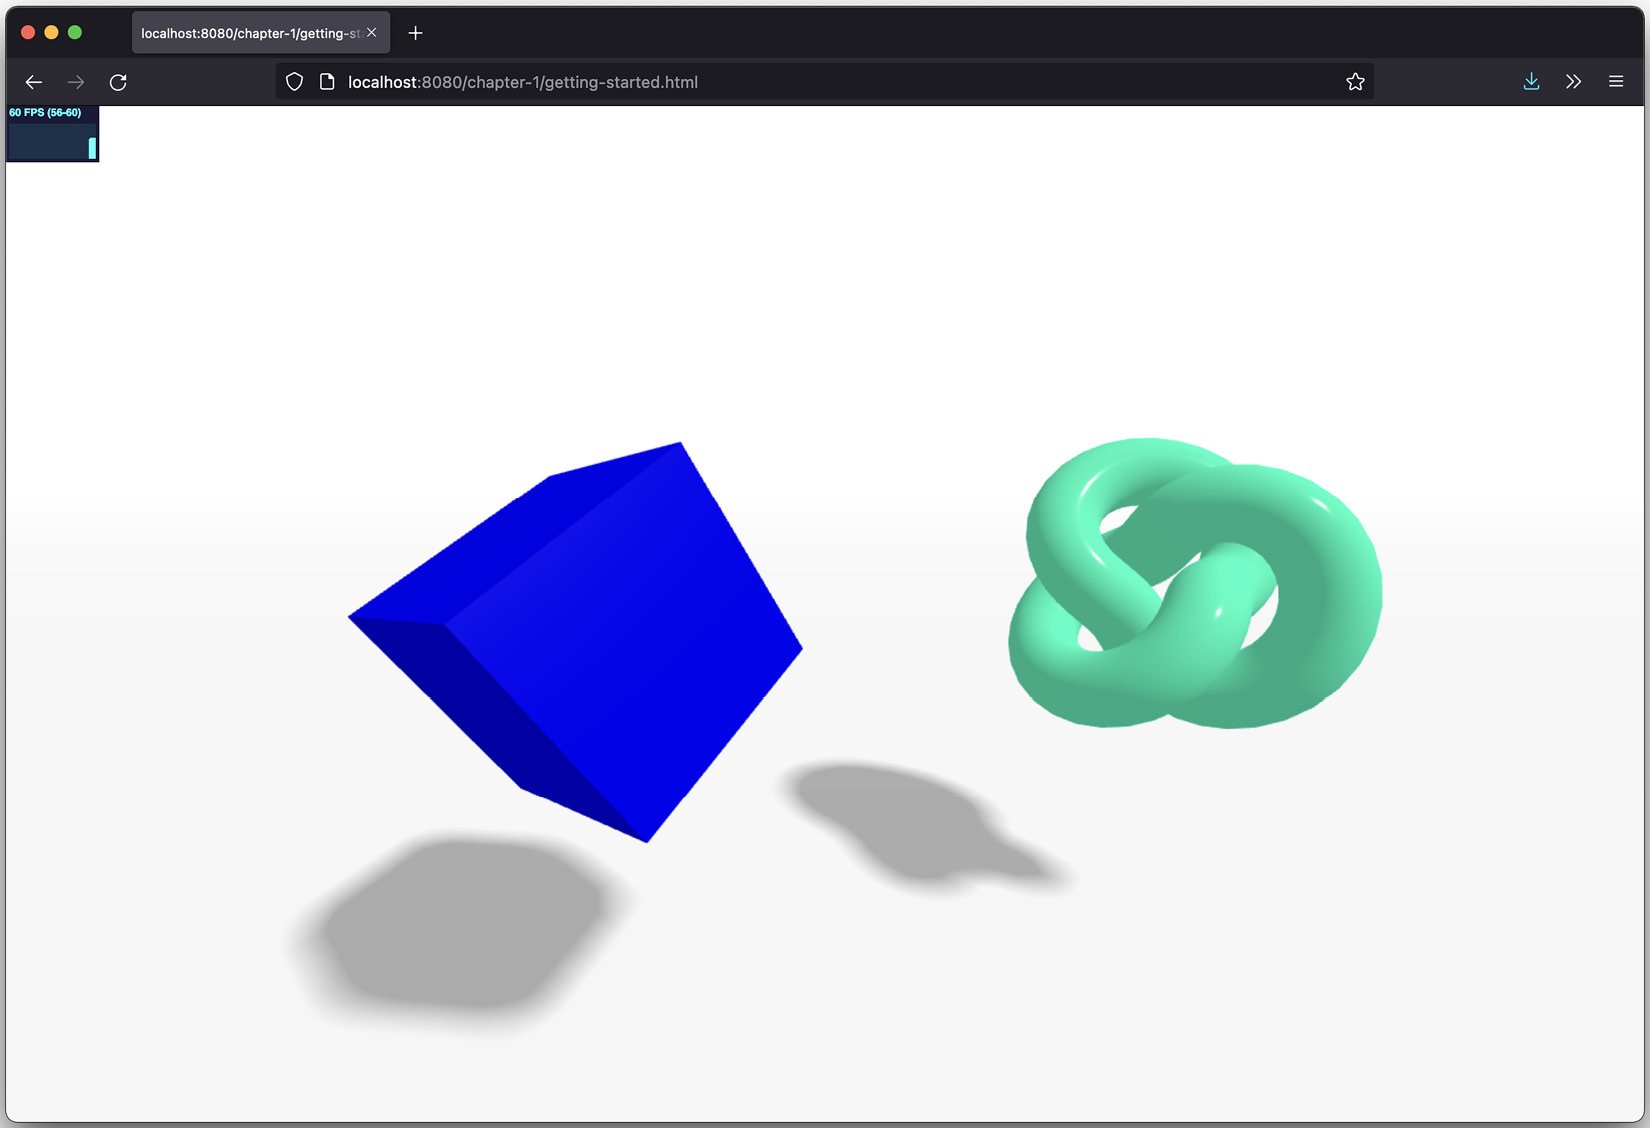
Figure 1.11 – FPS statistics
In the chapter-1/getting-started.html example, you can already see that the torus knot and cube are moving around their axes. In the following section, we’ll explain how you do this by extending the animate() function.
Animating the meshes
With requestAnimationFrame and the statistics configured, we’ve got a place to put our animation code. All we need to do is add this to the animate() function:
cube.rotation.x += 0.01;
cube.rotation.y += 0.01;
cube.rotation.z += 0.01;
torusKnotMesh.rotation.x -= 0.01;
torusKnotMesh.rotation.y += 0.01;
torusKnotMesh.rotation.z -= 0.01;
That looks simple, right? What we do is increase the rotation property of each of the axes by 0.01 every time the animate() function is called, which shows up as the meshes smoothly rotating around all of their axes. If we change the position instead of the rotation around the axes, we can move the meshes around:
let step = 0;
animate() {
  ...
  step += 0.04;
  cube.position.x = 4*(Math.cos(step));
  cube.position.y = 4*Math.abs(Math.sin(step));
  ...
}
With the cube, we have already changed the rotation property; now, we’re also going to change its position property in the scene. We want the cube to bounce from one point in the scene to another with a nice, smooth curve. For this, we need to change its position on the X-axis, as well as the y-axis. The Math.cos and Math.sin functions help us create a smooth trajectory using the step variable. I won’t go into the details of how this works here. For now, all you need to know is that step+=0.04 defines the speed of the bouncing sphere. If you want to enable this for yourself, open up the chapter-1/geometries.js file and uncomment the section from the animate() function. Once you’ve done this, you’ll see something like this on screen, where the blue cube is dancing around the scene:
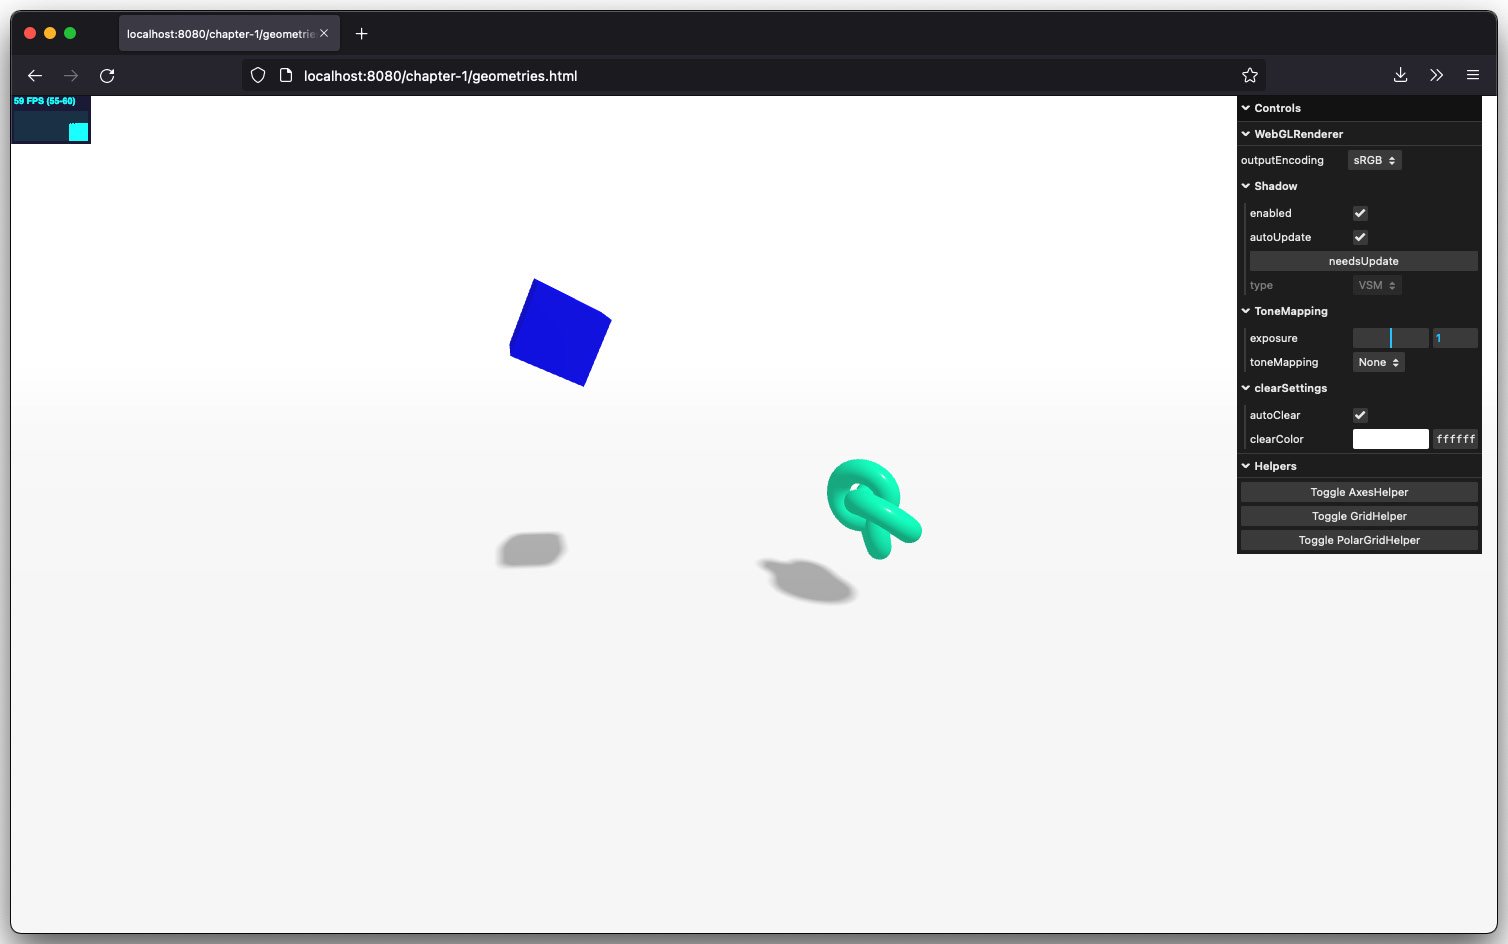
Figure 1.12 – Jumping blue cube
Enabling orbit controls
If you try and move the scene around with your mouse, nothing much will happen. That is because we added the camera to a fixed position, and we didn’t update its position in the animate loop. We can, of course, do this in the same manner as we did to the position of the cube, but Three.js comes with several controls that allow you to easily pan around the scene and move the camera around. For this example, we’ll introduce THREE.OrbitControls. With these controls, you can use your mouse to move the camera around the scene and look at different objects. All we need to do to get this working is create a new instance of these controls, attach them to the camera, and call the update function from our animation loop:
const orbitControls = new OrbitControls(camera, renderer.
  domElement)
// and the controller has a whole range of other properties we can set
function animate() {
  ...
  orbitControls.update();
}
Now, you can use your mouse to navigate around the scene. This is already enabled in the chapter-1/getting-started.html example:
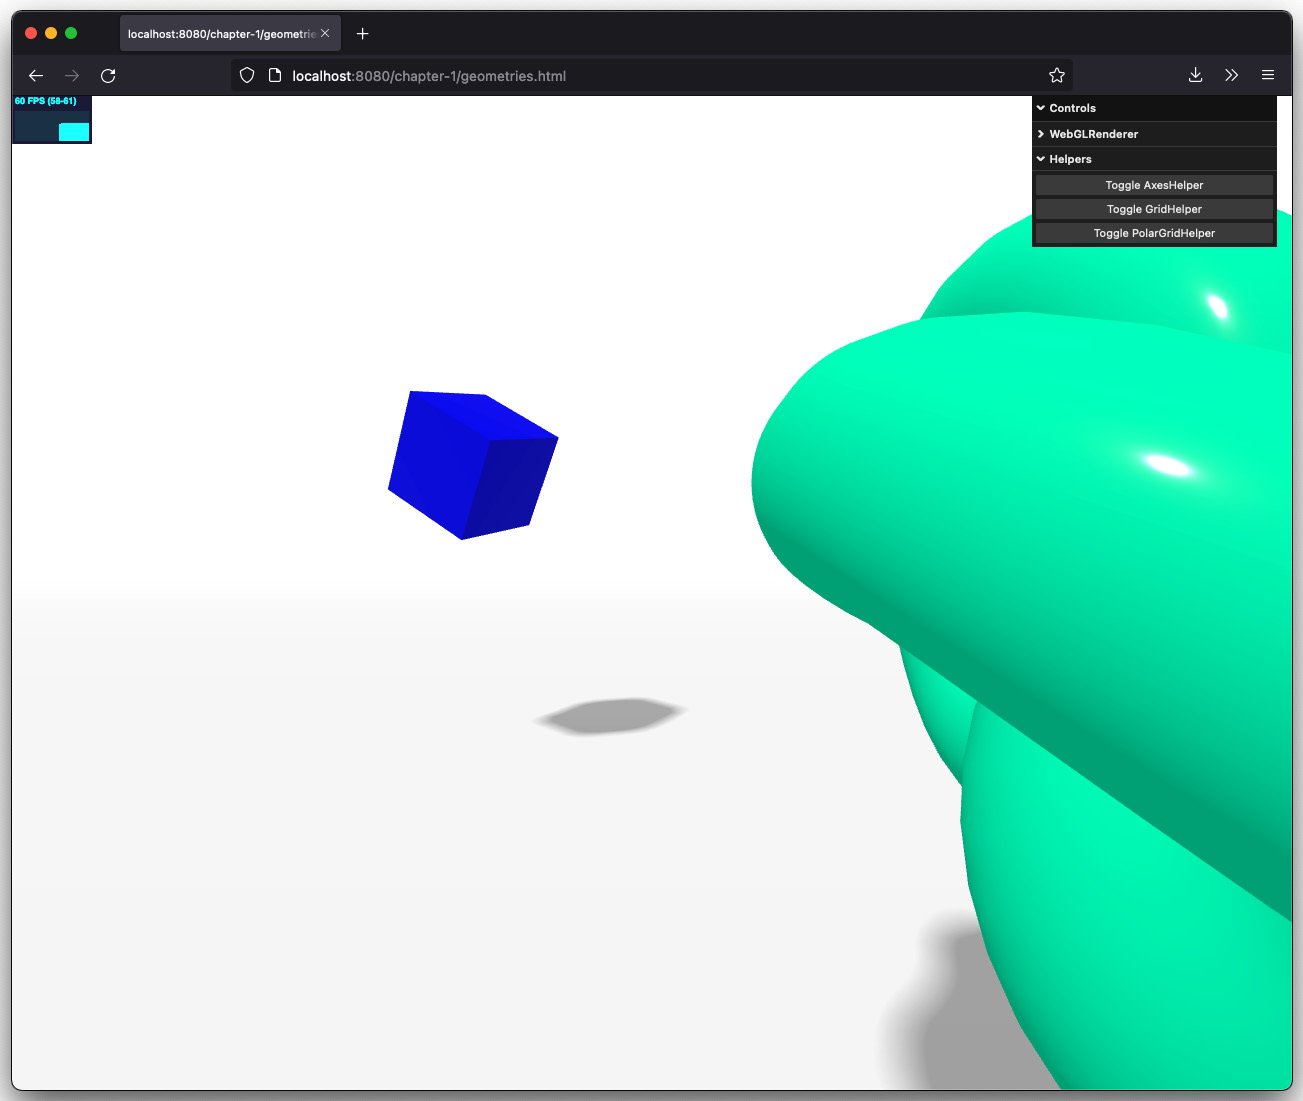
Figure 1.13 – Zooming in with orbit controls
Before wrapping up this section, we will add one more element to our basic scene. When working with 3D scenes, animations, colors, and properties, it often requires a bit of experimenting to get the correct color, animation speed, or material property. It would be very easy if you had a simple GUI that allowed you to change these kinds of properties on the fly. Luckily, you do!
Using lil-gui to control properties and make experimenting easier
In the previous example, we added a little bit of animation for the torus knot and the cube. Now, we’ll create a simple UI element that allows us to control the speed of the rotations and the movement. For this, we’re going to use the lil-gui library from https://lil-gui.georgealways.com/. This library allows us to quickly create a simple control UI to make experimenting with the scene easier. It can be added as follows:
import GUI from "lil-gui";
...
const gui = new GUI();
const props = {
  cubeSpeed: 0.01,
  torusSpeed: 0.01,
};
gui.add(props, 'cubeSpeed', -0.2, 0.2, 0.01)
gui.add(props, 'torusSpeed', -0.2, 0.2, 0.01)
function animate() {
  ...
  cube.rotation.x += props.cubeSpeed;
  cube.rotation.y += props.cubeSpeed;
  cube.rotation.z += props.cubeSpeed;
  torusKnotMesh.rotation.x -= props.torusSpeed;
  torusKnotMesh.rotation.y += props.torusSpeed;
  torusKnotMesh.rotation.z -= props.torusSpeed;
  ...
}
In the preceding code fragment, we created a new control element (new GUI) and configured two controls: cubeSpeed and torusSpeed. In each animation step, we’ll just look up the current values and use those to rotate the meshes. Now, we can experiment with the properties without having to switch between the browser and the editor. You’ll see this UI in most of the examples in this book where we provide it so that you can easily play around with the different options provided by the materials, the lights, and the other Three.js objects. In the following screenshot, you can see the controls you can use to control the scene in the top-right part of the screen:
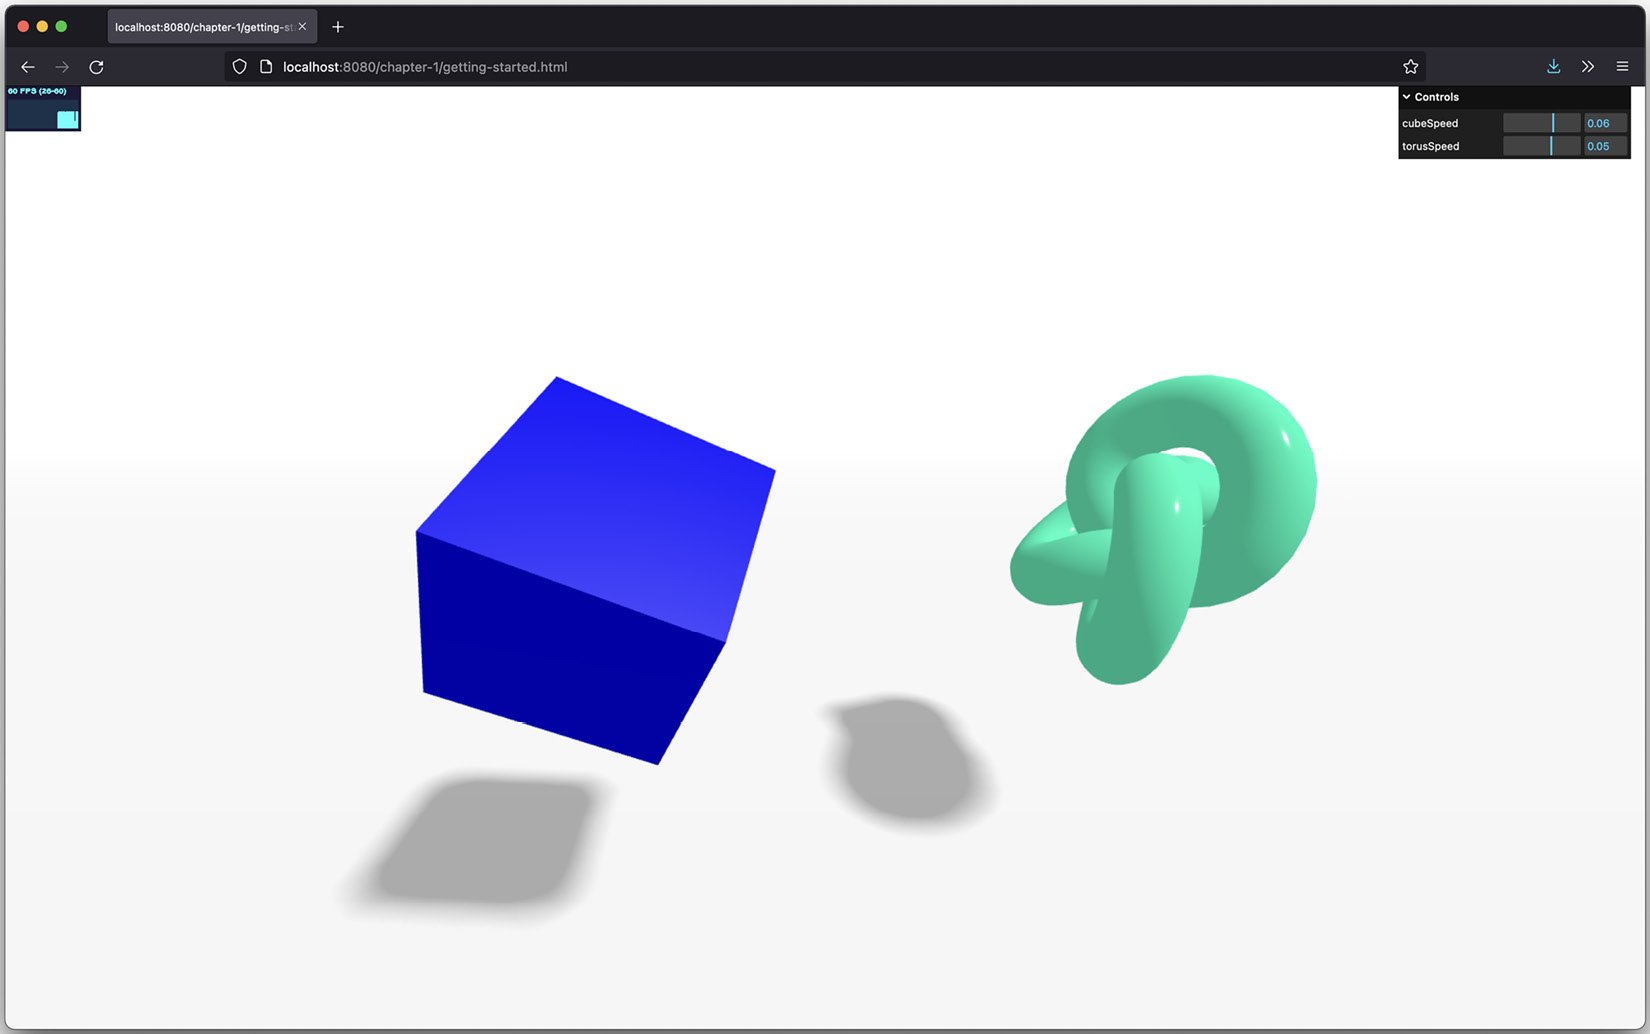
Figure 1.14 – Using controls to modify the properties of the scene
Before we move on to the last section of this chapter, here’s a quick note on what we’ve shown so far. You can imagine that most scenes will need pretty much the same setup. They all need some lights, a camera, a scene, and maybe a ground floor. To avoid having to add all this to each example, we’ve externalized most of these common elements to a set of helper libraries. That way, we can keep the examples nice and clean so that they only show you the code relevant to that example. If you’re interested in how that’s set up, you can look at the files from the bootstrap folder, which brings this approach together.
In the previous example, we rendered some simple meshes in the scene and positioned them directly. Sometimes, though, it is hard to determine where to position objects, or how far we should rotate them. Three.js provides several different helpers that provide you with additional information about the scene. In the next section, we’ll look at a couple of these helper functions.