
We need to create a road for our rabbit to run on and also for it to find the exit of the top hat. In this case, we will follow almost the same steps than we did to add the rabbit, but with a few differences.
Add the background image in a way that is similar to how we added the rabbit's image:
On the Project Navigator, select the Art group.
Right-click and select Add Files to "InsideTheHat"….
Look for the
background.pngfile in the7338_01_Resourcesfolder that you unzipped. Select it and click on Add.
Then, add the following lines to GameScene before the addChild(rabbit) line:
  // Creating and adding the background to the scene
        let background = SKSpriteNode(imageNamed: «background»)
        background.anchorPoint = .zero
        addChild(background)
You already know the first line; we are creating a sprite using the background image that we have just added to the project. Then, we set its anchorPoint to .zero, which is a shortcut for CGPoint(x:0, y:0). The image covers the whole screen, and finally we add the background to the scene.
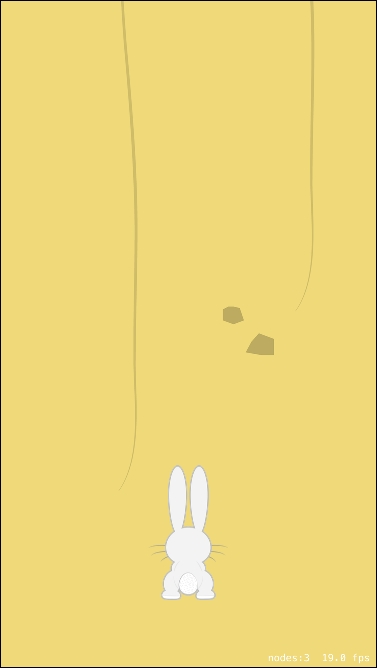
Run the game. Now, the rabbit should appear standing on a lonely road, as shown in the following screenshot:
You may be wondering why the rabbit sometimes appears and sometimes it doesn't. The reason is that it is behind the background, even though it has been added after the background image.
The reason for this behavior lies in the skView.ignoresSiblingOrder = true line in the GameViewController class.
The ignoresSiblingOrder property indicates whether the relationship between the parent nodes and children affects the order of the nodes in the scene. By default, its value is false. This means that SpriteKit will render the children in the same order they appear in the children array, one node at a time.
Setting this property to true will not take into account the position of the nodes in the tree, but their zPosition property groups all the nodes at the same zPosition property in a single draw. Therefore, the reason behind setting the ignoresSiblingOrder property to true is the fact that it will improve the rendering performance.
In the game, the property has been set to true and the nodes have no zPosition specified (0.0 by default). This will render all the children on the same time in an arbitrary way. That's why, the rabbit may sometimes be visible and sometime not.
As we want the game to be very efficient, we will keep the ignoresSiblingOrder property as is. So, we will need to give the zPosition value to some nodes. Open GameScene and add the following line just before addChild(background):
background.zPosition = -1
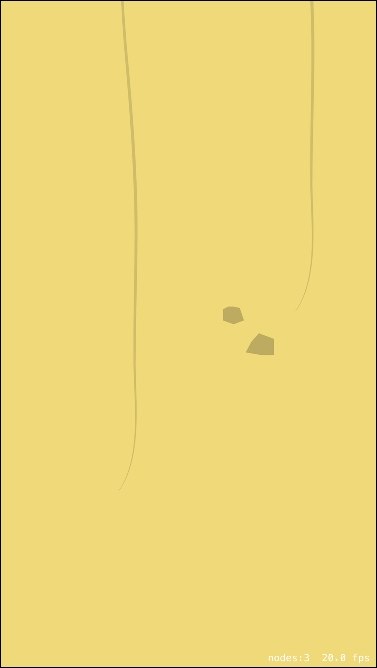
This way, we set the background behind the default zPosition value so that the rest of the nodes that we will add will always be visible. Let's run the game again and check whether the rabbit is now visible. The output is shown in the following screenshot: