
To get started, we will use a blank document and walk through the important settings to get your document started on the right foot. When you open Pixelmator, go to the File | New menu option (or click Command + N). Here you will be greeted with a simple dialog box to set your image dimensions. The size and resolution you set for the final image is very important, so make sure to select the largest size you think you might possibly use. Say you are creating a collage of images for a poster that you think you are going to print with a 11 x 14 size. After working on it for hours you create a final masterpiece and love it so much you want to print it with a size of 30 x 40. Well, sorry to say, but once you scale something up after editing you will lose a ton of quality in the image and have a pretty poor quality 30 x 40 poster. So always remember to set the size of the image from the very start to as large as you might possibly want to print; you can always size down later but cannot size up.
When choosing the size and resolution you will be able to enter in anything freeform or click on the Preset dropdown at the top to choose from many popular sizes such as 1280 x 800 or an 8 x 10 inch option for printing. The resolution is just as important as the physical size and really depends on what type of medium you are going to have as your final outcome. If you are only creating something to view on a computer, 72 pixels/inch (PPI) is all you need, that's the max that a screen can display. However, if you are going to print an image, then you should set the resolution higher; 300 PPI should be perfect.
Note
When you go to print a digital image, the pixels are converted to dots. This is where you hear the term dots per inch (DPI). Because these dots have spaces between them, 300 PPI isn't equal to 300 DPI. If your image is 300 PPI, pixels become roughly 150 DPI. In the printing world, 150 DPI is the standard for printing photographic quality images.
One very useful feature is the ability to create your own presets. If you use a specific custom size over and over again, it will save time to create a custom preset with this size. To do this, first set the width, height, and resolution, and then click on the gear icon on the bottom-left corner of the dialog box. Here you will see a Save Preset As… option as shown in the following screenshot:
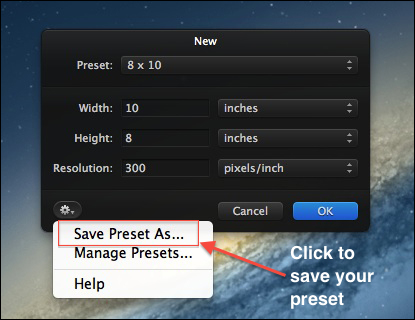
Click on this and name your preset to save this for future use. Presets are also grouped by a few predefined types, namely, Screen, Web, Photo, Print, and Other, which help in organizing your list.
Note
Using presets and keyboard shortcuts will always save a lot of time in the long run. As you work, remember to save the most common tasks you do as presets if possible.
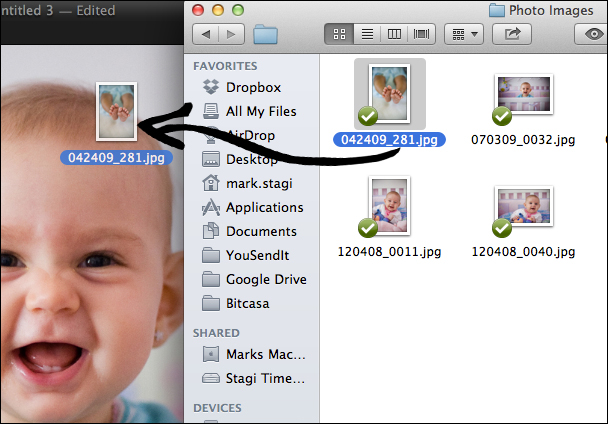
Once you have the size and resolution set up, you will see a blank canvas waiting for you to start getting creative with. There are a few ways you can add images to this blank canvas. The easiest way is just a simple drag-and-drop. Simply open up a new Finder window on your computer and navigate to the image you would like to add to the canvas. Then drag-and-drop the photo to place it. It might not be sized exactly how you want it to be, but we will be able to adjust this at any time; we will cover how to resize images later on in this chapter.
Here you can see just how easy it is to drag-and-drop a new image into an existing Pixelmator project:
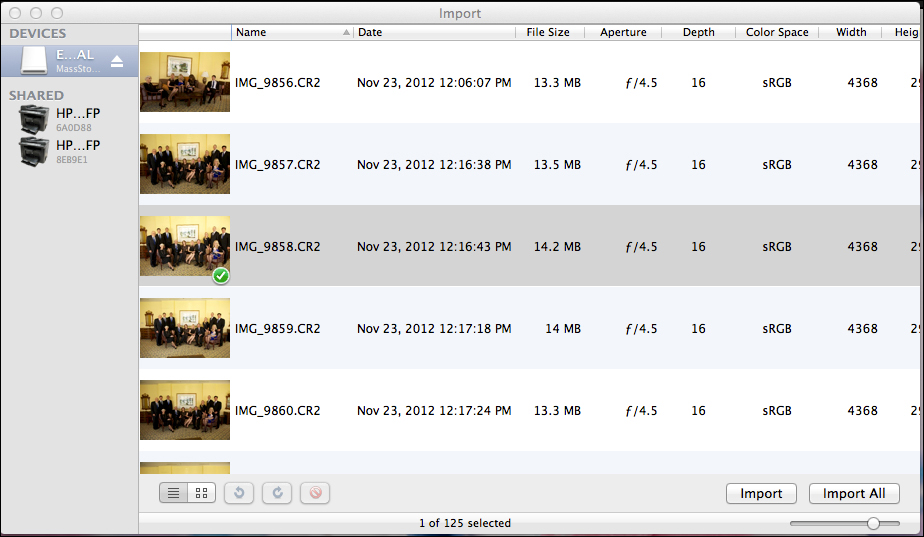
You can also use the Import menu button in the File menu to add images, if you have your camera or a card reader connected to the computer. This will bring up an Import dialog box which will give you the ability to selectively import certain images by Command + clicking on specific images or clicking on the Import All button.
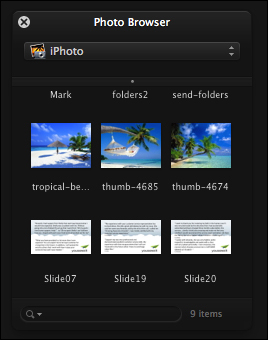
Another way to add images to your canvas is to use the Command + 6 key combination and open up the Photo Browser. Here you will have the ability to browse through your iPhoto library or the Pictures folder. If you have a huge folder of files, just use the search at the bottom of the Photo Browser to perform a search.
Once you have dragged a photo into the canvas, just use the move tool to move it to the area you would like.