

Reviewing the app
In the previous sections, we have defined how we want our app to work, what data we will need for it, and how that data is being stored and linked in the template workbook. Now, let's review how the template created the Survey app and link it all together to work.
The entire app is comprised of only three screens – Home, Thanks, and Survey – as shown in Figure 7.9:
Figure 7.9 – The screens in the Survey app
Home
This is the home screen of the app. The screen consists of two main sections – a block at the top that contains a welcome note and a button to start the survey.
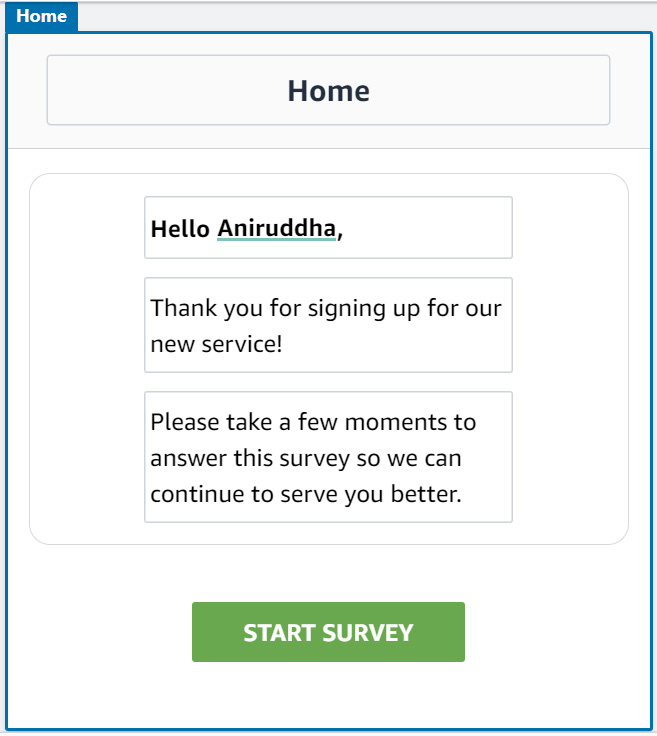
Figure 7.10 – The Home screen
The START SURVEY button has automation defined to first create or update a table row for the participant. It then navigates to the Survey screen while setting the InputRow variable to be the newly added or existing row for the participant (see Figure 7.11). This enables...