Book Image

pfSense 2.x Cookbook - Second Edition

By : David Zientara
Book Image

pfSense 2.x Cookbook - Second Edition

By: David Zientara

Overview of this book

pfSense is an open source distribution of the FreeBSD-based firewall that provides a platform for ?exible and powerful routing and firewalling. The versatility of pfSense presents us with a wide array of configuration options, which makes determining requirements a little more difficult and a lot more important compared to other offerings. pfSense 2.x Cookbook – Second Edition starts by providing you with an understanding of how to complete the basic steps needed to render a pfSense firewall operational. It starts by showing you how to set up different forms of NAT entries and firewall rules and use aliases and scheduling in firewall rules. Moving on, you will learn how to implement a captive portal set up in different ways (no authentication, user manager authentication, and RADIUS authentication), as well as NTP and SNMP configuration. You will then learn how to set up a VPN tunnel with pfSense. The book then focuses on setting up traffic shaping with pfSense, using either the built-in traffic shaping wizard, custom ?oating rules, or Snort. Toward the end, you will set up multiple WAN interfaces, load balancing and failover groups, and a CARP failover group. You will also learn how to bridge interfaces, add static routing entries, and use dynamic routing protocols via third-party packages.
Table of Contents (18 chapters)
Title Page
Copyright and Credits
About Packt
Contributors
Preface
Index

Identifying and assigning interfaces


This recipe describes how to identify interfaces on a network configuration and how to assign them in pfSense.

Getting ready

You need to identify the MAC addresses for each Ethernet port on your pfSense system before attempting to assign them.

How to do it...

  1. Navigate toInterfaces | Interface Assignments.
  2. Assign a WAN interface, first by selecting the correct MAC address from the drop-down list for the WAN interface:
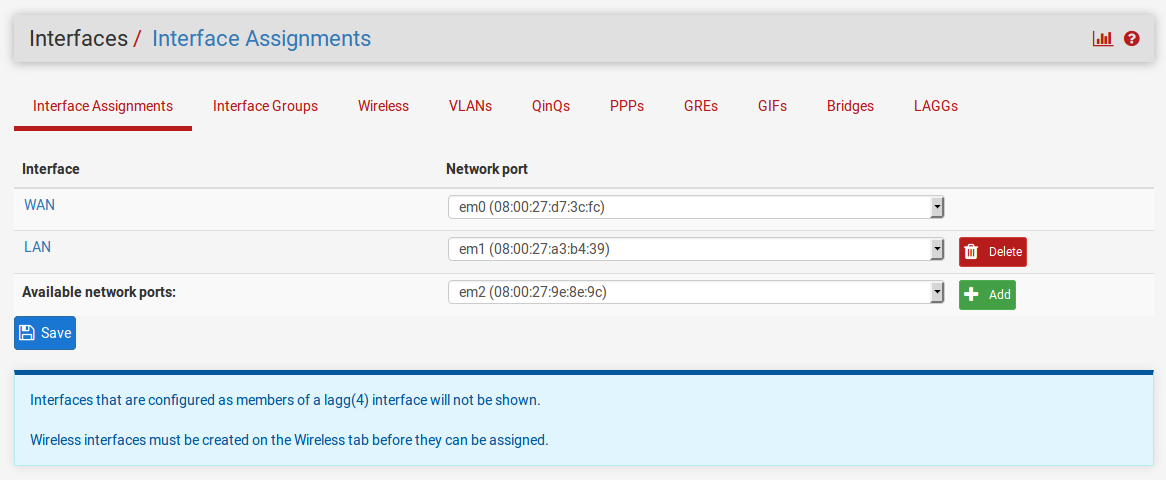
  1. Repeat this process for the LAN interface, selecting the correct MAC address from the drop-down list for the LAN interface. If necessary, add the LAN interface to the list by following this process:
    1. Click on the Addbutton in theAvailable network portscolumn.
    2. Click on the name of the newly created interface in the Interfaces column (it should be OPT1).
    3. When the configuration page for the interface loads, change Description to LAN.
    4. Click on the Save button at the bottom of the page.
    5. Navigate back to Interfaces | Interface Assignments.
  2. If you want to add optional interfaces, you can do so by repeating step 3 and substituting the name of the optional interface (for example, DMZ) for LAN.
  3. When you are done assigning interfaces, click on the Save button.

See also

  • The Assigning interfaces at the console recipe