

A Hello World program is a very simple program that does nothing more than display an output that says Hello, World! (or any other thing, not necessarily this) to show that the SDK is working properly. We don't need to write very long code to produce a Hello World program, we can do it using only the very minimum and the most basic code. In fact, we don't have to write any code in Qt, as it will generate the code when you first create your project!
Let's begin our project by following these steps:
- To create a new project in Qt, click the New Project button located at the welcome screen on your Qt Creator. Alternatively, you can also go to the top menu and select File | New File or Project.
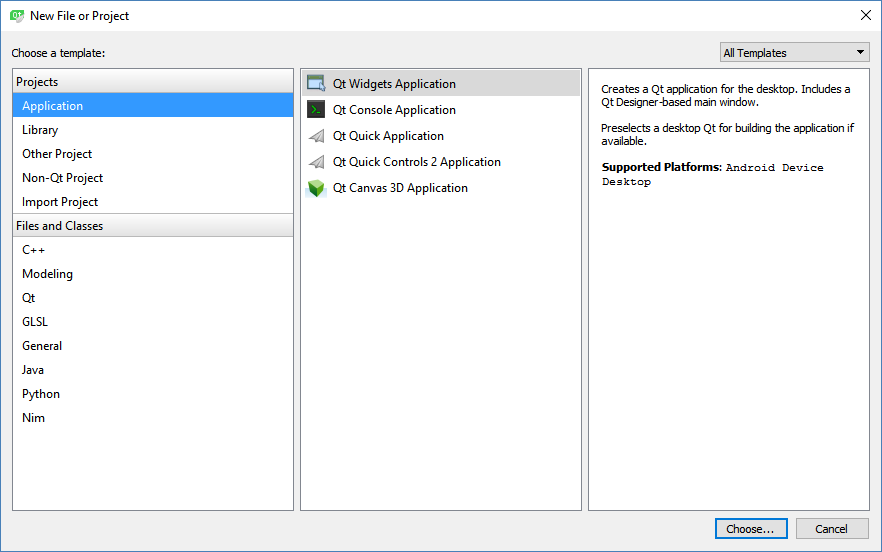
- After that, you will be presented with a window which lets you select a template for your project or file. For this demonstration, we will pick Qt Widgets Application:
- After that, set your project name and project directory. You can also check the checkbox that says Use as default project location so that you can automatically get the same path when you create a new project in Qt next time.
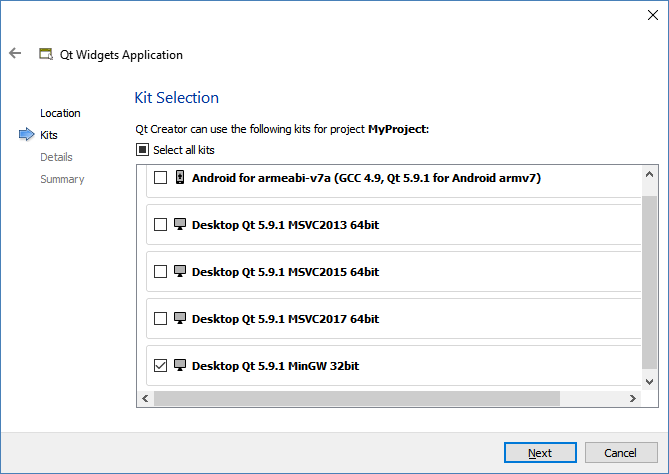
- Next, Qt Creator will ask you to select one or more kits for your project. For this demonstration, we'll pick Desktop Qt with the MinGW compiler. Don't worry, as you are allowed to add or remove kits from your project later on during development:
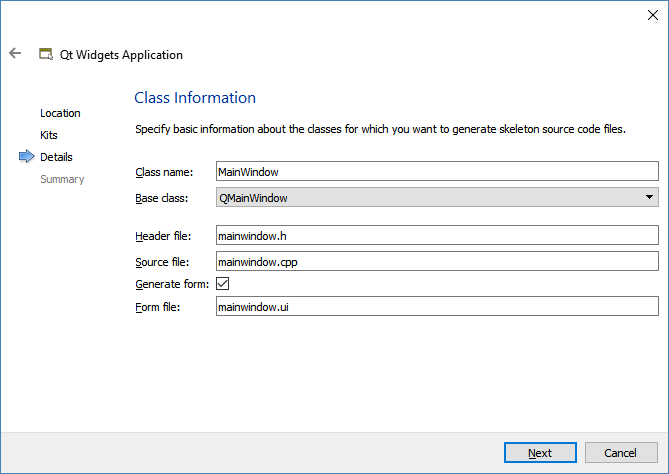
- After that, you will be presented with a page that says Class Information. This is basically where you set the class name for your base window, but we're not going to change anything, so just click the Next button to proceed:
- Finally, it will ask you to link your project to your version control server. If you have not added any to Qt before, you can click the Configure button, which will bring you to the settings dialog that I showed you in the previous section of this chapter.
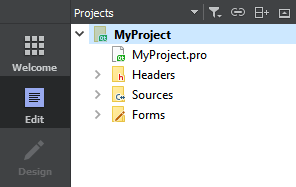
- For this demonstration, however, we'll keep the settings as <None> and press the Finish button. Qt Creator will then proceed to generate the necessary files for your project. After a second or two, Qt Creator will automatically switch to Edit mode and you should be able to see the files it created for you under the Project panel. You can open up any of the files by double-clicking on them in Qt Creator and they will be shown in the editor located on the right-hand side:
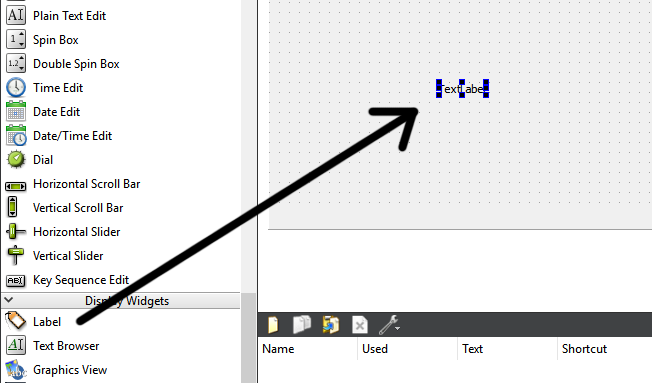
- Before we start compiling the project, let's open up the mainwindow.ui file under the Forms directory in your project panel. Don't worry too much about the user interface as we will cover it in the following chapter. What we need to do is to click and drag the Label icon under the Display Widgets category to the center of the window on the right, as shown in the following screenshot:
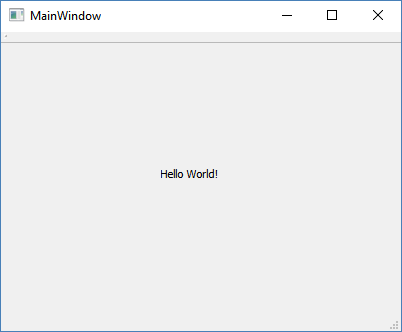
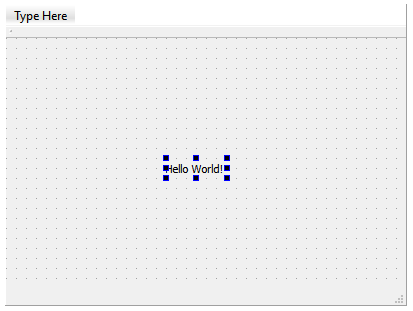
- After that, double-click on the Text Label widget and change the text to Hello World!. Once you're done, hit the Enter button on your keyboard:
- The final step is to press the Run button located at the bottom left corner that looks like this:

- We would normally build the program first and then run the program, but Qt Creator is smart enough to figure out that it needs to build it. However, it is still a good habit to build and run your application separately. After a few seconds of compiling, ... voila! You have created your first Hello World program using Qt!: